This is a sponsored post from FolkArt, Plaid, and Blueprint Social. I received materials and compensation to create a project. All opinions are my own.
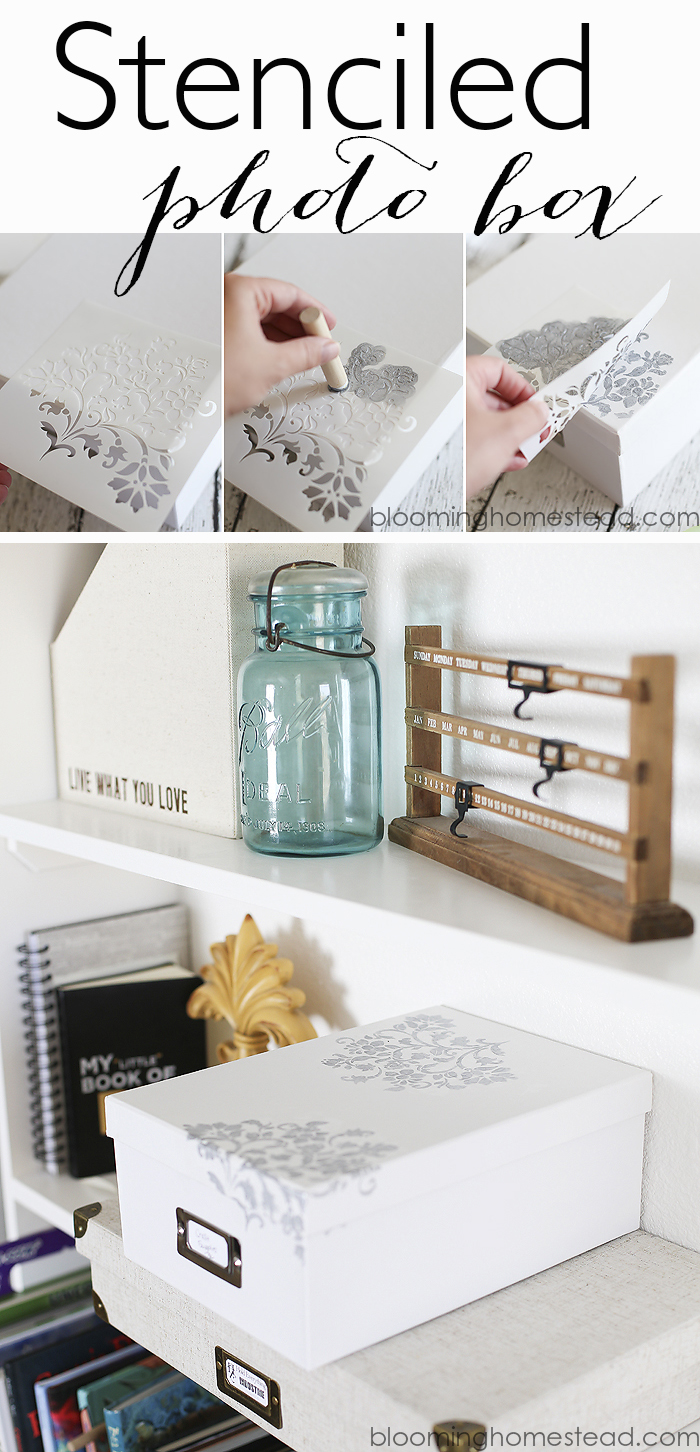
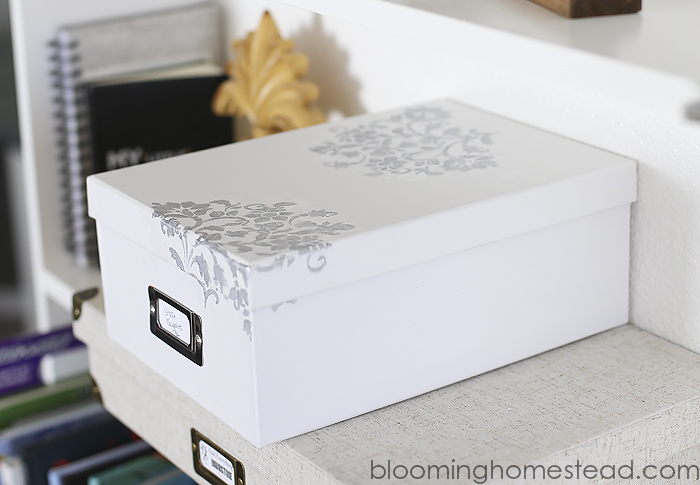
Since we finally finished our bonus attic room above our garage this past Spring, I have been searching for the perfect decor for our home office. Not only did I want the decor to be cute and stylish, but I also wanted to have functional office space with lots of storage. We built in some bookshelves in the room and I am loving at the addition of photo boxes to help with storage and reduce clutter. Thanks to FolkArt Stencils & Paints I was able to transform some of my bland white photo boxes into stylish accent pieces.
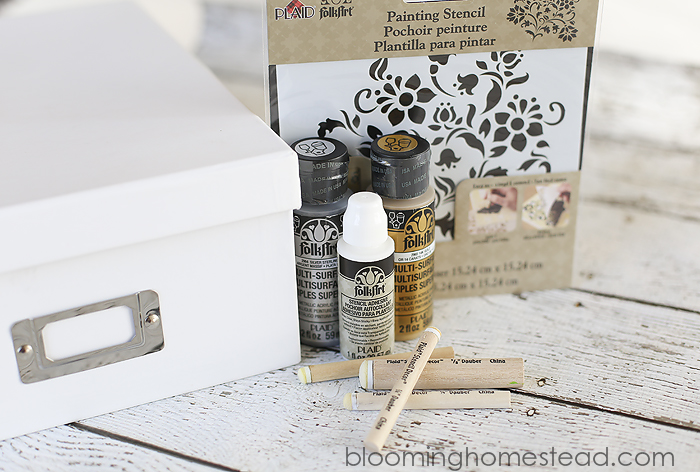
Here are the supplies I used:
- photo box
- FolkArt painting stencil
- metallic paint
- stencil adhesive
- daubers
Find FolkArt® stencils, paint and more at Michaels
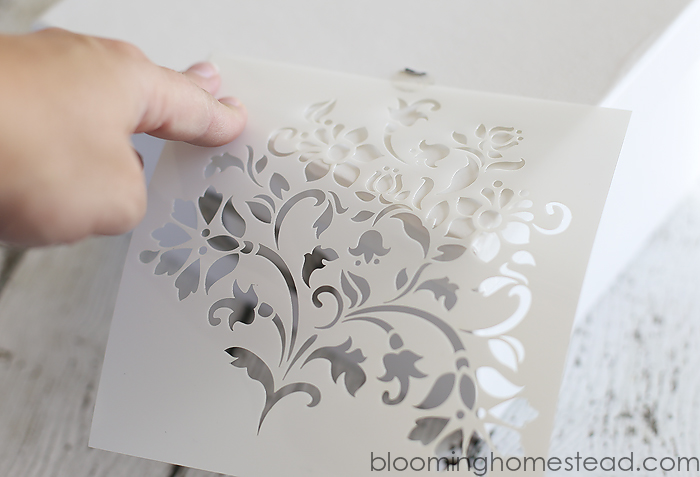
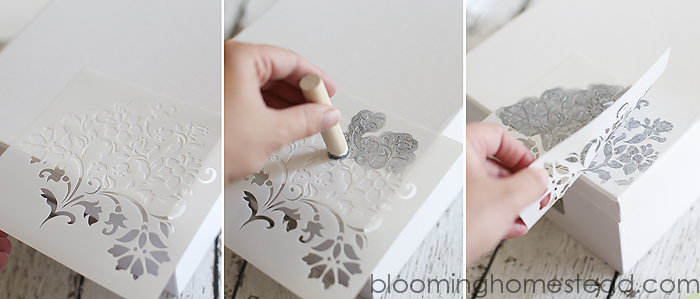
First off I tested out where I wanted my stencil to go before I added the adhesive.
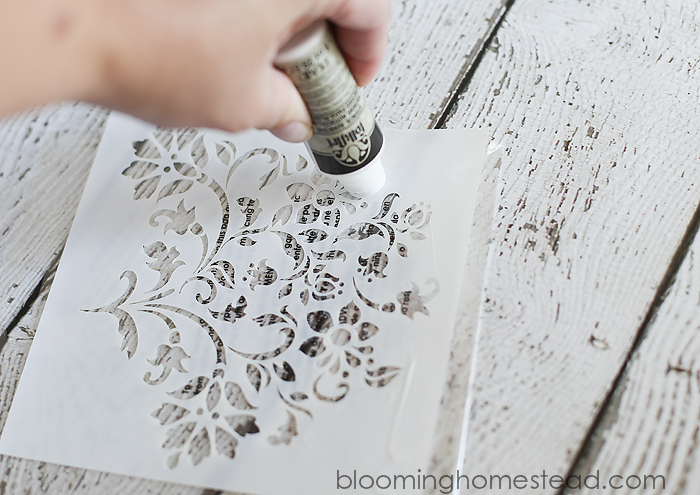
After finding where I wanted to place the stencil I turned it over and applied the stencil adhesive to the back of the stencil. This stuff was great and kept the stencil in place the whole time I was painting.
When you’ve got the adhesive ready you can place your stencil on the photo box and start painting.
I peeled off the stencil while it was still wet, wiped it down a little, and repositioned it on another area of the photo box for more stenciling. Once your done stenciling, let your paint dry and you will have a custom DIY Stenciled Photo Box as the perfect accent piece.
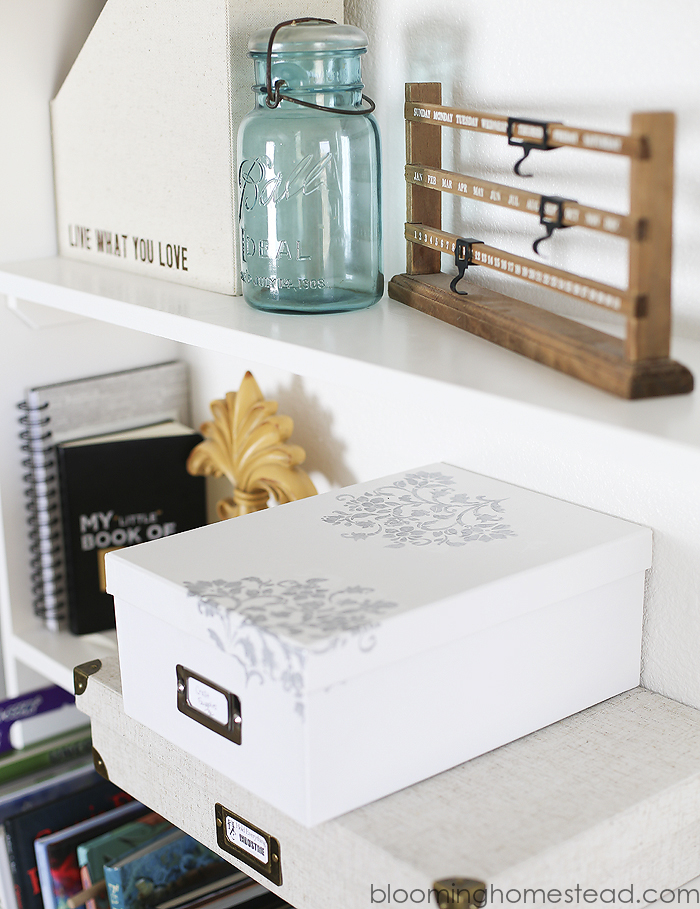
Here are a few more other details that brought the bookshelf together:
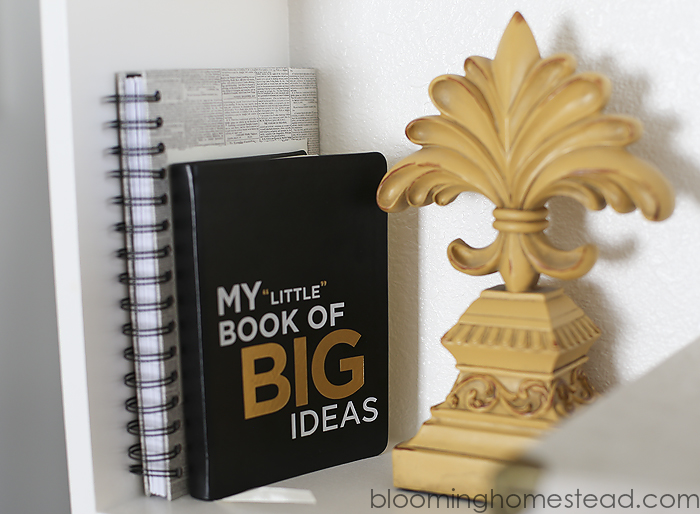
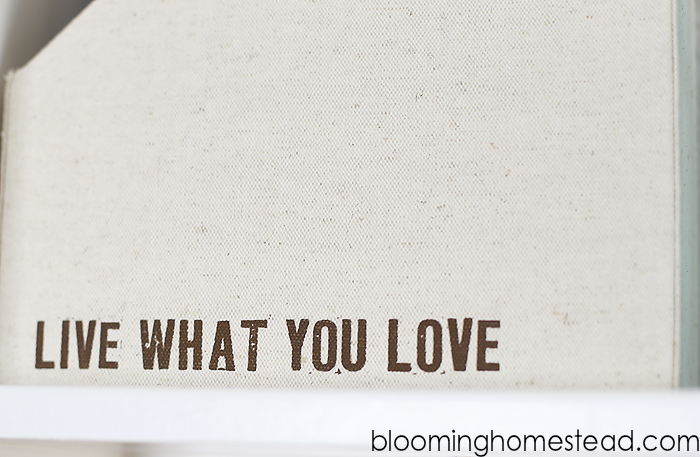
and I love this typography!
I cannot wait to show you my full office reveal, we just ordered our custom desk and are assembling it as we speak!
Check out more:
- Check out The Plaid Palette blog
- Sign up for their newsletter
- Follow on Pinterest
- Like Plaid on Facebook
- Follow on Instagram
- Follow on Twitter
- Watch Plaid on YouTube
- Follow Plaid on Google+
I link to these parties here.



Did you stencil on the magazine holder? I love this.
Hi Erin, I actually bought it that way on sale from Marshalls but you totally could!
Such a pretty little box now! Thanks for sharing at Link It or Lump It this week 🙂
What a great idea to decorate a paper box like this. It’s really pretty!
What a beautiful idea! I am also in the process of organizing my office and this is a great idea to make my boxes look better 🙂
I love this idea! It would make an amazing wedding or baby shower gift!
The box is beautiful! Thank you for linking up to the Creative Exchange. I always love seeing what you’ve been up to! 🙂
That looks super nice! Very classy! I found you on Salt and Pepper Moms linky. 🙂
This turned out so good! Pinned. Lou Lou Girls
What a pretty pretty box! Found you on the Natasha in Oz link up party =)
Simple and pretty—love it! Thanks so much for sharing at the Create & Share Link Party. Hope to see you again tonight (7:00 PM MST)! http://designsbymissmandee.blogspot.com/
So pretty and a great inexpensive way to dress up your photo box to make it your own! Thanks for linking up to Show Me Saturday! I hope to see you there this week.
Thanks for sharing your post at the Say G’day Saturday Linky Party. I’ve just shared this on Pinterest/Facebook/Twitter.
Hope you can link up with us again this Saturday!
Best wishes,
Natasha in Oz