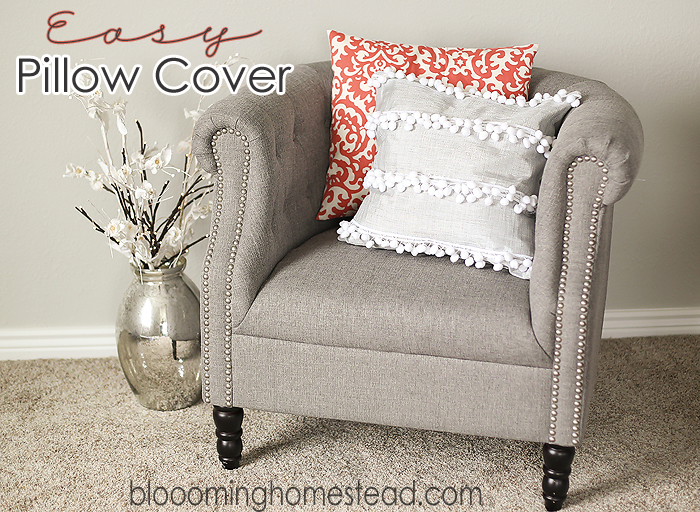
As Spring is approaching I have been really wanting to switch up my decor. My throw pillows on the couch have been bothering me lately and I knew I wanted to create some Easy DIY Pillow Slipcovers to add a fresh new accent to my living room. I had been on the hunt for the perfect colors and patterns and I finally found exactly what I was looking for!
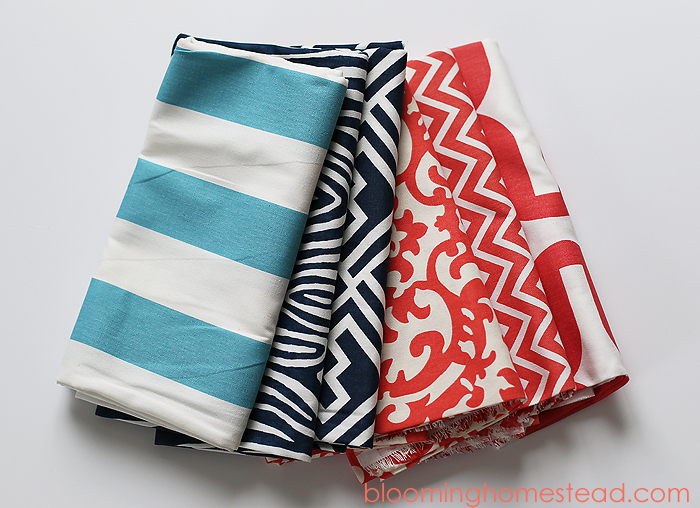
These fabrics were the perfect colors and patterns, they were exactly what I was looking for! I knew I wanted to make a pillow flap slip cover so that I could switch out the pillow covers whenever I wanted change.
These pillow slipcovers are really simple to make, I hope I can describe it. Sewing tutorials are always so hard for me to talk through since I tend to just make things up as I go, but I took pictures and I’ll try to describe this the best I can because it really is Super easy. Supplies:
- Cutting Mat
- Fabric
- Rotary cutter/scissors
- Sewing machine
- Ruler(opt)
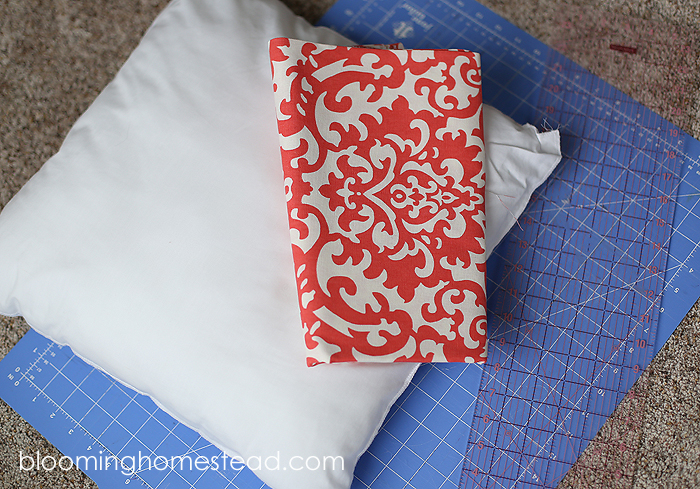
First off, I laid out my fabric and used my pillow as a guide for measuring.
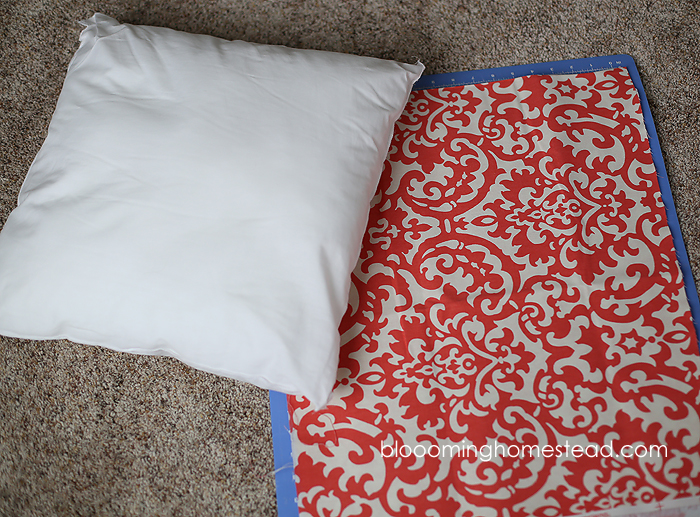
I was using a 16×16 pillow so I needed about 1/2″ seam allowance on all sides. When I was cutting the width, I cut it out at 17″. 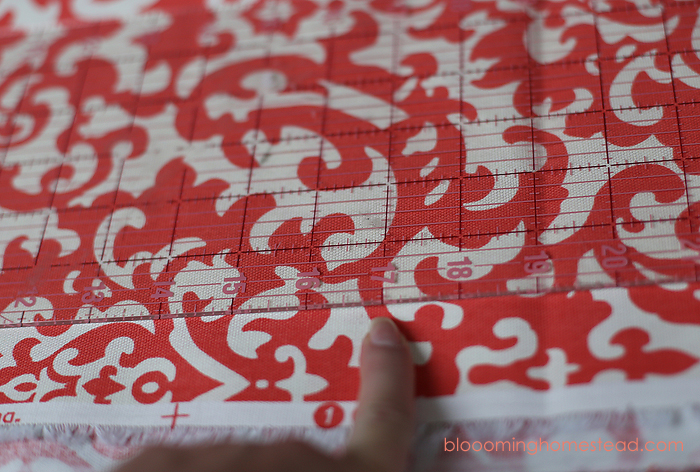
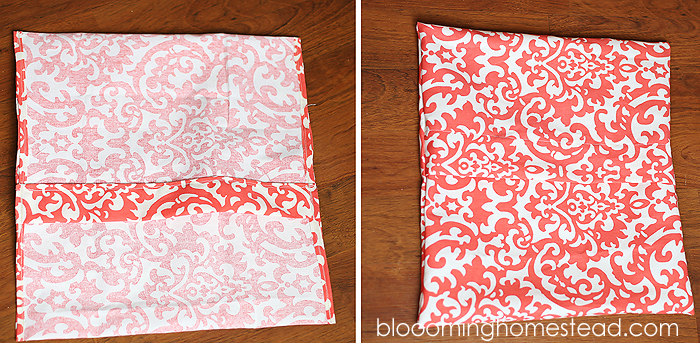
After I had the width cut, I cut out the length. I knew I wanted a good overlap for my back flap so I just wrapped fabric around pillow and tried to determine where I wanted my folds to be. I didn’t measure (remember that make things up as I go?) but I would guess I had an extra 4″ to work with in length for making the back flap opening. So now I had a long rectangular piece. I didn’t cut a front and back piece because I think that making it out of one piece is easier. To help prevent fraying I went and folded the edges over at 1/4″ and sewed them down. So here’s how things are looking now. 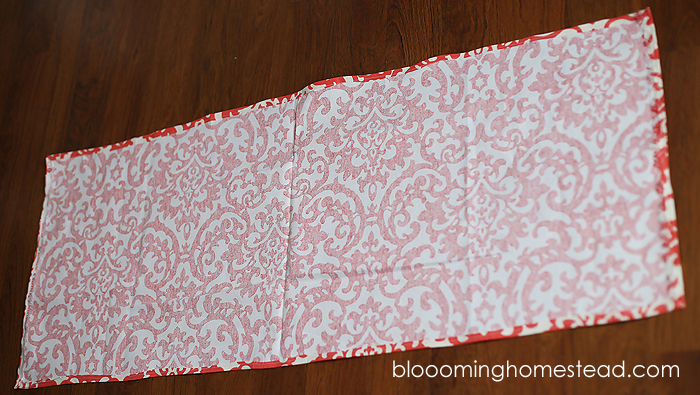
After having all the edges sewed down, I wrapped the fabric around my pillow once again to determine where to sew my back flaps. I folded each edge over about 1.5-2″ and then sewed their raw edges. It might be helpful to pin these down so you’ll know exactly where to sew. Head to your machine and sew those edges down where you measured.

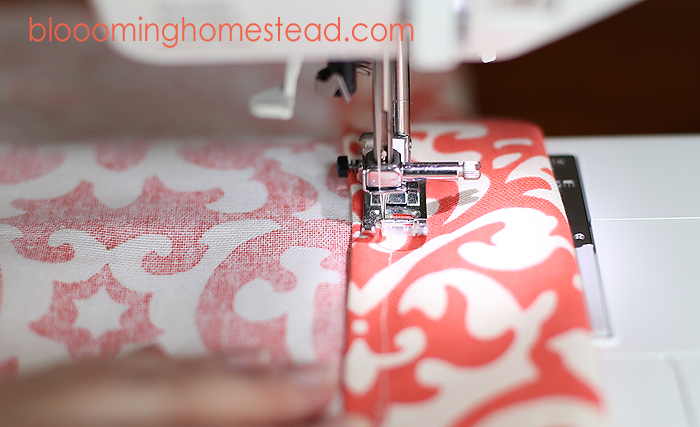
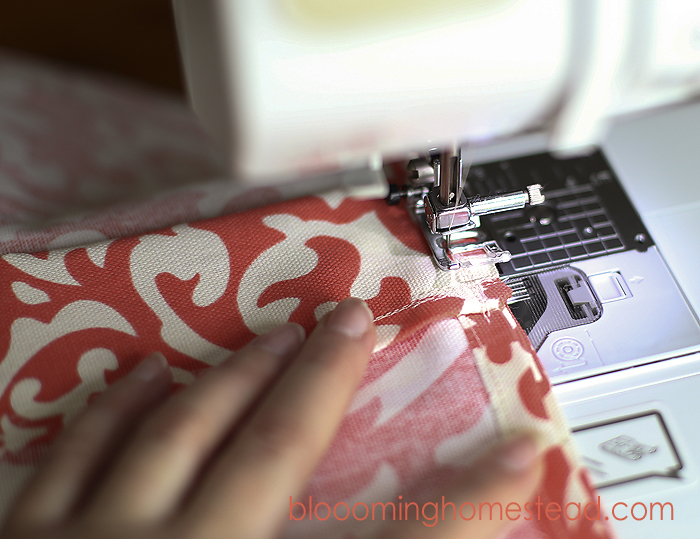
I laid out my fabric around the pillow and once again wrapped it around to see where I needed to sew the outer edges to make sure the flap would be overlapping. I have made pillow covers with a shallow overlap and sometimes they pop open on the back and just don’t look very good so I prefer a deeper overlap. Next up, keeping the fabric inside out, I pinned all the outer edges together and went to the sewing machine to sew them together. Once again I used a 1/4″ seam allowance.
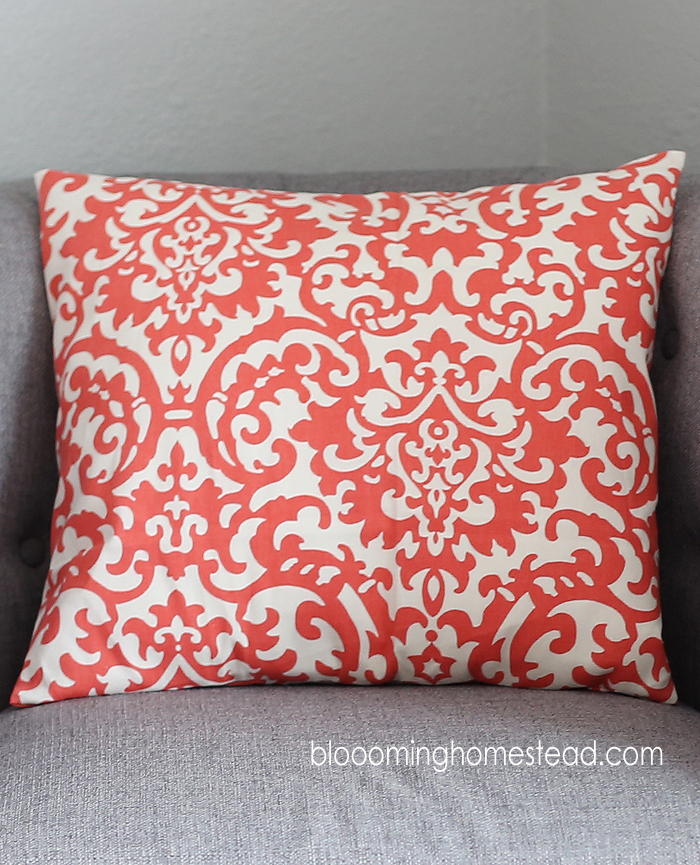
Here is your final product, just flip outside right and add in your pillow form.
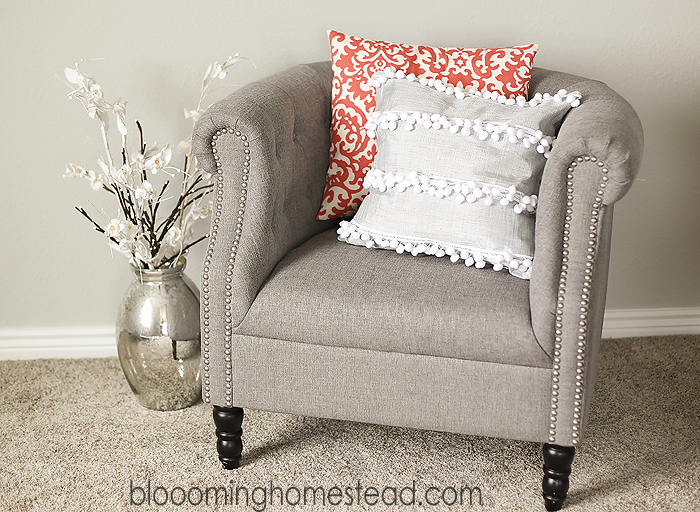
If you love the tassle pillow shown above, you’ll find the tutorial to make it here! It’s super easy. I can’t wait until I finish all my throw pillows. I’m pretty excited for the new colors.
I join these fabulous link parties each week: I heart naptime, Under the table and dreaming, Not just a housewife, The Project Queen, , Sumos Sweet Stuff, The Kurtz Corner, Ginger Snap Crafts, Laugh, Love, Craft, Clean and Scentsible, Somewhat Simple, The Shabby Creek Cottage, The Shabby Nest, Tatortots & Jello, Simply Designing, Chic on a Shoestring, ,Someday Crafts, The Idea Room ,Between U and Me, Positively Splendid, Raising 4 Princesses , One Stop Shoppe, Its Overflowing, The D.I.Y. Dreamer ,Serendipity & Spice, Crafty blog stalker , CSI Project, 36th Avenue, Real housewives of Riverton ,The rustic pig , Clever Chicks Blog Hop , Skip to My Lou ,


Leave a Reply