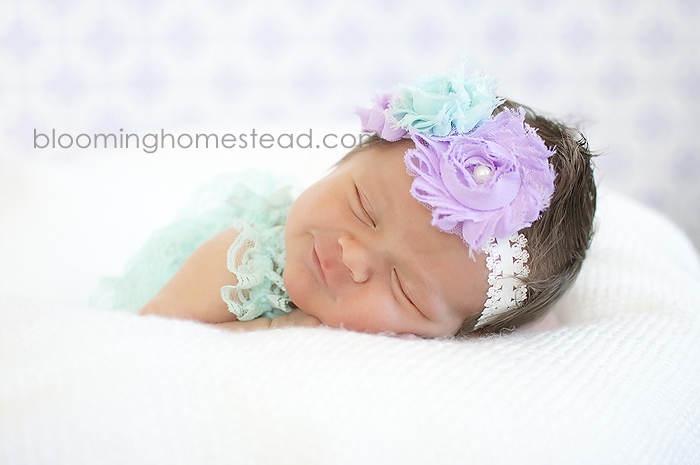
I’m back to share another baby headband tutorial today. I’m joining my friend Rachel at RandR Workshop’s Polka Dot Week by sharing these DIY Polka Dot Baby Headbands. My last headband tutorial was so popular I wanted to show a few more variations using some fun colors and patterns.
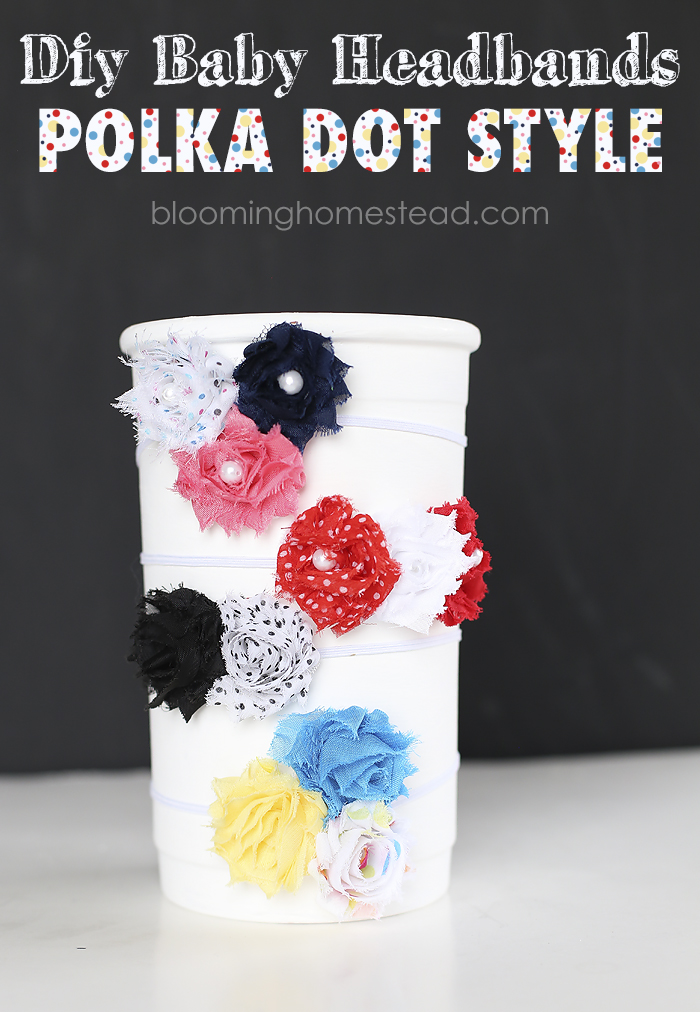
These are so easy to make, and so much more affordable (and customizable) than paying retail.
Here are the supplies you’ll need:
- Skinny elastic
- thread and needle
- scissors
- shabby flowers
- hot glue and gun
First you’ll cut your shabby flowers. They come with some mesh around them that you’ll trim off.
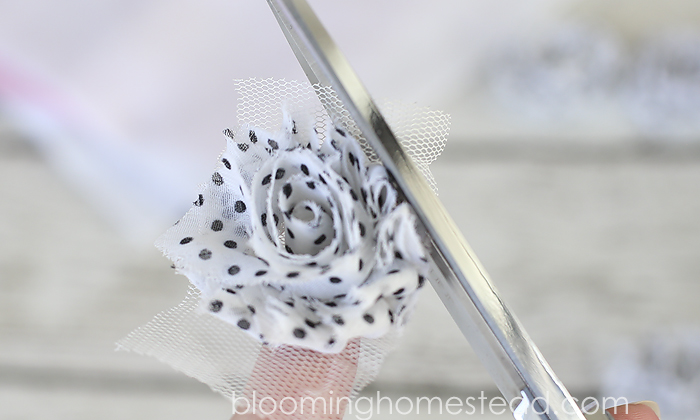
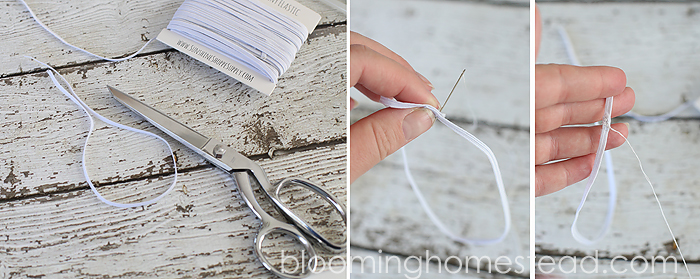
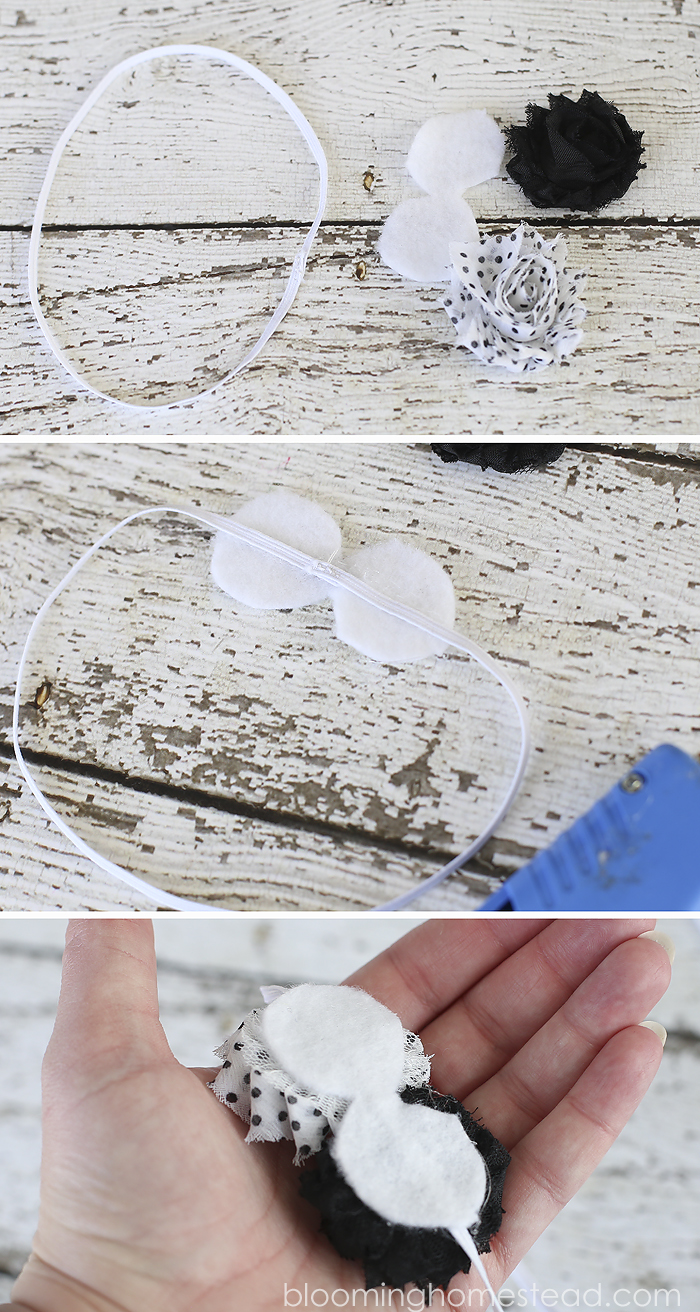
After your flowers are trimmed, you’ll measure out your elastic and cut. Next you’ll sew the edges together to create the circle headband.
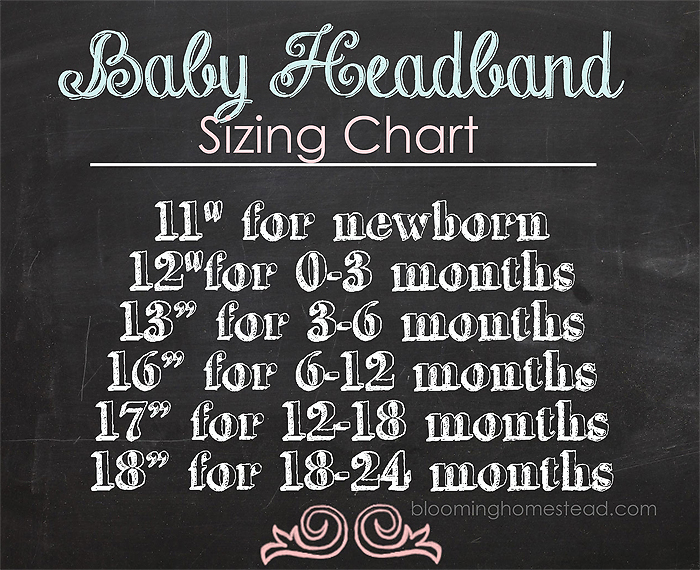
Here is a general guide I use for sizing.
Now you’ll trim the felt to use as a backing for headband and prepare to glue it all together. I always set out my flowers in whatever pattern I want so I know what shape to cut my felt.
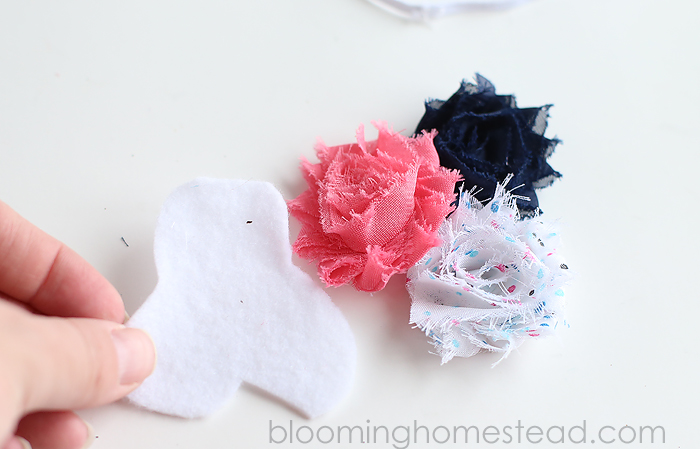
When your pieces are all cut and ready you’ll heat up your hot glue gun and start assembling your headband.
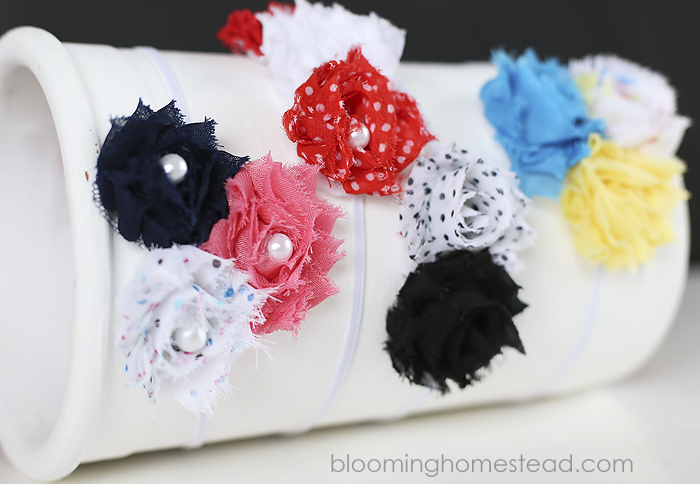
And thats it! Super easy and super cute.
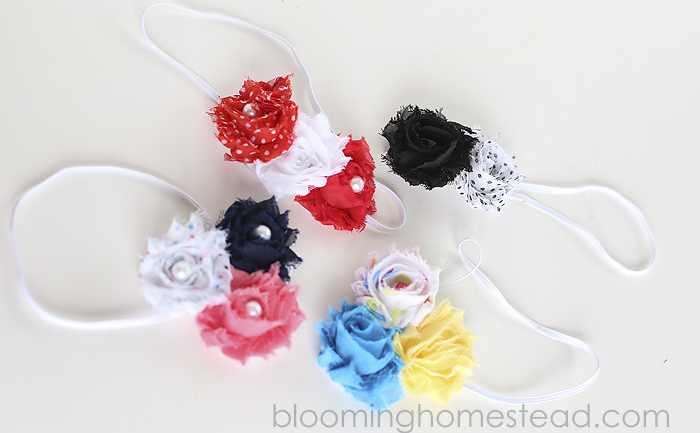
You can check out the other polka dot projects for polka dot week here.
You might want to check out this tutorial too!
I link to these parties here.


So cute
Too cute & thanks for sharing
Love these headbands! Where did you find your shabby flowers or were they something you made?
Hi Darcy, I can’t believe I forgot to mention that! I always buy my shabby flowers, elastic, etc from The Sunshine Shoppe. 🙂