Check out my latest project as a member of the FloraCraft Design Team, a big thank you to them for sponsoring this post.
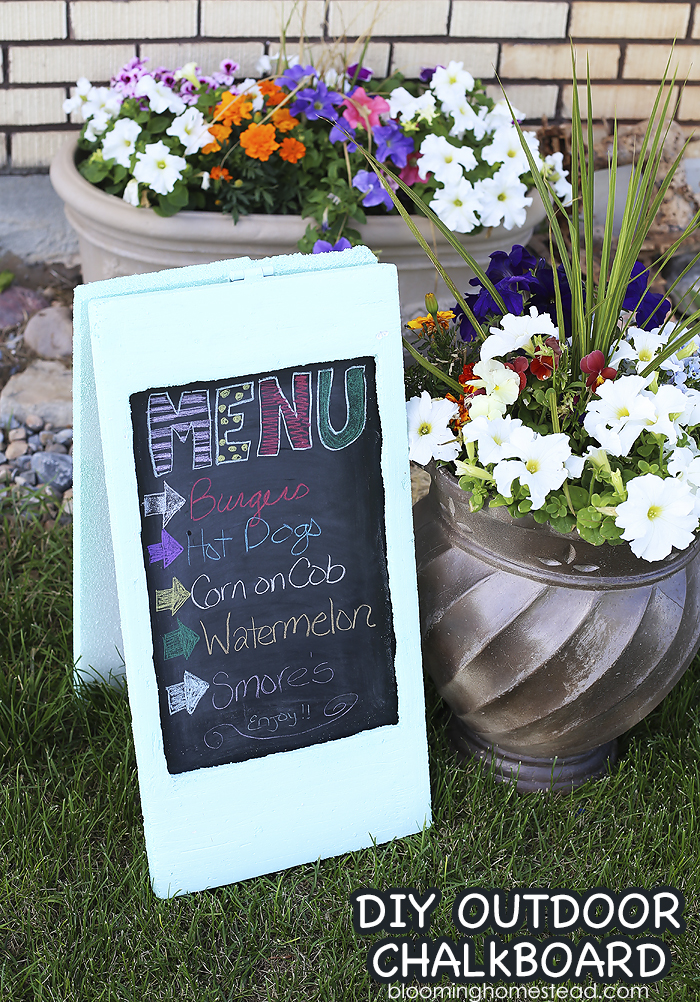
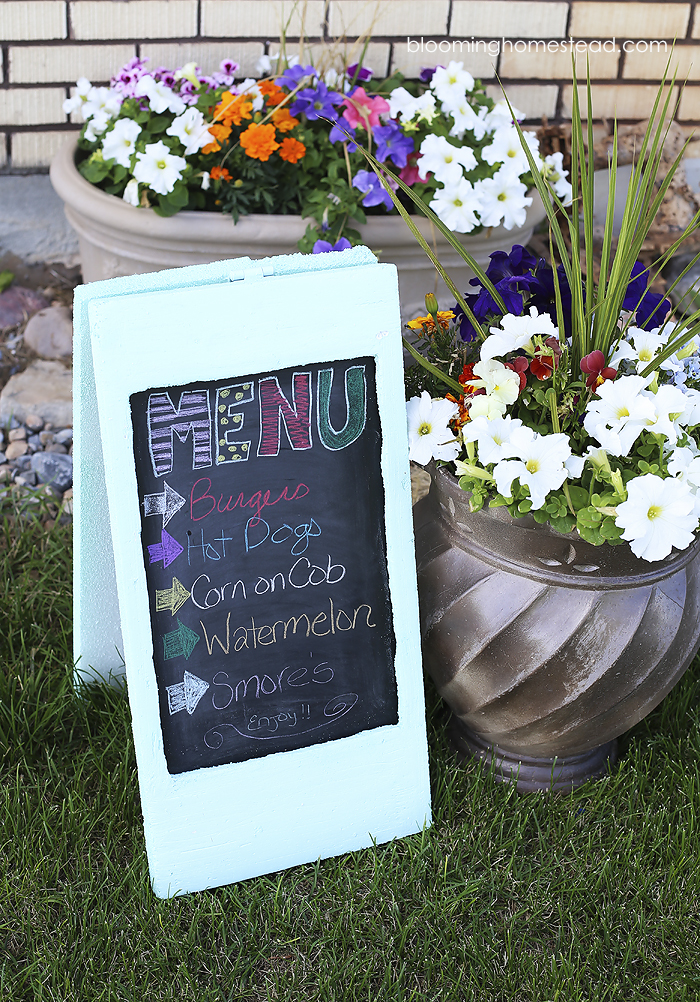
If you’ve been following my blog for long, you know I love affordable simple projects that you can complete on your own. This DIY Chalkboard is one of those projects! After seeing several cute a-frame chalkboards, I decided to create my own using some simple supplies from the craft store.
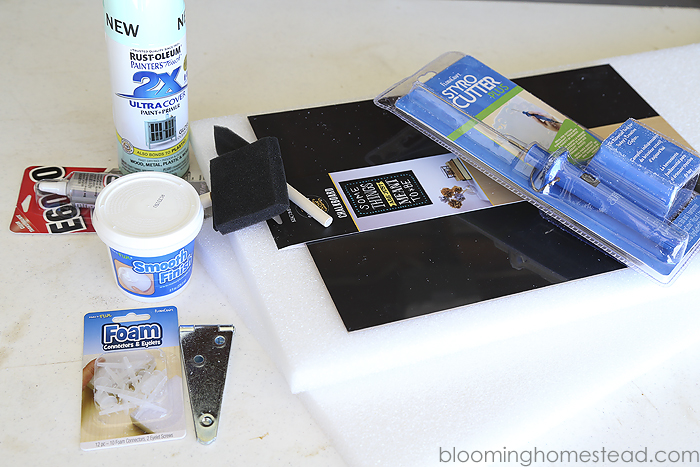
Supplies:
- 2-FloraCraft® Make It:Fun® Foam Sheets 1″ thick
- FloraCraft® StyroCutter® Plus
- scissors
- FloraCraft® Foam Connectors
- Hinge- found at walmart in home repair section
- Paint brush
- FloraCraft® Smooth Finish
- Spray Paint
- Large Chalkboard insert- (Found at Joanns)
- e-6000 glue
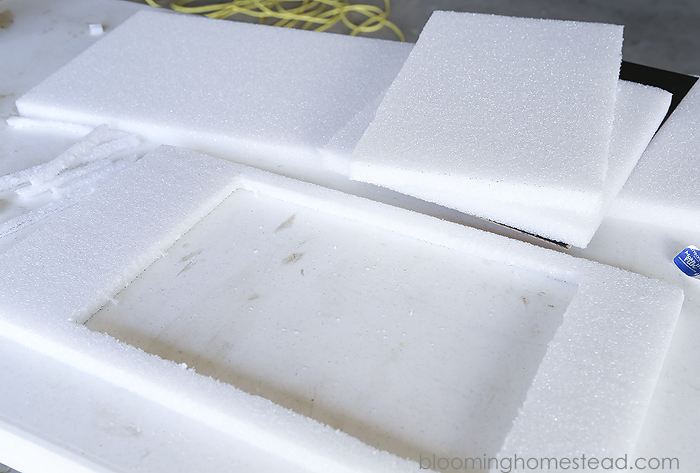
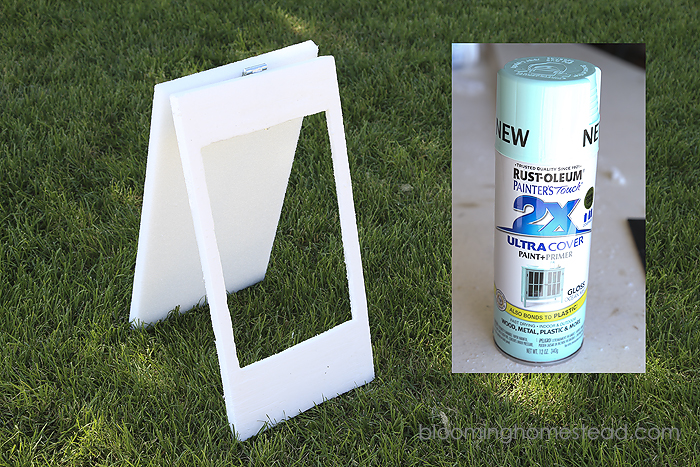
First you’ll start by trimming your foam using the StyroCutter. I’ve got a video here showing how I use the styrocutter to cut clean lines. You will want 2 sheets of the 1″ foam cut in matching sizes. For the size of my chalkboard, I only trimmed it longwise to keep the full width of the frame for my chalkboard. Now you’ll keep one of the cut pieces as your backing and set it aside. Using the other trimmed foam sheet, you lay it down and measured the chalkboard insert against it. I marked the size of the insert, and drew my frame 1/2″ inside that so I would know where to create my “lip” to hold the chalkboard insert. After I cut my initial framing (which was 1/2″ smaller than my chalkboard insert), I took my styrocutter and cut halfway into the foam both downward and to the side to create the edges to hold my insert. (Sorry I didn’t get a pic of this, I was crafting by myself and couldn’t do this and photograph it at the same time!) Here is what you end up with.
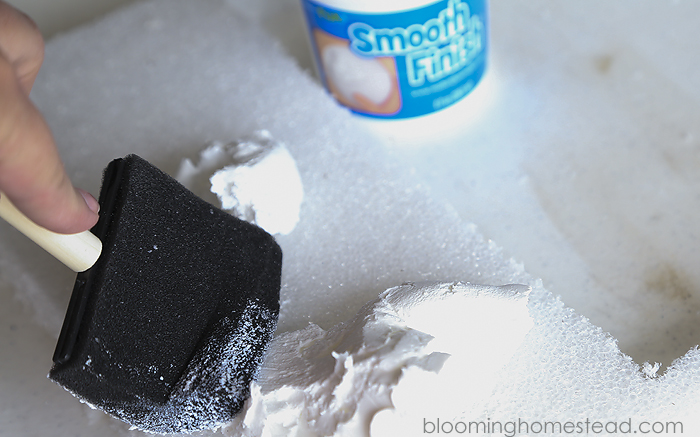
This is right side up so you can’t see the lip very well, but just imagine the back of a picture frame with an area to insert a chalkboard/photo. Now it is time to apply the smooth finish to the front of the chalkboard. I love this stuff, it totally changes the look of the foam. It helps to just apply a light coat and let it dry. After it is fully dried, you can lightly sand and apply another coat until you get desired texture.
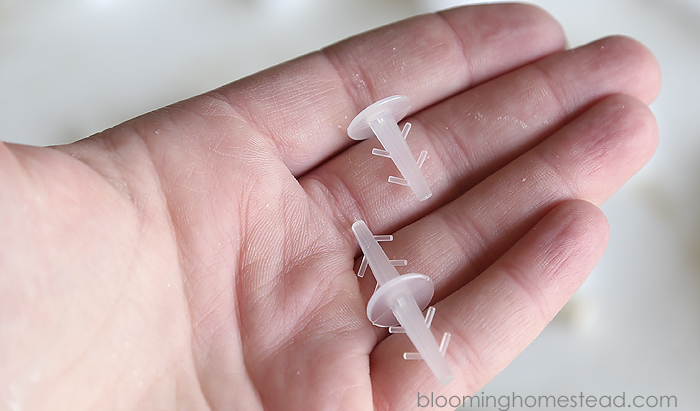
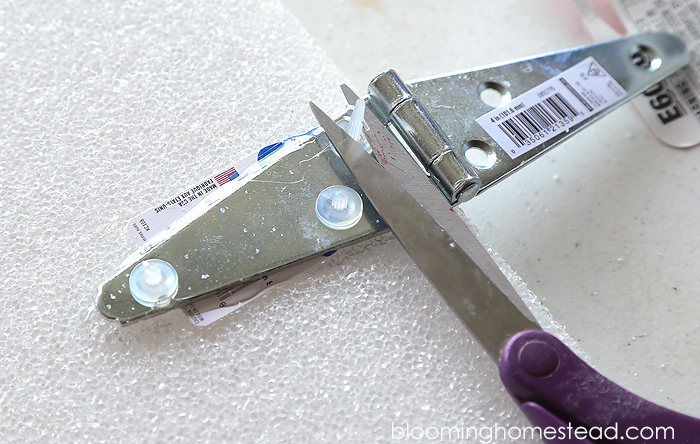
After my texture was dry and sanded lightly, I joined the front and back foam sheets with a hinge. Take your foam connectors and trim off one side so it essentially looks like a nail. You can see the before trimming and after below.
Use these to secure the hinge to the foam. You’ll also apply a layer of e-6000 glue to the hinge and foam to insure complete secure adhesion.
Let the glue dry overnight then you will be ready to spray paint. Hold the paint 12″ away from foam and spray in light layers until foam is coated.
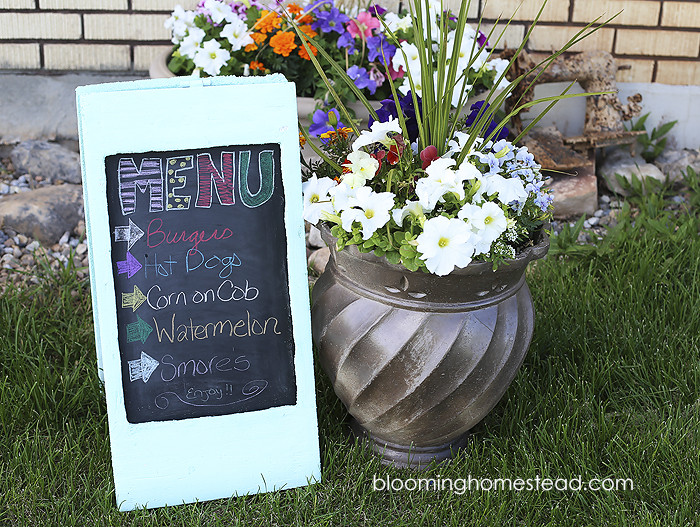
When the foam is dry, you’ll use the e-6000 to secure the chalkboard insert, let it dry completely. That’s it! So simple, although it does take some time for the glue to dry. 🙂 Wouldn’t this be perfect for an outdoor party or wedding decor?
I love creating projects like this that don’t require wood cutting and saws but still look the same!
Looking for some other fun DIY Ideas?




I am always amazed with the ideas you come up with for the challenge every month. This is another one that I just love!
Thanks so much Kara! Its so fun to create new projects each month.
This is such a great idea! I’ve admired these too, and I love your DIY option! Thank you.