As a member of the Make It:Fun® Design Team, I wanted to say thank you to FloraCraft® for sponsoring this post.
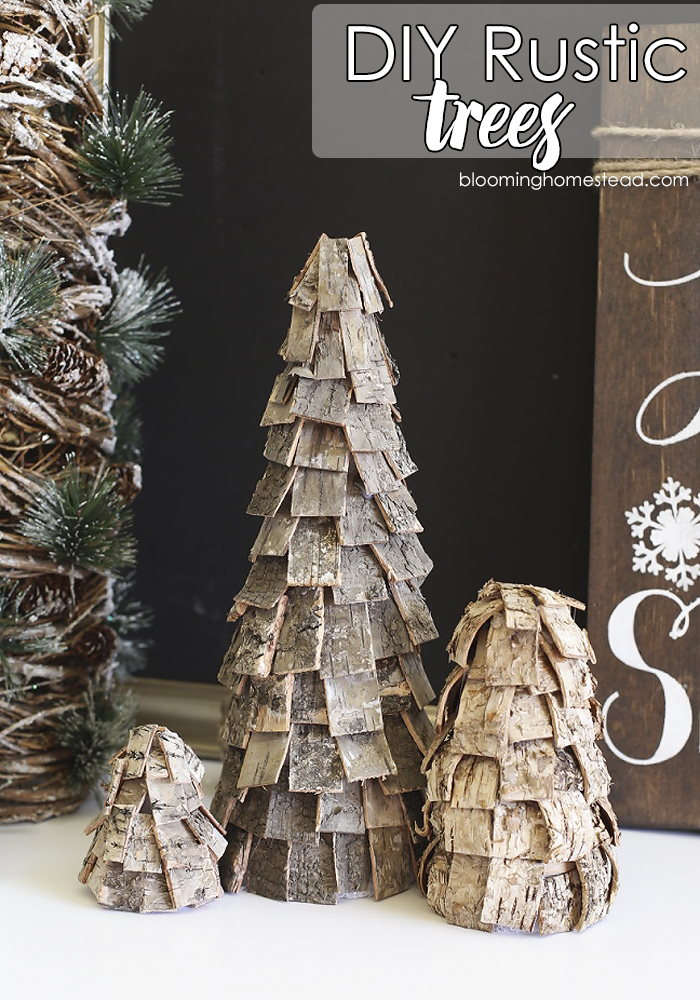
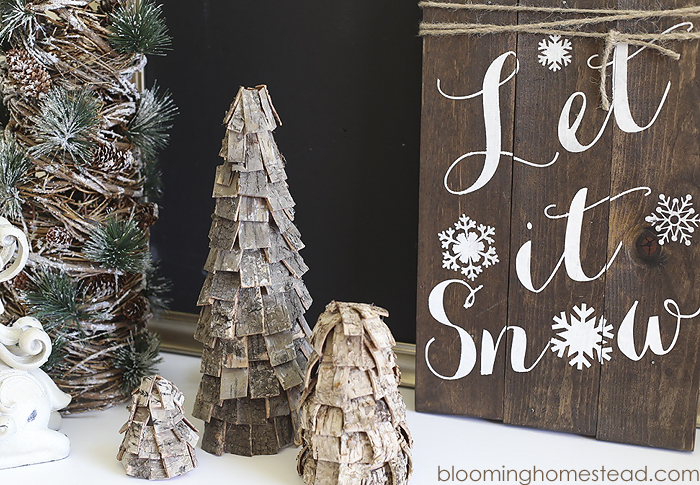
Can I just say that I am quite giddy about todays post? I have been slowly pulling out my Christmas decor and as I’ve adapted some of my old decor to fit the new house I’ve also been excited to create some new things as well. These DIY Birch Bark Trees are my latest project and can I just say that I LOVE how they turned out.
I found my inspiration browsing the Make It:Fun® Holiday E-book that is full of fabulous Christmas crafts and decorating ideas. The fringe trees inspired me to create my own diy trees and after finding this birch bark in the craft store I knew exactly how I would make these cute DIY Rustic Trees and today I’ll show you how to make your own.
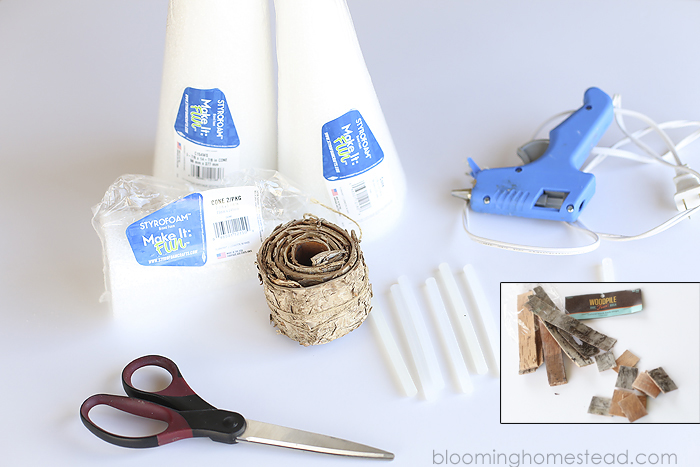
Supplies:
- FloraCraft® Make It:Fun® Foam Cones (I used 3 varying sizes)
- 1 roll birch bark (found at hobby lobby)
- 2 bags birch bark strips
- low temp hot glue gun
- scissors
- grey or birch-like paint (optional)
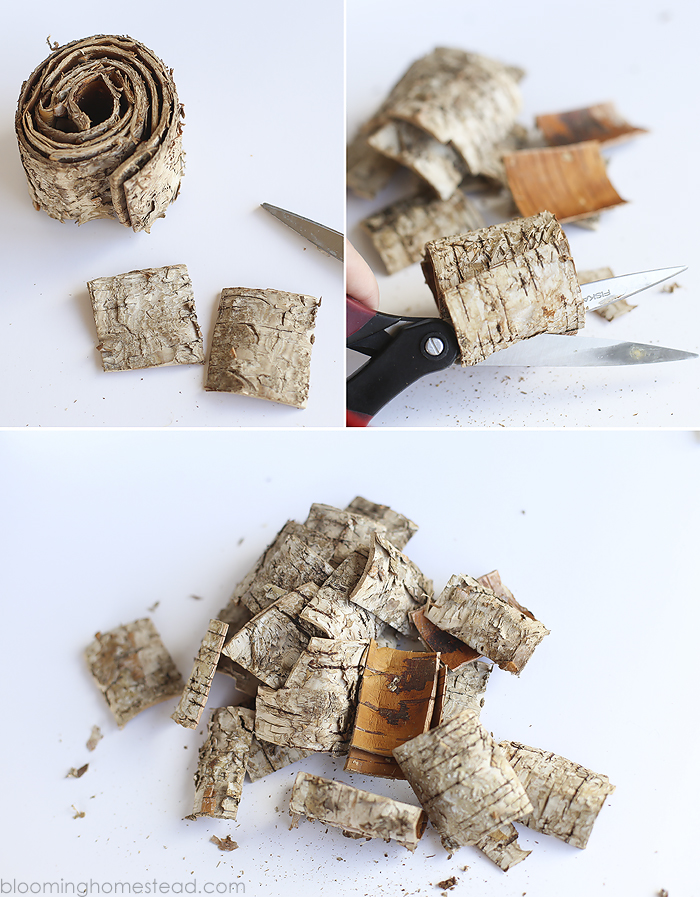
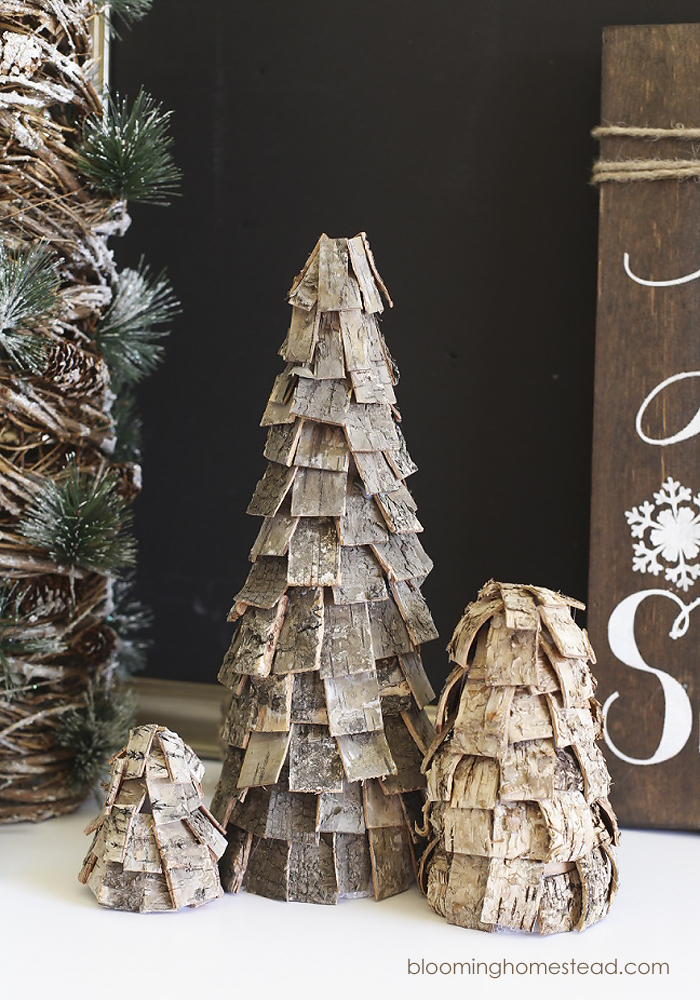
To start, I simply unrolled the roll of birch bark and cut it into pieces using my scissors. They were about 3/4″ by 1/2″. Some of the thicker pieces took a little elbow grease but they all cut through with scissors. I also used the birch bark strips cut into pieces and they were a little easier to glue on because they didn’t curve like the birch roll did. However, I think they both added fun dimension and color so I decided to use both!
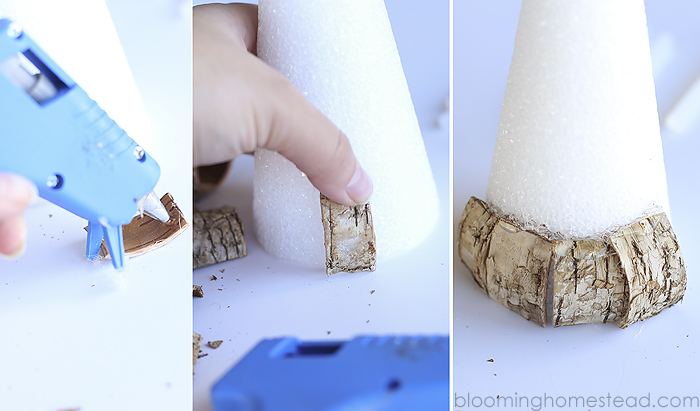
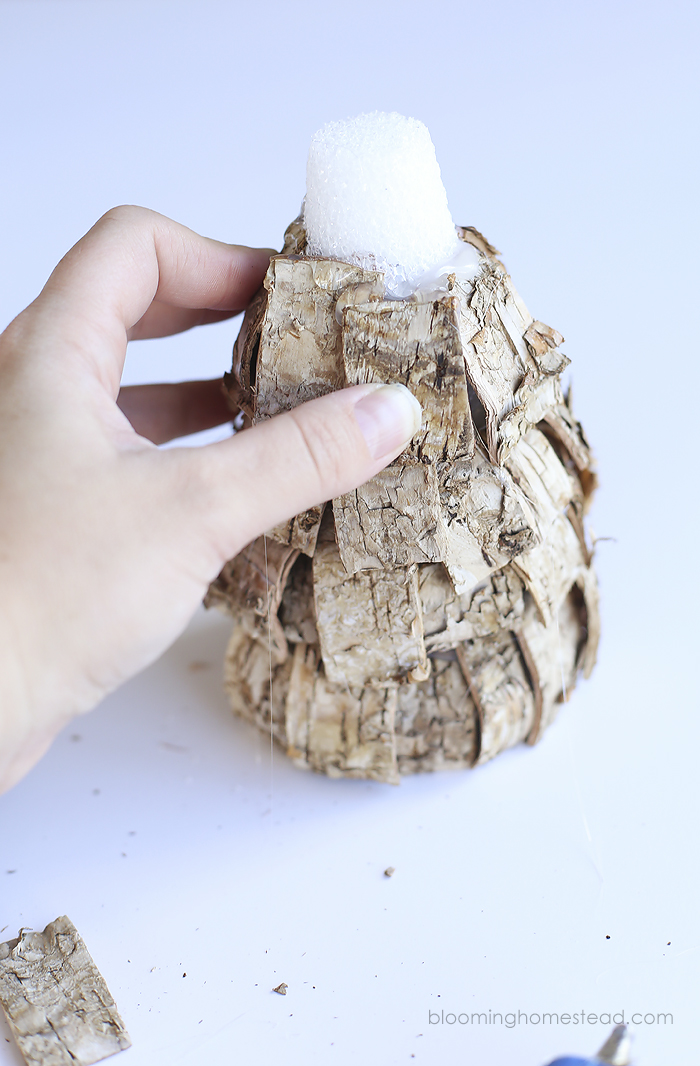
Once you have all your pieces cut you’ll start gluing them onto the foam starting at the bottom. (Optional: Before you start gluing on the birch, you can paint your foam a similar color so that if it shows through you won’t see it as much. I didn’t do this and you can’t really tell but I overlapped the pieces generously to prevent this.) You’ll layer the wood bark on in a “shingle” type pattern overlapping as you go to cover the foam. This can be a slow process because you may need to hold pieces in place as the glue dries to make sure it stays put.
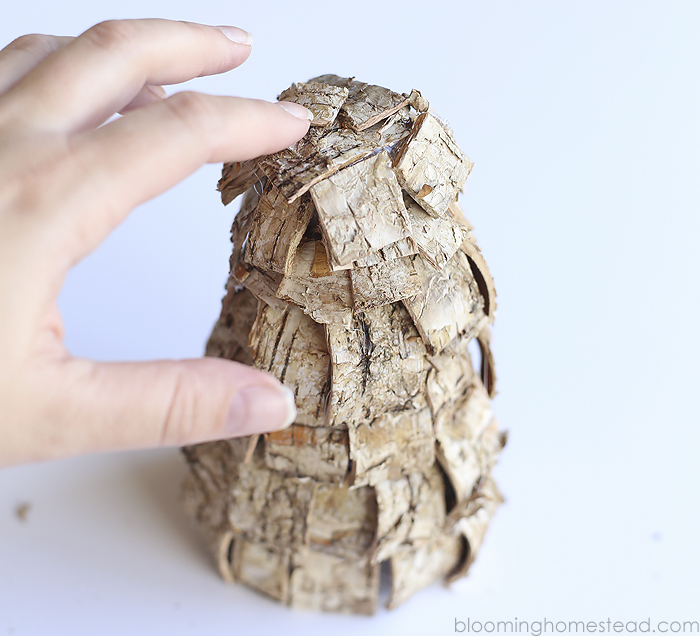
Start moving around and up the tree.
When you get to the top, secure the pieces around the top of the cone. This is just trial and error to get it to look right and stay secure. I used several smaller overlapping pieces.
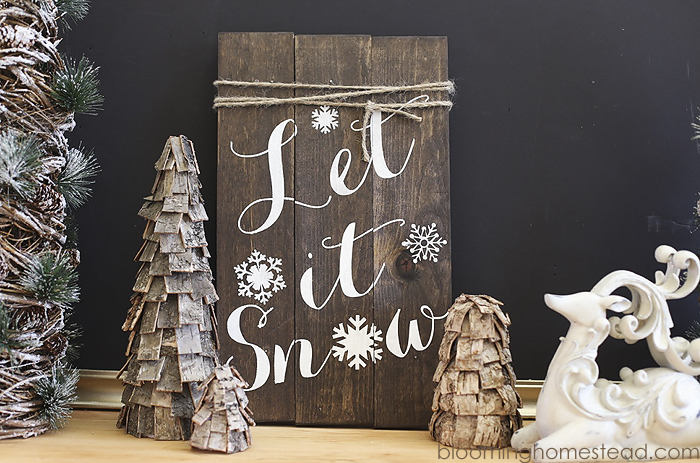
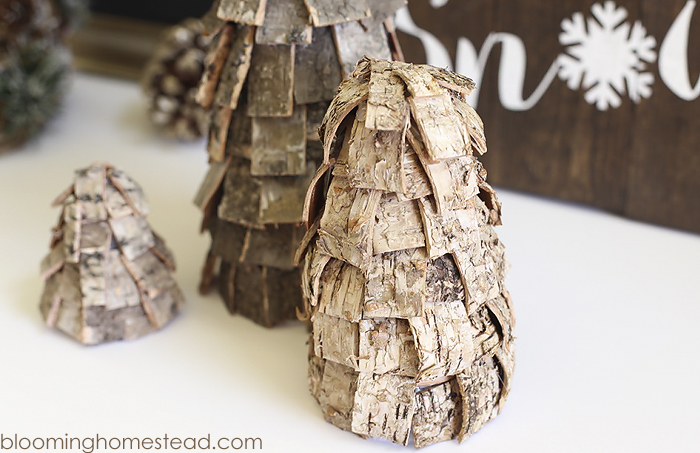
Let it dry completely and you’ve got a simple and beautiful rustic trees for your holiday decor. These are just lovely and could be left up all winter (or year!)
Oh these just make me so happy, aren’t they the cutest?
Be sure to check out the Make It:Fun® holiday e-book for more fun inspiration. There are so many great ideas to put your own spin on this holiday season.


These are beautiful! I will have to look for the birch bark next time I’m in Hobby Lobby. Thank you!
Thanks so much Sharon, yes I want to go buy more. 🙂
I bought a roll at hobby lobby to put around a larger jar. But it feels like it will break if I un roll it. I cannot find any instruction to do so, have been looking for an hour and going blind. Have you done it, or do you know how? I could use any help. I do love the trees and will try them next.
Mary
Notary1pd@verizon.net
Yeah, the roll is hard to separate and I don’t think it would wrap around the jar. I cut mine up for these trees. I wonder if you soak it in water to soften it and make it more pliable?
I love this idea. It would be fun to add a little faux snow to the tips and a little white glitter for a real snowy effect. We don’t get much winter in California. So anytime I can add snow I’m all for it.
Oh Debbie, that would be SO cute! I might have to try that.
These trees are fabulous! This is definitely getting pinned.
Thank you so much for sharing!
Thanks so much!
Love this idea- I didn’t even know you could buy little rolls of bark. Super cute!