This is a sponsored post written by me on behalf of Huggies®. As always, all opinions are my own.
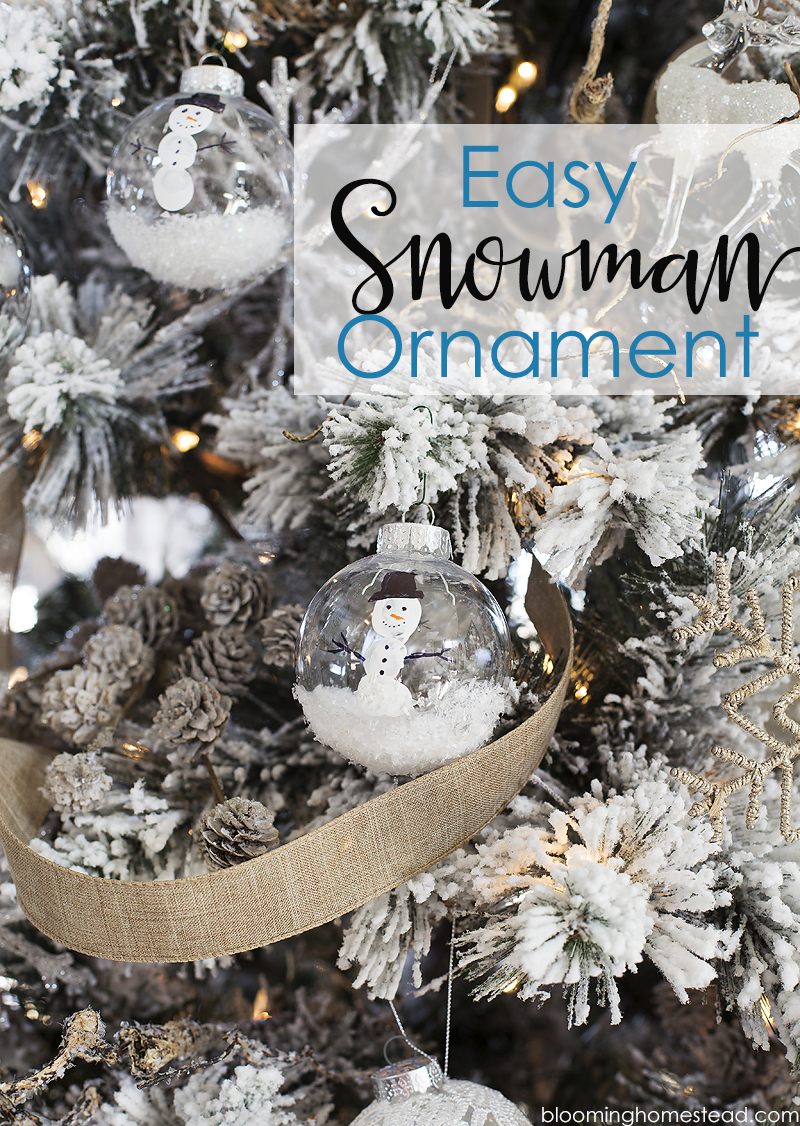
Today we’ve got a super cute and fun holiday project to share with you. Not only are these DIY Snowman Ornaments fun to make for kids of all ages, but they are also perfect gifts and can be customized to fit each child’s personality. Let’s get started!
Here are the supplies you need to make your own DIY Snowman Ornament:
- clear plastic ornaments (You can use any color but we chose to go with clear)
- white acrylic craft paint
- tacky crafting glue
- loose faux snow
- black and orange sharpies
- Huggies® Wipes
- paper plate and bowl
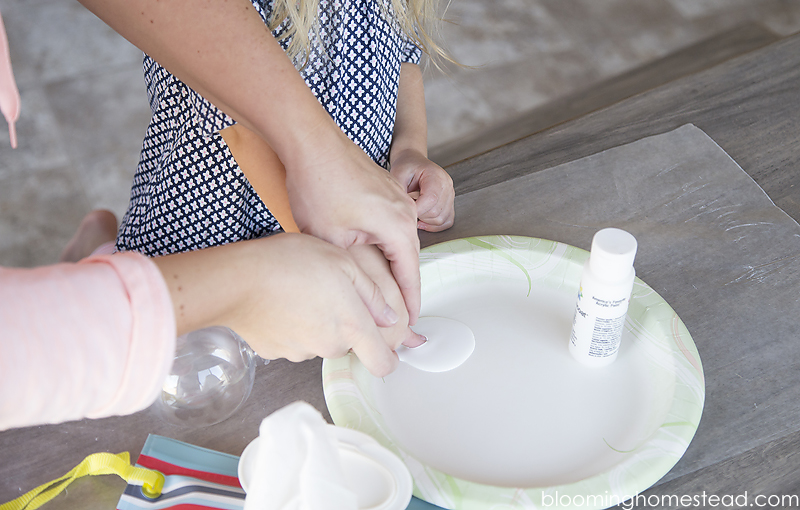
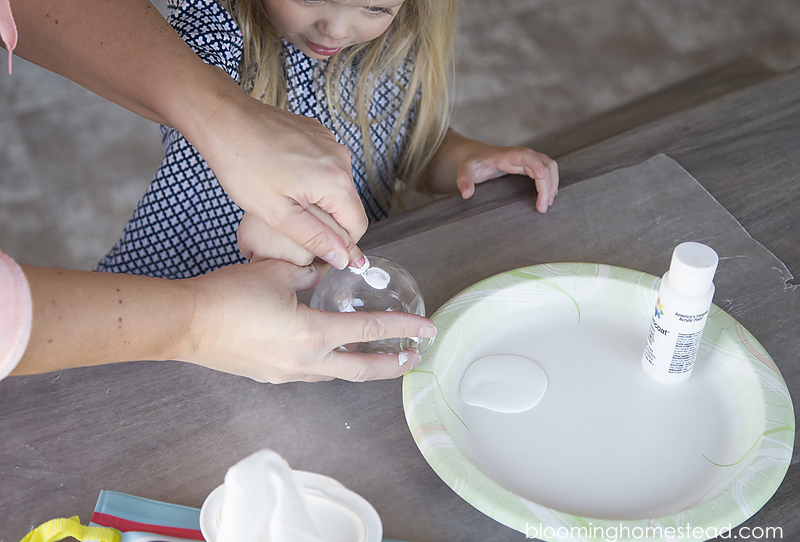
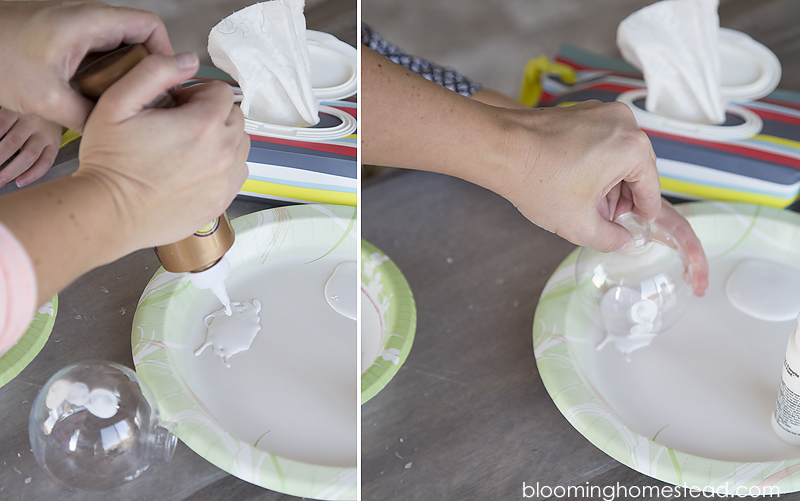
Step 1: You’ll start by squeezing out a bit of paint onto a plate. Next you’ll dip your thumb into the paint and tap once on the plate to remove the excess. (This will help the thumbprint show through on the ornament). If you are working with younger kids you will probably have to help them dip their thumbs into the paint.
Apply 3 thumbprints down the front of your ornament. Set the ornament aside to dry.
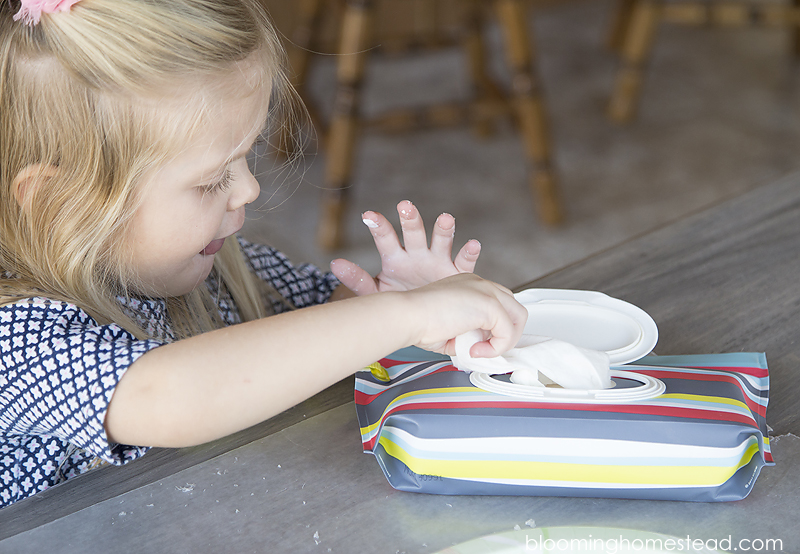
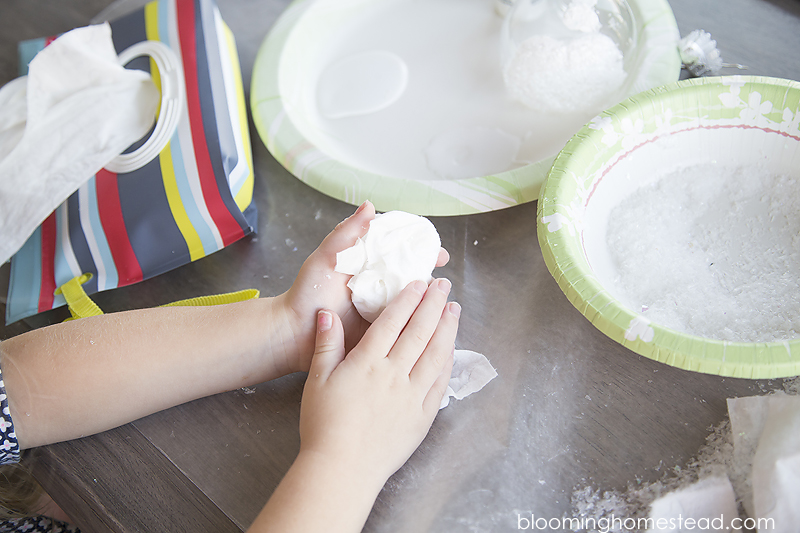
Be sure to keep your Huggies® Wipes handy so that you can easily clean off those paint covered thumbs or you might end up with thumbprints all over your house!
Step 2: Next you’ll squeeze out some tacky glue onto the plate and dip the underside of the ornament in it.
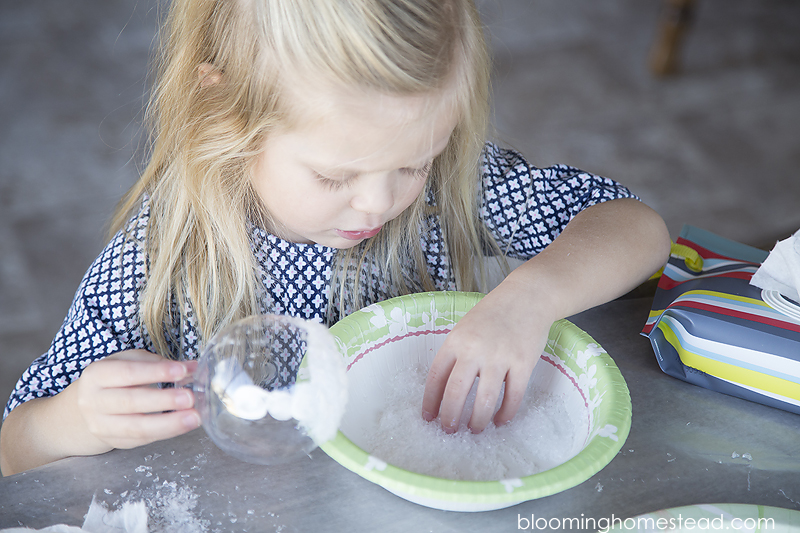
Now you dip it into a bowl filled with the loose faux snow. Use you hands to make sure all the glue is covered with the snow.
This can get quite messy, but once you have the bottom of the ornament covered you can shake it to remove excess flakes. Se the ornaments aside for the glue to dry. Once again you’ll use the Huggies® Wipes to wipe off hands and clean off the table (otherwise the faux snow gets everywhere). Keeping these wipes on hand really makes clean up a breeze and the kids can easily grab them when they need to clean up their hands or work surface. It’s fun to craft with the kids but teaching them to manage the mess makes it so much better and I love that Huggies® Wipes are strong enough to handle messes, yet gentle on skin.
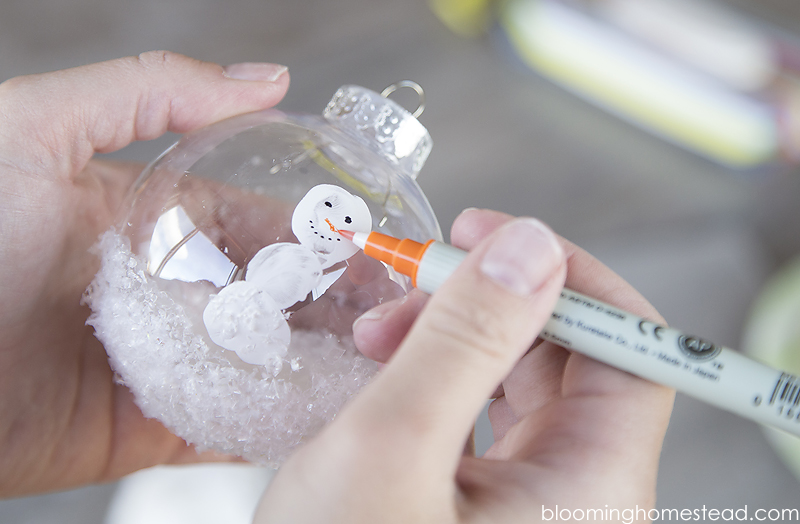
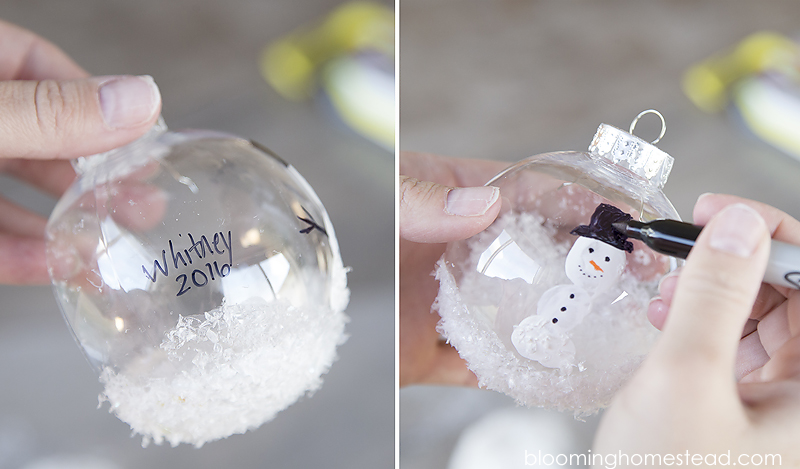
Step 3: After you’ve cleaned up and the ornaments are dry, you’ll add the finishing touches by drawing on the carrot nose, mouth, eyes, and buttons to your snowman. We decided to draw on little top hats as well.
Be sure to add names and dates.
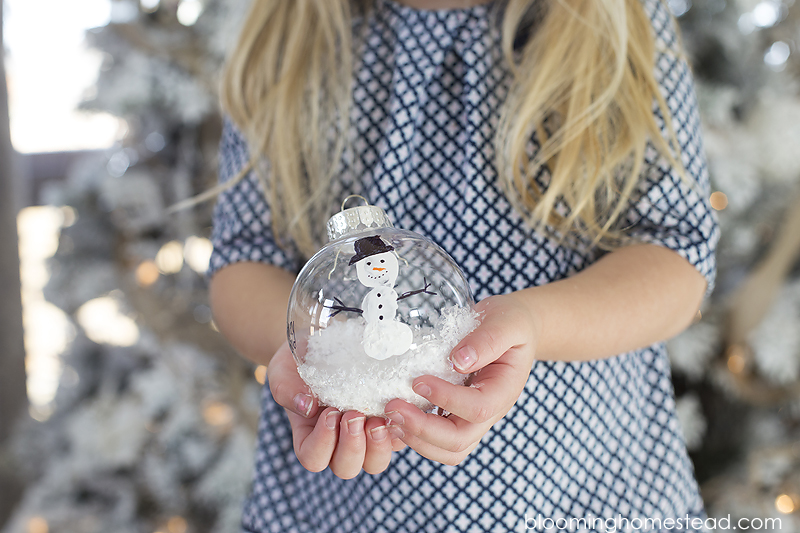
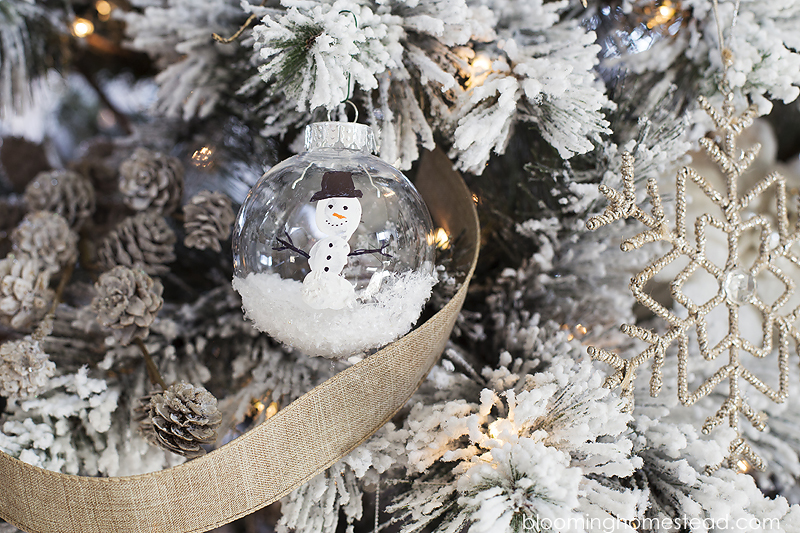
That’s it, super cute DIY Snowman Ornaments!
Visit the Huggies® website and join the Huggies® social media sweepstakes here by posting an image of your messy kid to Twitter or Instagram with the hashtag #HugTheMessSweepstakes for your chance to win $2,500
Check out our other kid-friendly activities below!




Leave a Reply