This post is brought to you by ConsumerCrafts.com. The tutorial and opinions are my own!
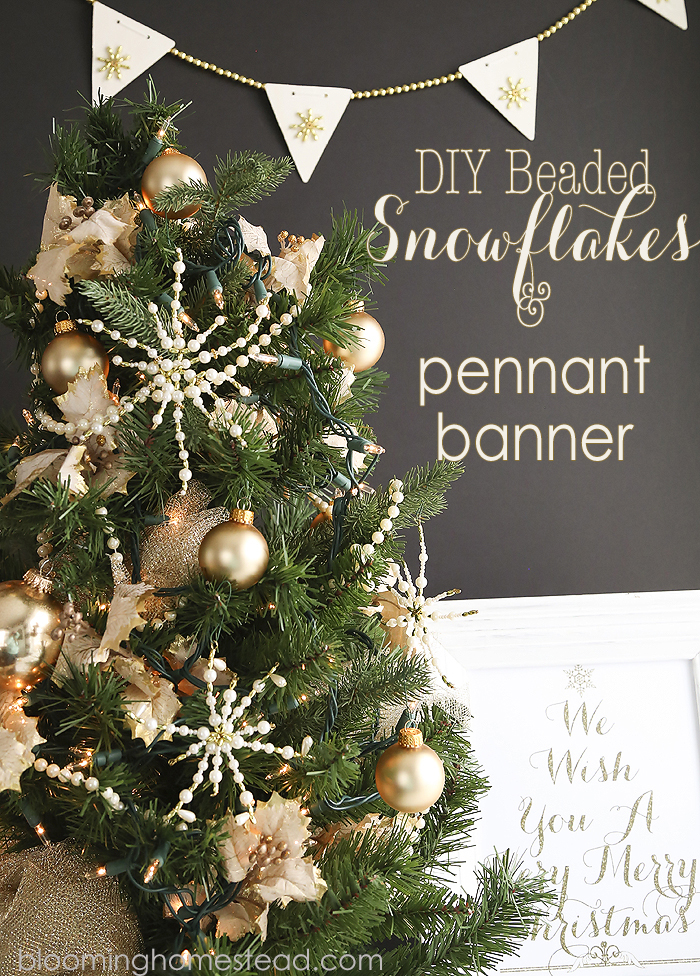
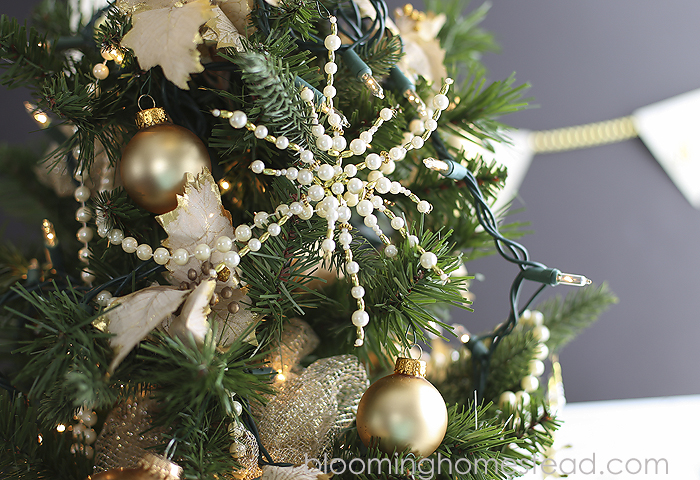
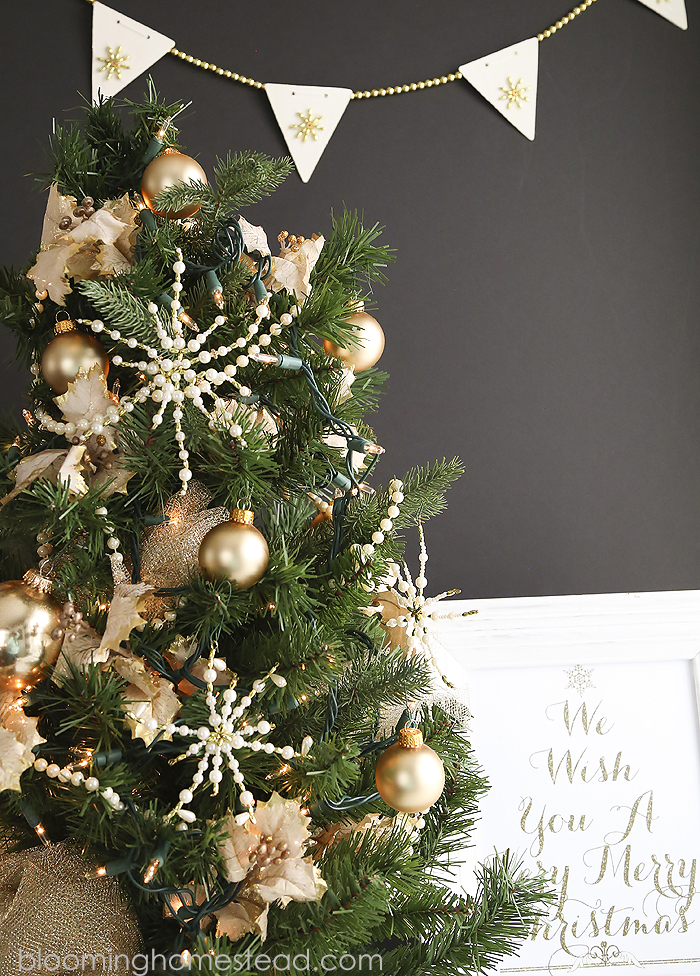
Last week I gave a teaser about a project I was working on and today I’m here to share it along with a giveaway for a Cricut Expore Machine! I was so excited about these DIY Beaded Snowflakes and pennant banner. They combine two of my favorite things in my holiday decorating right now gold and pearls! For a total jewelry novice, these were actually super easy and I think they turned out quite adorable. They do take some time, so these are the perfect craft to work on while kicking back watching your favorite movie.
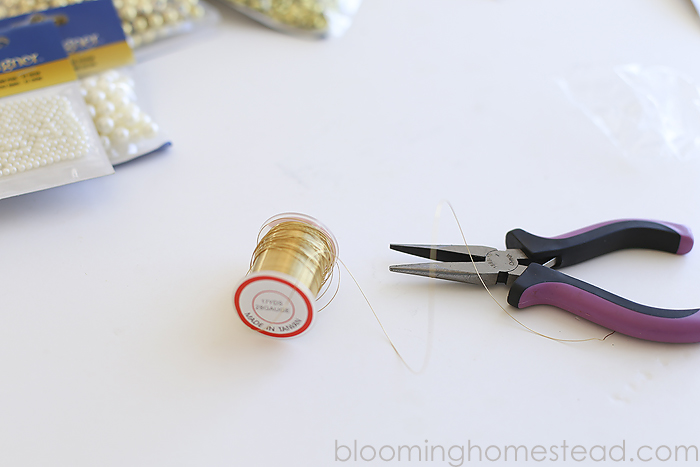
Here are the supplies you’ll need to make the DIY Beaded Snowflake:
Ivory Round Cultura Pearls 8mm | Cream Cultura Pearls 6mm | Cream Cultura Pearls 3mm | Cream Teardrop Pearls | 3x6mm Gold Plated Oval Beads | 7mm Spacer Bead Wheels | 28 Guage Craft Wire | 5″ Flat Nose Pliers
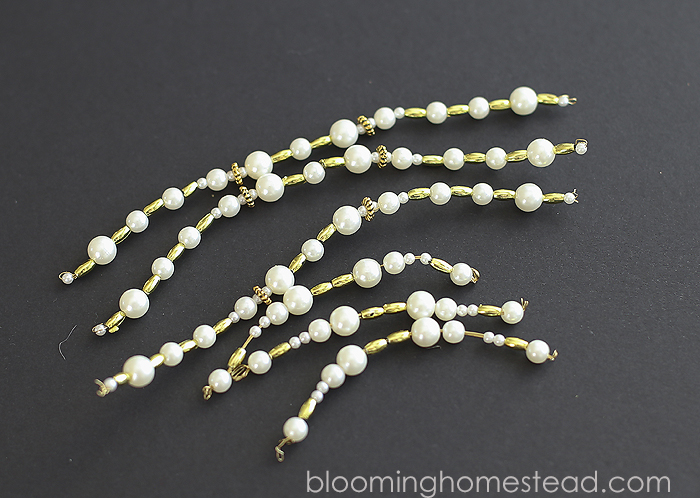
To start, cut a length of wire and start adding the beads and pearls. (I ended up using 3-4 wires together to make them stiffer because I picked the thinner gauge wire. Like I said…jewelry novice here! I would recommend picking out a sturdier wire if possible so it holds its shape better). Use the pliers to help hold the beads and place them on the wire. These really help the beads not fly off everywhere, I have clumsy fingers so these were a must for me.
You can use any pattern you want, I just played around with to get a style I liked. That’s why I love these, they are totally customizable and individual!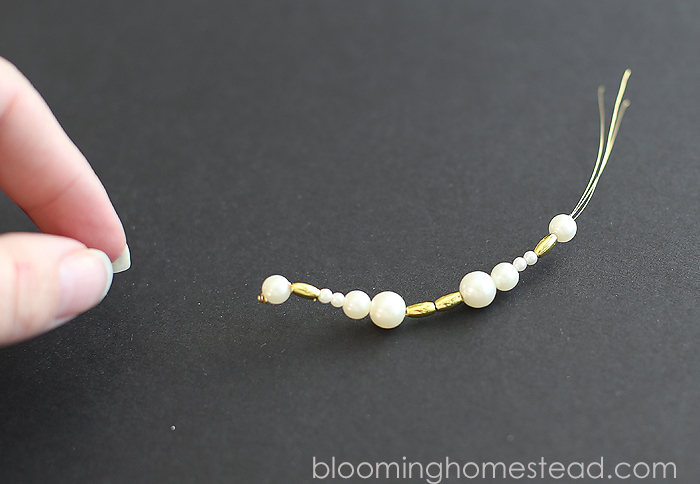
When you get close to the end you can close the wire by twisting it around itself and use the pliers to tuck it down into the last bead. I chose to leave a bit of extra length with the wire so there would be some extra for twisting the beads together.
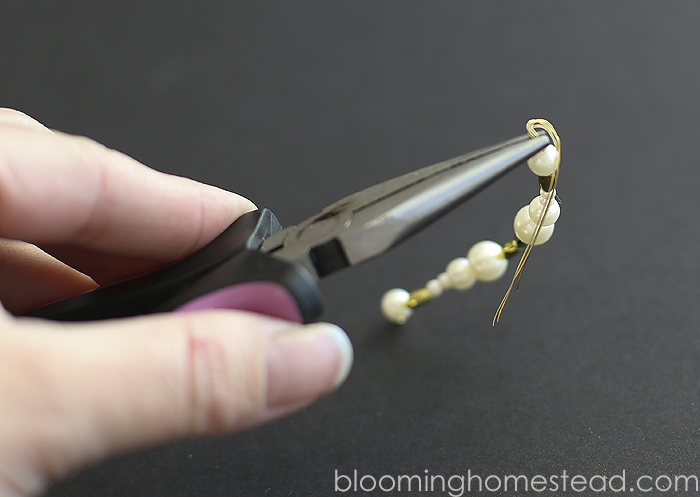
You’ll want to repeat this process several times. I chose to make 3 longer (4.5″) and 3 shorter at around 2.5″.
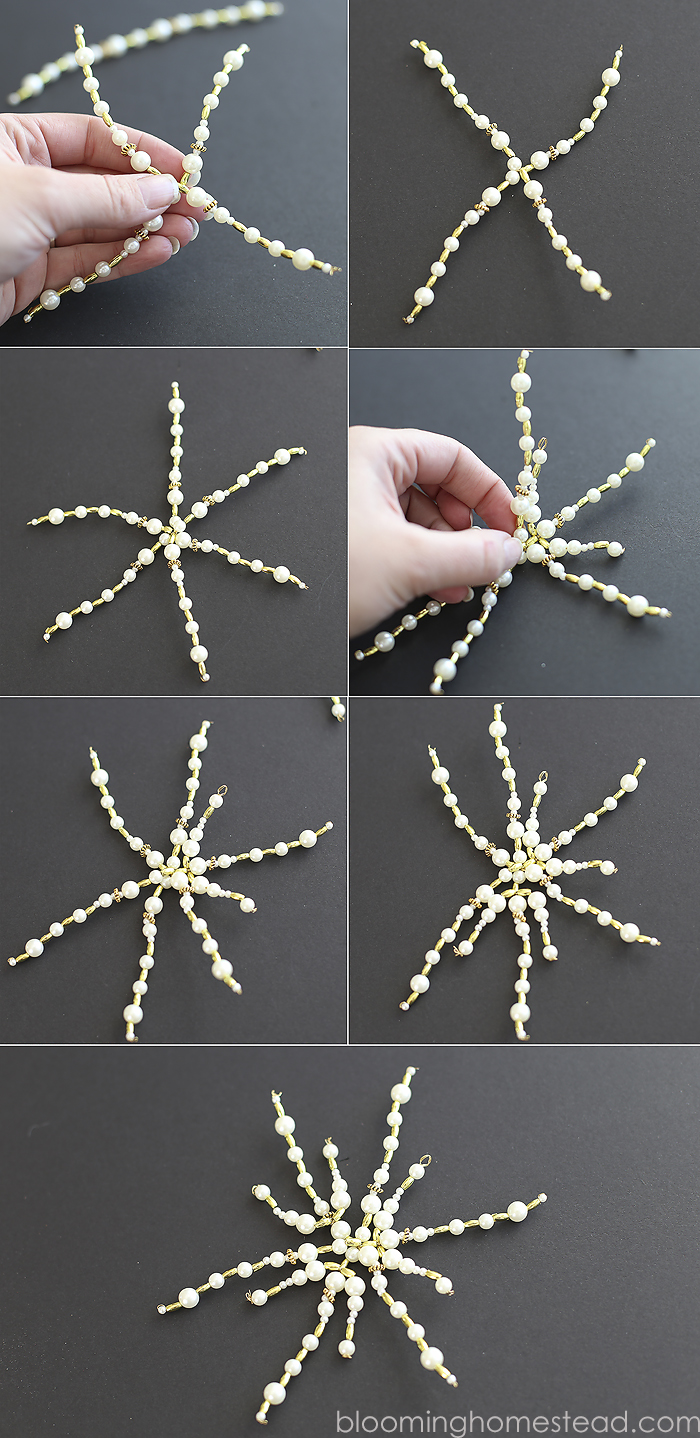
Now you’ll start twisting them together in the center attaching them in a snowflake pattern. Start with the longer strands. After you have the longer strands hooked together you twist on the smaller strands to accent the interior of the snowflake.
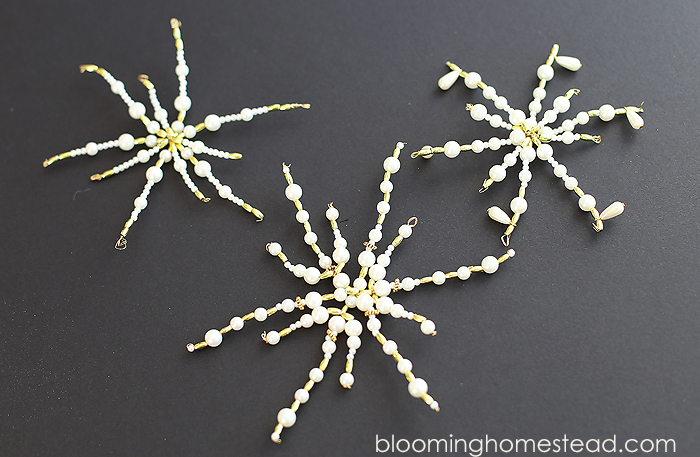
You can make several variations. I loved using the teardrop beads, it added such a fun touch.
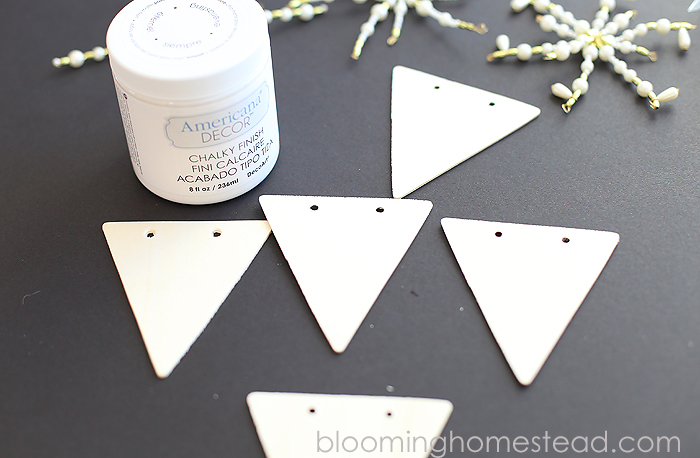
To make the DIY Snowflake Banner you’ll need:
Wooden Pennants | Chalk Paint | 3x6mm Oval Gold Beads | Heavy Duty Craft Glue Gun | 8 mm Metallic gold Beads | White string
Start by painting your pennants.
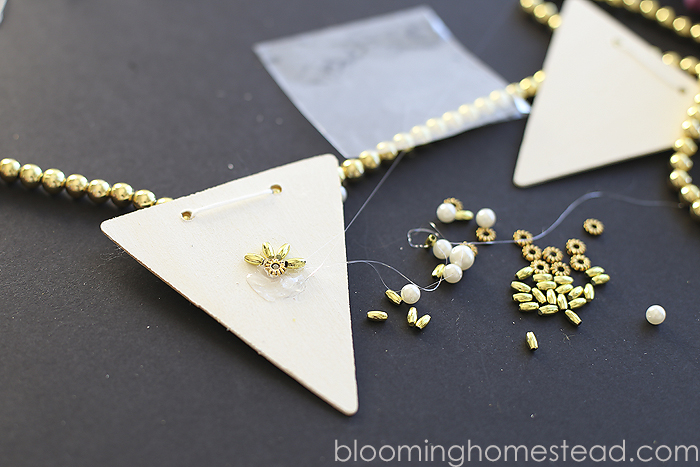
When they are dry you’ll start hot gluing on the oval gold beads in a snowflake pattern. Cut 3 foot length of string, start adding on the metallic gold beads and placing the pennant banners down as you go.
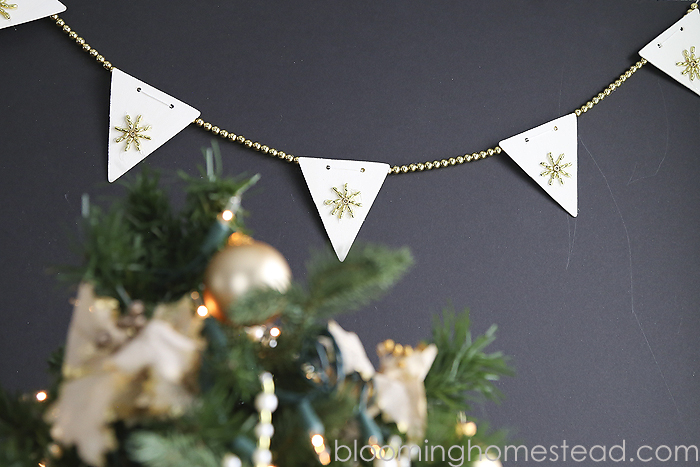
And thats the finished banner.
These were fun and easy, although they were a little time consuming…but the final product made it all worth it! Such a fun addition to my holiday decor. Now how about a giveaway? ConsumerCrafts.com is giving away a Cricut Explore! Be sure to check them out on facebook, twitter, pinterest, and instagram for the latest deals!
a Rafflecopter giveaway
I’d love for you to check out some of my other gorgeous pearl projects:
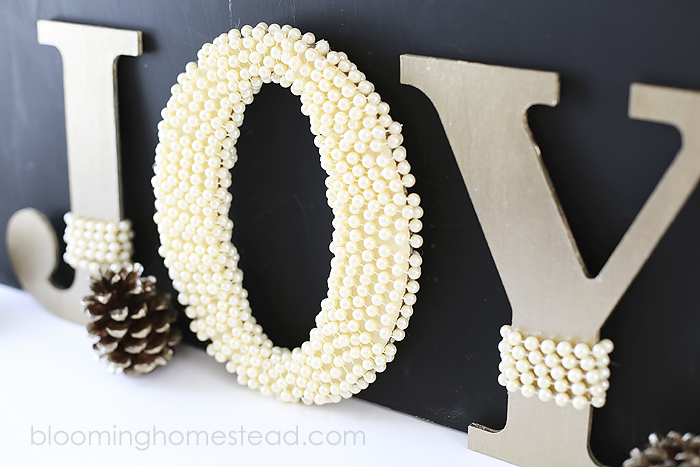
JOY Letters
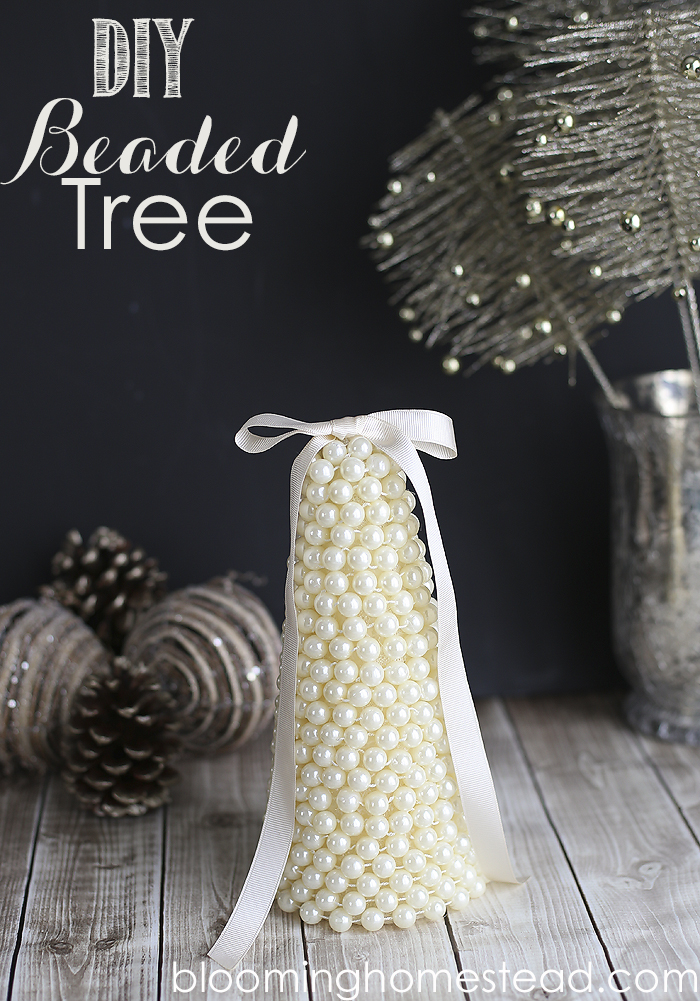
Pearl Tree
I link to these parties here.



Love your beaded things! You always do such a fantastic job.
Thanks so much Christina!
I would love to make a new typography type sign for my daughter’s room.
Great idea Sally!
Love the beads wrapped around the letters. I’m willing to give this a try, but it might take me awhile. You always do pretty things. Have a nice Thanksgiving.
These snowflakes give off a nice, vintage look to them. Great idea. I think the Snowflake Banner is my favorite idea though. Beautiful themed decor post.
I would love to make some signs for The World’s Ugliest Laundry Room, which just happens to be in my basement.
I love the two tutorials in one post. your snowflakes are so pretty and classy.
Thanks so much Heather!
You always have such beautiful projects. I am constantly amazed and inspired! You’re being featured at Outside {the Box}!
Stunning! The beaded snowflakes are so glitzy!
I would finally get the scrapbook for my father completed with a Cricut to make the embellishments and features I can’t do now.
Thank you for sharing!