Thank you to FloraCraft® for sponsoring this post, all ideas and opinions are my own!
Have I got the cutest little project for you today. Ever have one of those ideas floating around in your head and you just know it will turn out perfect? That is how my DIY Faux Concrete Pallet Planter started. Oh friends, let me just tell you, I ran into a snag or two but I am so pleased with the finished product. Isn’t it lovely?
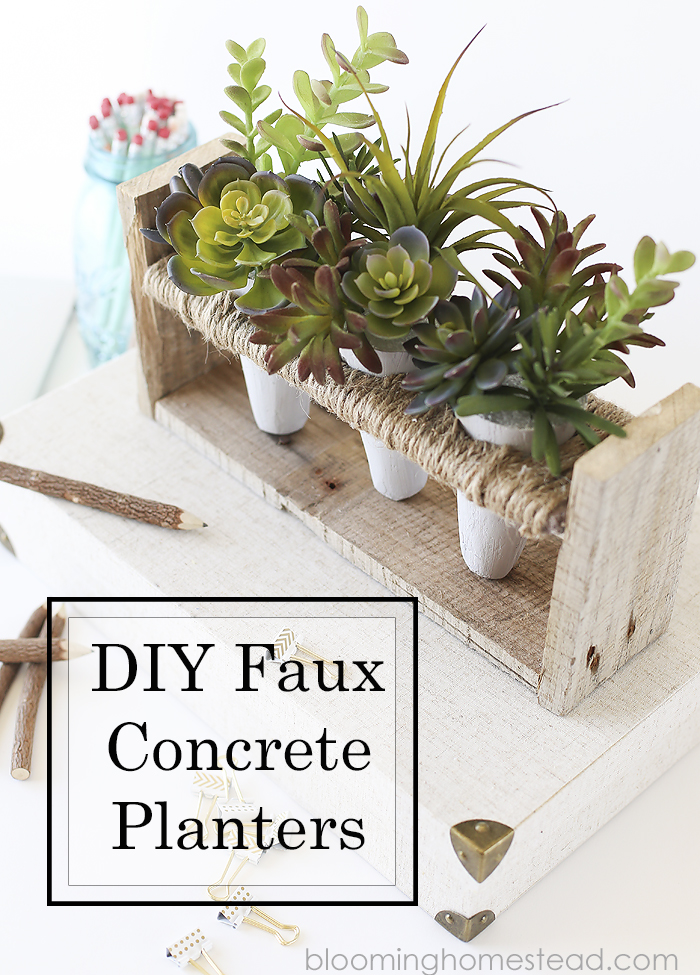
So this summer I have been spending time staring at my desk while watching the kids play. It was a sad sight indeed. I purchased my beautiful desk from ballard designs last fall and so far it has just sat there with my laptop and a pile of random papers and toys stacked on top. It was driving me crazy and I wanted to style my desk to inspire my creativity while working. The problem I have been facing was coming up with a pretty design that reflects my design personality, but also complements the space. Unfortunately I don’t have a private office or craft room, my office nook resides in our newly finished room above our garage (oh the dormers!! Gorgeous!) and also serves as a general hang out family space so I didn’t want to put up a flashing marquee that says “Create”or some other fabulous crafty saying…okay I really do but I know it just wouldn’t look quite right. 🙂 Anyways, long story short…I had a vision. That vision included a lovely faux concrete geometric planter with pallet wood and succulents. Kind of a rustic, industrial, modern design. (I know, exactly…I make little sense).
Here are the supplies I used to create this fun faux concrete planter:
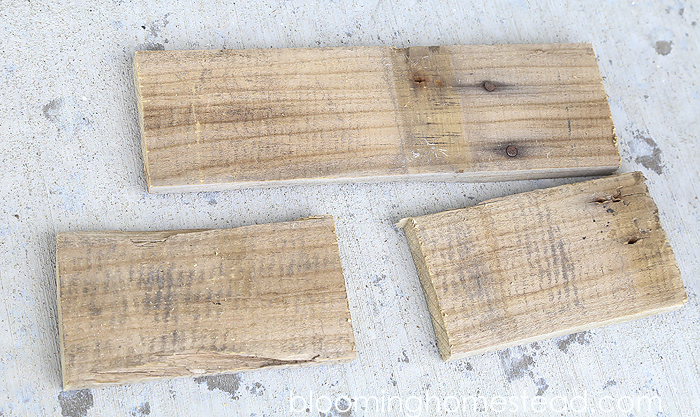
- pallet wood strip cut into 1-11″ length, and 2-6″ lengths
- Piece of FloraCraft® Make it: Fun® Foam 1/2″ thick cut to size of the 11″ wood strip
- finishing nails
- Jute
- FloraCraft® Make it: Fun® Foam Cones
- Design it:® Simple Style® Succulent Picks
- FloraCraft® Make It: Fun® Foam Cutter
- Chalky Finish Paint in Yesteryear and Everlasting
- paint brushes
- scissors
I immediately went out to the garage, grabbed a piece of pallet wood from my stash, and cut out my base, sides, and top, of my planter. I then carefully took my foam cones and traced out the circle sizes I would need cut.
I got to work transforming these simple foam cones into lovely faux concrete planters starting with applying the FloraCraft Smooth Finish®.
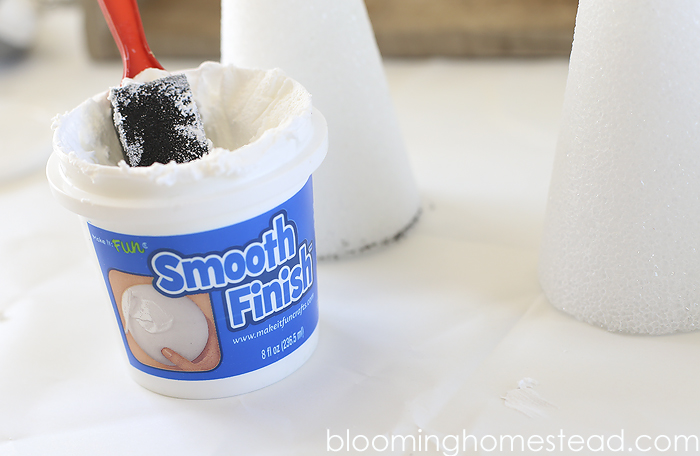
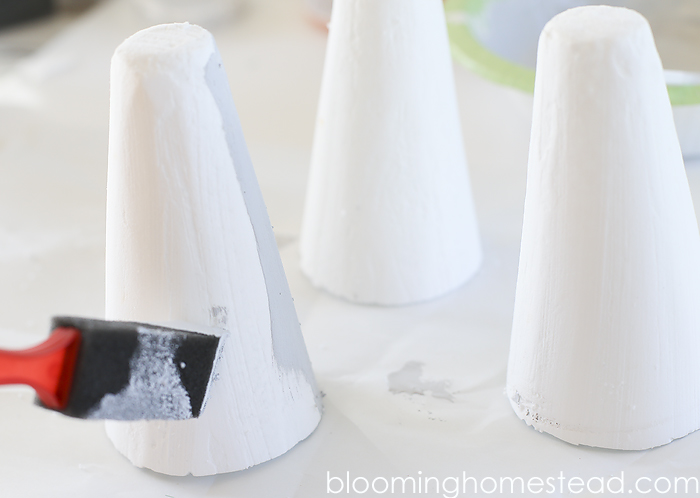
This stuff is magic guys! It feels like a cloud and totally changed the texture of the foam. It was pretty fabulous. Spreading it on immediatly gave my cones the texture of concrete. I let it dry, sanding down any areas that were a little too rough, and then got to painting. I used chalky finish paint by DecoArt in the colors yesteryear with a little everlasting.
While it was drying my husband walked in the door and I shoved placed my pallet top in his hands and said I need these circles cut out. He looked it over and then dashed my hopes by telling me we didn’t have the right kind of saw and there was no way he could cut those small circles on the pallet piece without it breaking. I was bummed, there goes my design! After having a 3 minute pity party, I did what any diy blogger would do, I improvised. 🙂 I went to my crafting supplies and found a piece of 1/2 foam from my diy sunburst mirror project. I cut it to the size of the bottom wood peice and traced out the circles.
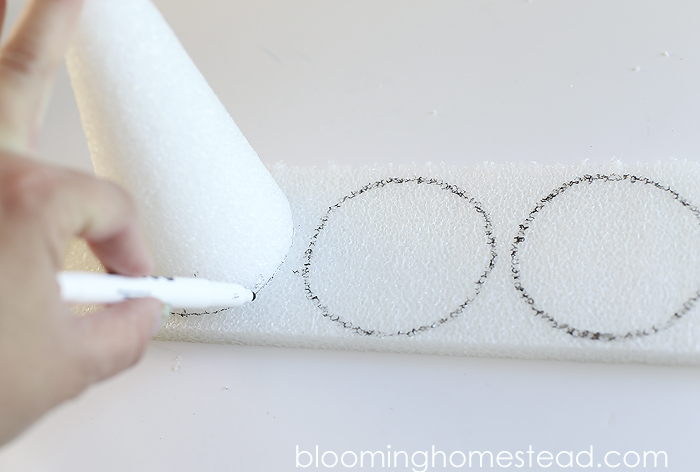
Now, I know my initial vision included pallet wood as the entire base but this foam actually worked perfectly. I used the foam cutter to cut out the circles easily, then I painted it a light brown color and decided to wrap it in jute. I made sure to hot glue the jute down to the sides and especially around the entire area around the circle cut outs.
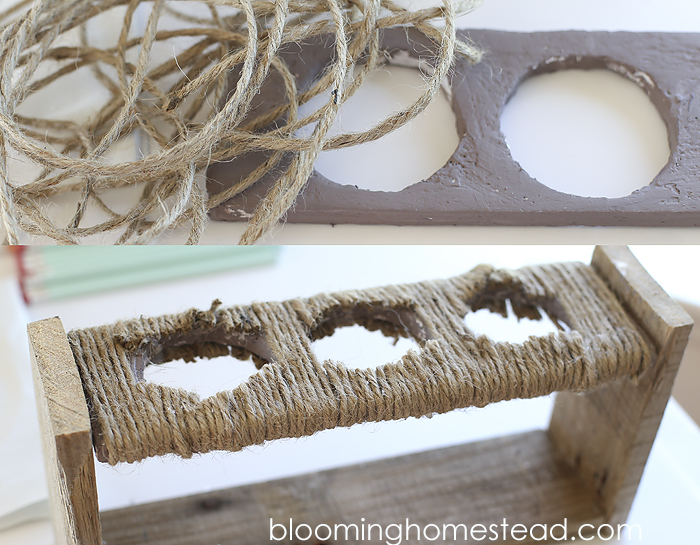
Next I grabbed scissors and trimmed out the inner area of the circle leaving it free to hold the cones. Yes, this was messy, yes it looks kind of ghetto, but once you load it up with succulents you won’t see that part 🙂 so no worries.
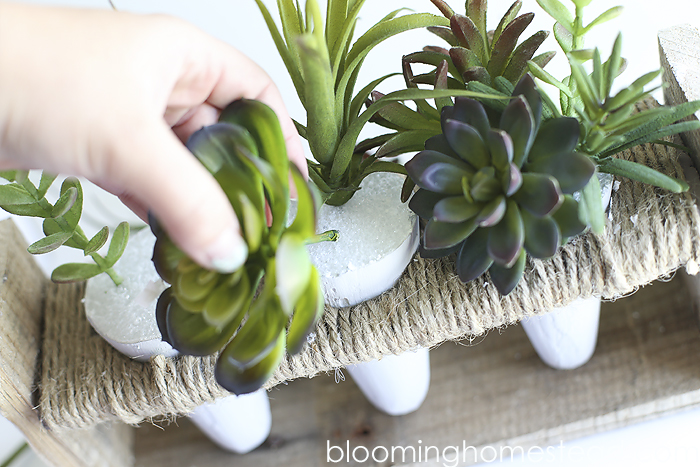
I trimmed the succulents and gently arranged them in the cone planters. 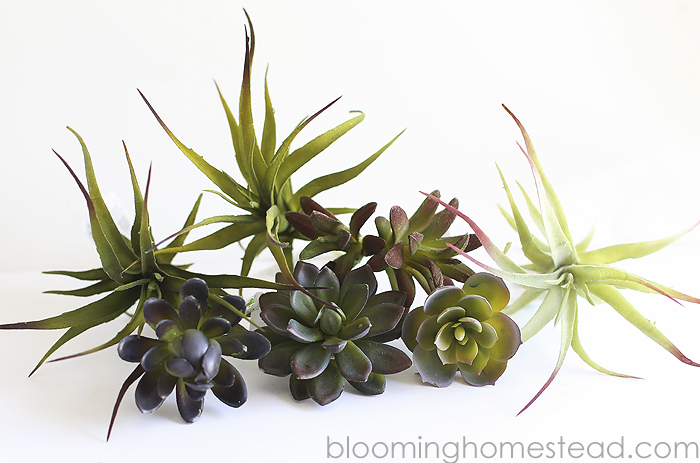
Here is the finished product…what do you think? I love how it turned out and am excited to finish up the rest of my office nook. Hooray for some good ole fashioned DIY!
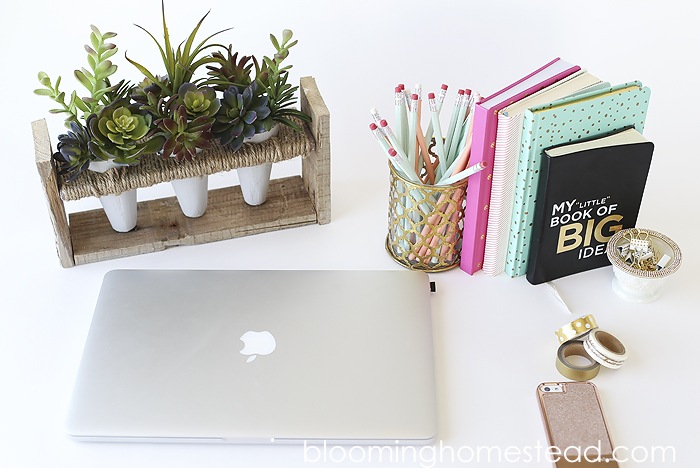
Want to see some of the other cool projects I’ve made using foam?
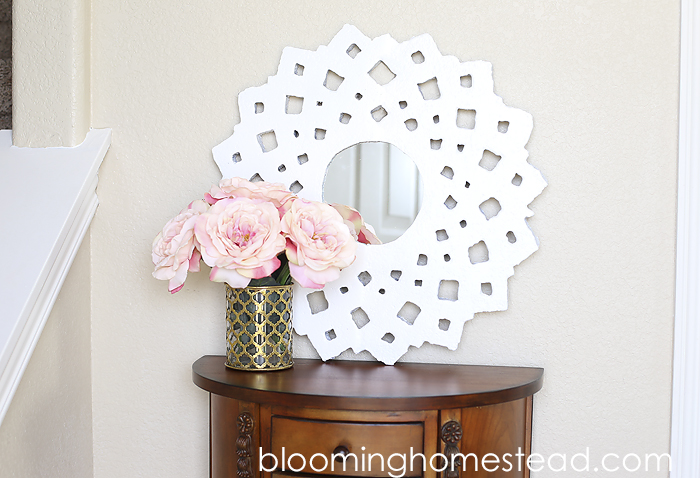
DIY Sunburst Mirror
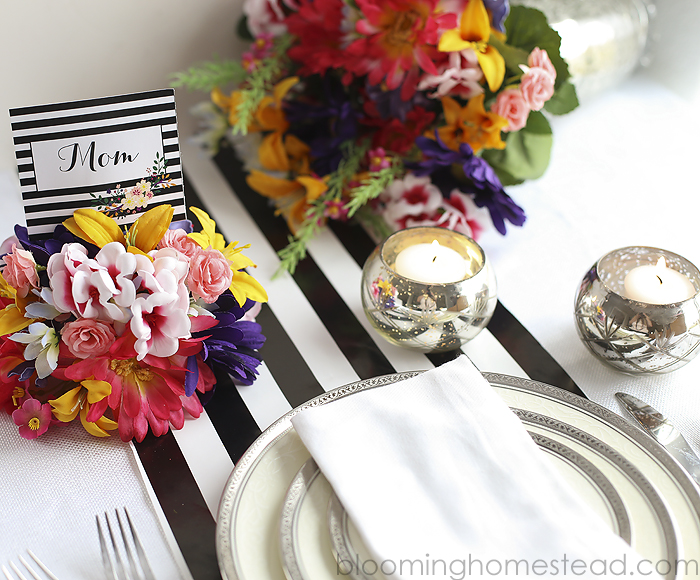
DIY Floral Placecard Holders
I link to these parties here.



Beautiful! I’d love to have that on my desk. Genius solution for the top, too. Thank you!
Beautiful!
Thanks so much Ginger!
I love your solution for the top! So smart!
Thanks so much Alexis