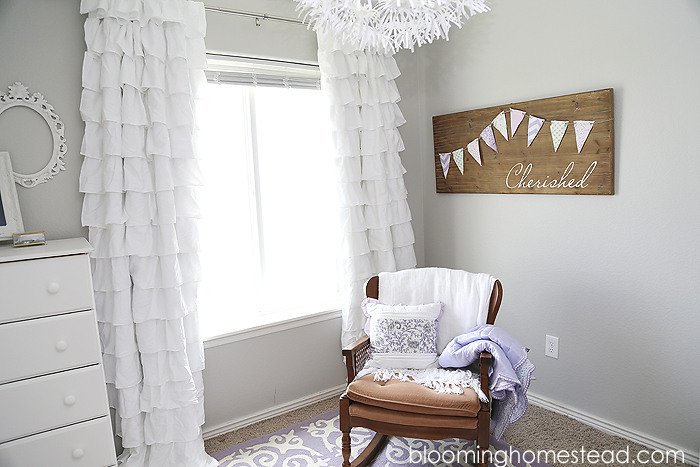
This DIY Wood Sign I made for my daughter’s nursery is one of my most favorite projects ever. I found the wood base on clearance at Hobby Lobby and knew I had to have it. I was waiting for the perfect project and when I found out I was expecting I knew it would be the perfect fit. It took some brainstorming to plan exactly what I wanted it to look like. I thought of a lot of sayings, but in the end this one word summed up our precious baby girl, “Cherished”. 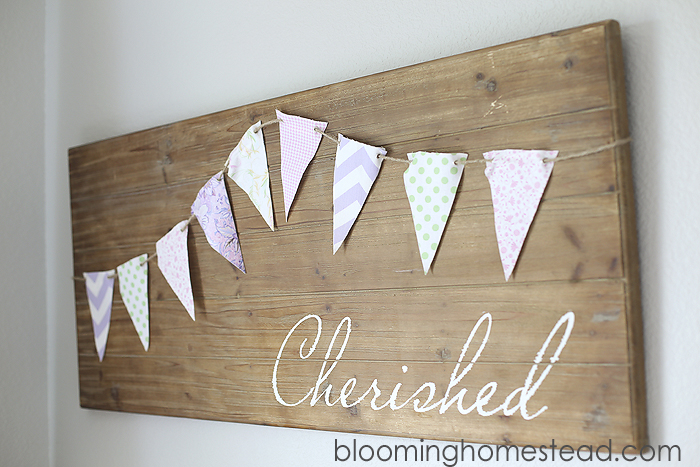
This DIY Wood Sign just adds the right touch to her nursery and it was simple to make. 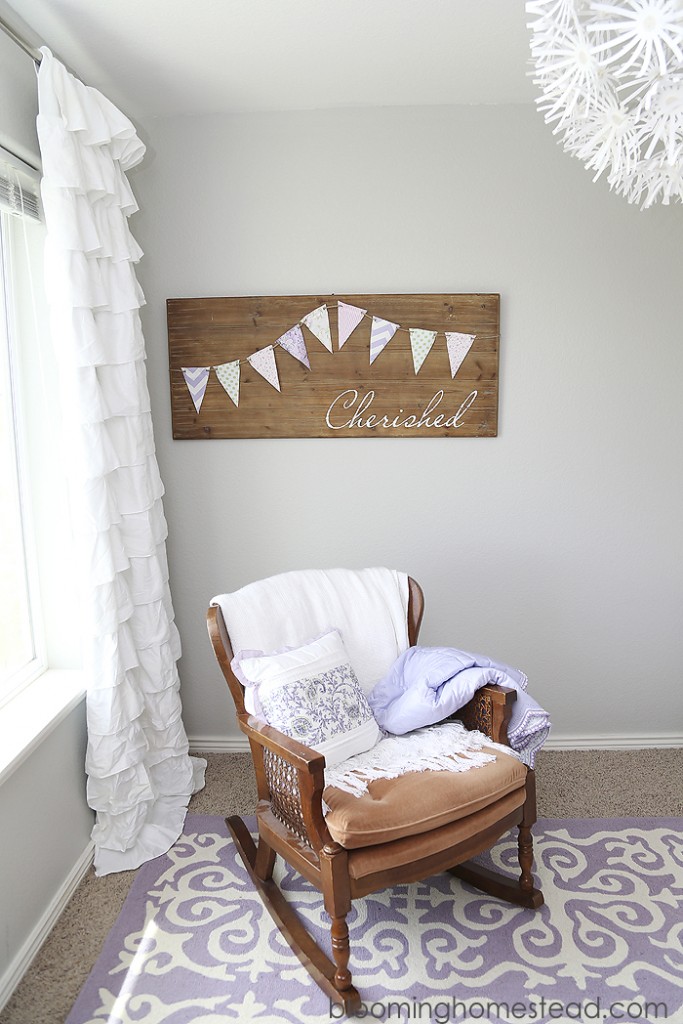
SUPPLIES:
- Board
- Paint and brush or sponge
- Stencil or craft cutter (unless you’re talented enough to freehand!)
- Pennant Banner (Tutorial Below!)
First off you’ll want to prep whatever surface your using. My board was all ready to go so I cut out my stencil using my sillouette. Using the vinyl stencil I adhered it to the board and gently painted on my wording. I removed the vinyl stencil while the paint was still drying so it wouldn’t peel up. 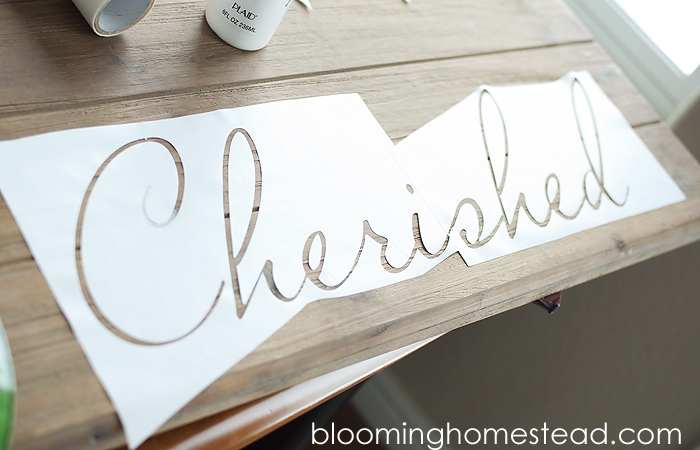
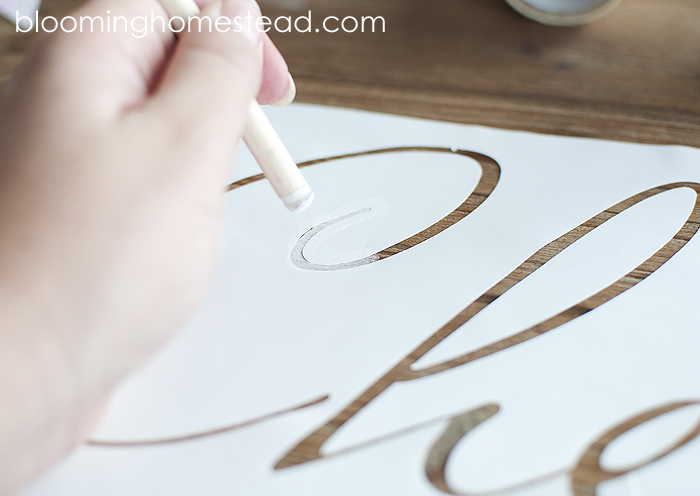
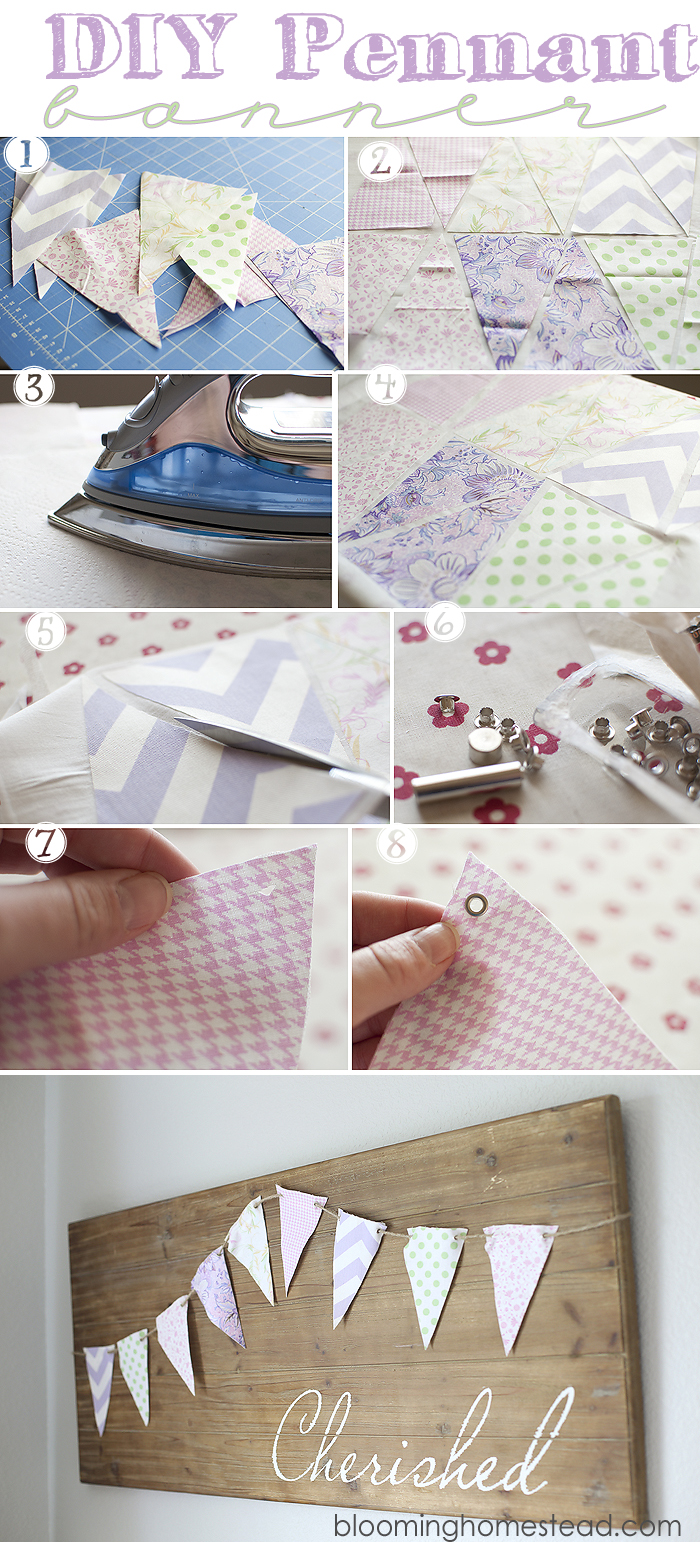
While it was drying I went to work on the pennant bunting. Here are the supplies you’ll need and how to go about it.
SUPPLIES:
- fabric
- fusible interfacing
- eyelet kit
- jute
- iron
- Cut your various fabrics into the pennants
- Lay out your fusible interfacing with the fusible backing right side up. Next lay your pennants over top so you can iron them together.
- Iron the pennants and interfacing to bond. I used something to cover them so that my iron wouldn’t stick if it touched the exposed interfacing. It fused on as well, but peeled off since it was only in a few areas.
- Make sure that your pennants are securely fastened with the interfacing.
- Cut out your pennants.
- Gather your eyelet kit.
- Cut a small hole (smaller than the eyelet) where you will attach your eyelet.
- Using the tool in the eyelet kit, hammer down the eyelets into place. Next thread your jute through your pennants and you have a totally beautiful banner. I just love the bit of whimsy it add to the nursery with the soft accents against the wooden board. This could be easily replicated using pallets too!

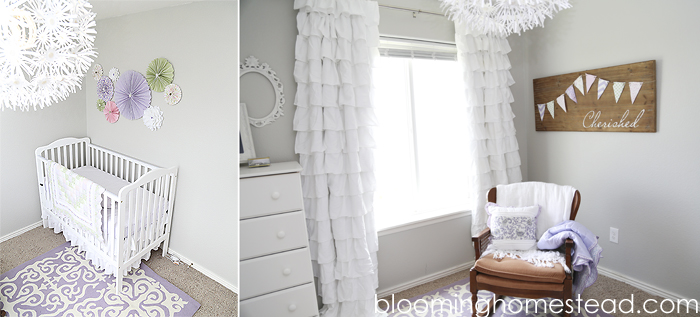
To see more of this lovely nursery go here.
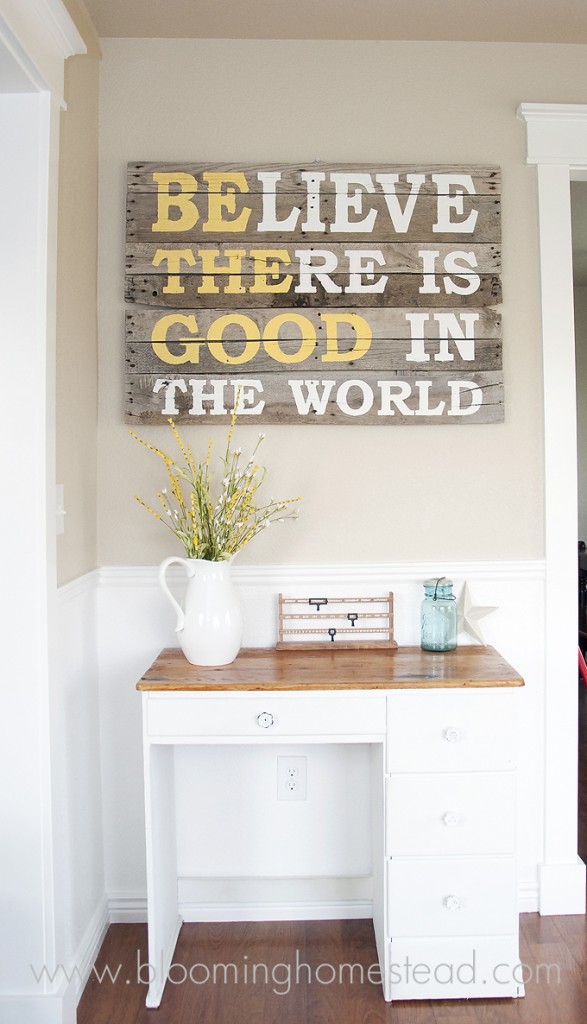
Here are some other signs I’ve made around my house: Pallet Wood Sign
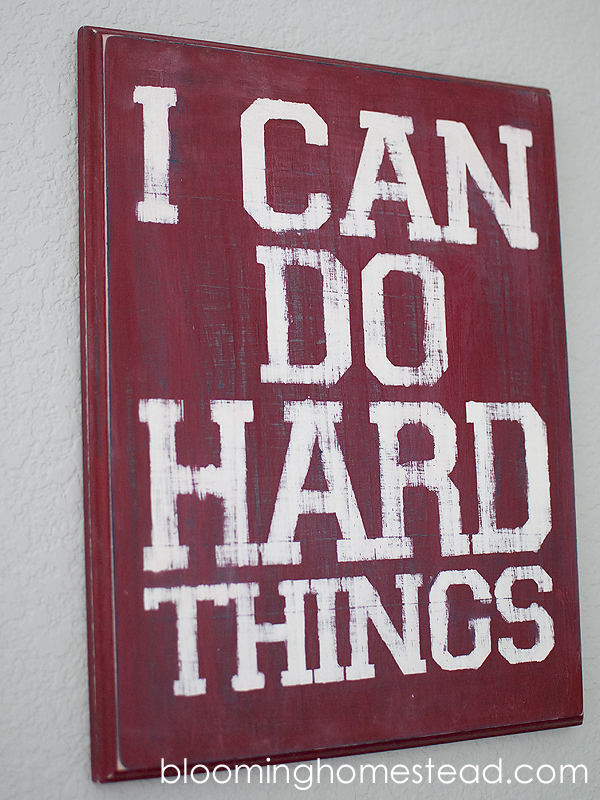
Distressed Wood Sign
I join these fabulous link parties each week: I heart naptime, Under the table and dreaming, Not just a housewife, The Project Queen, , Sumos Sweet Stuff, The Kurtz Corner, Ginger Snap Crafts, Laugh, Love, Craft, Clean and Scentsible, Somewhat Simple, The Shabby Creek Cottage, The Shabby Nest, Tatortots & Jello, Simply Designing, Chic on a Shoestring, ,Someday Crafts, The Idea Room ,Between U and Me, Positively Splendid, Raising 4 Princesses, One Stop Shoppe, Its Overflowing, The D.I.Y. Dreamer ,Serendipity & Spice, Crafty blog stalker , CSI Project, 36th Avenue, Real housewives of Riverton ,The rustic pig , Clever Chicks Blog Hop , Skip to My Lou , Classy Clutter, The Girl Creative, The Creativity Exchange, Natasha in Oz




This is such a sweet sign, Marie!!! I love the banner over it,
I love that sign, Marie. 🙂 And the curtains in the bedroom are gorgeous! Thanks so much for linking up to DIY Inspired. 🙂 XOXO
I love pennant banners! Your sign turned out so adorable. Thanks for linking up to The Creative Exchange. xo, Laura
I absolutely ADORE this, Marie! Beautiful!