This is a sponsored post written by me on behalf of Faultless/Bon Ami Company. All opinions are 100% mine.
Ever wondered how to get that professional crisp clean look to your clothes at home? Well, today I am sharing my secrets on the Proper Way to Iron a Dress Shirt. Not only is this method simple, but each shirt can be done in under 90 seconds.
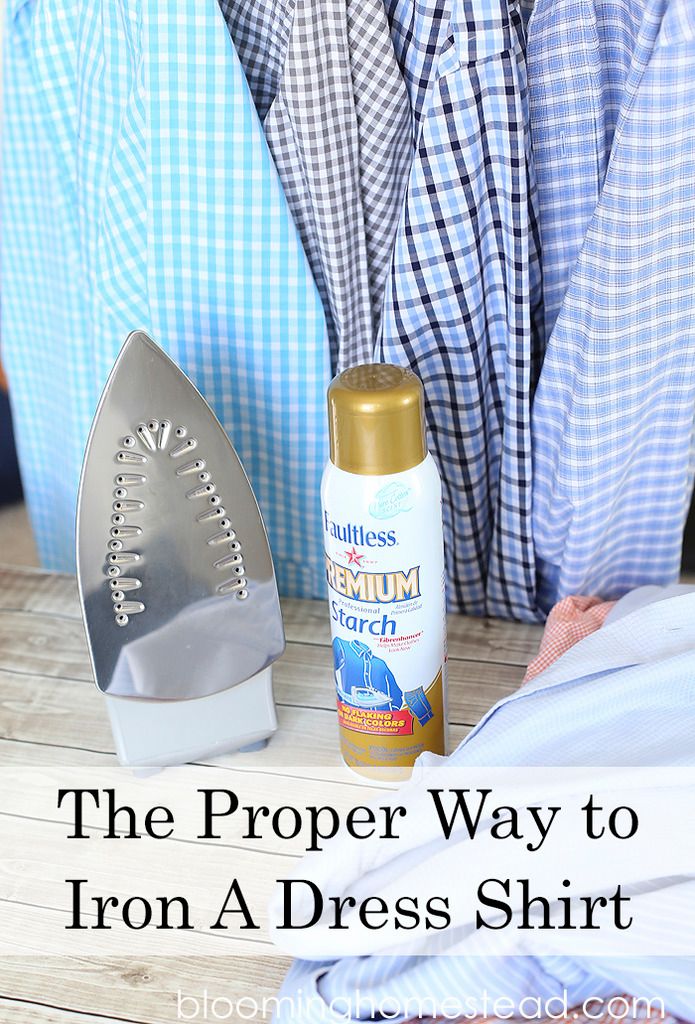
With each member of our family, we all have special clothes that require a little extra attention especially my husband who is a working professional wearing dress shirts 5-6 days a week. To be honest I dreaded the task of laundry because I knew it meant I would have a pile of clothes to iron and I never felt I could get them crisp or ironed correctly. After a lot of experience, I’ve finally mastered the dress shirt and today I am going to show you how to conquer it too! Not only does this method work for dress shirts, but it works for polos, dresses, blouses, and even scout uniforms. 🙂
Thanks to Faultless/Bon Ami Company for sponsoring this post!
Here are the supplies you’ll need:
- Iron (make sure it has adjustable heat settings for different types of fabrics.)
- Ironing board
- Faultless Starch- here is a Faultless Premium Coupon (found in laundry isle at most major retailers find a store )
- Spray bottle with water
First off, you’ll prep your ironing board and start heating your iron. Be sure to read the label on your garment. Different fabrics require different heats and sometimes you can melt or burn through a shirt if you aren’t careful. When you’ve got your iron and board ready, you will start with the collar. Lay the collar flat on your ironing board, using one hand to pull the collar taut while ironing with the other. To hold shape or to remove the wrinkles spray lightly with faultless starch about 8 inches away from garment. I love Faultess Premium, the bottle won’t clog, flake, or stick and it keeps clothes looking new for you to look and perform your best.
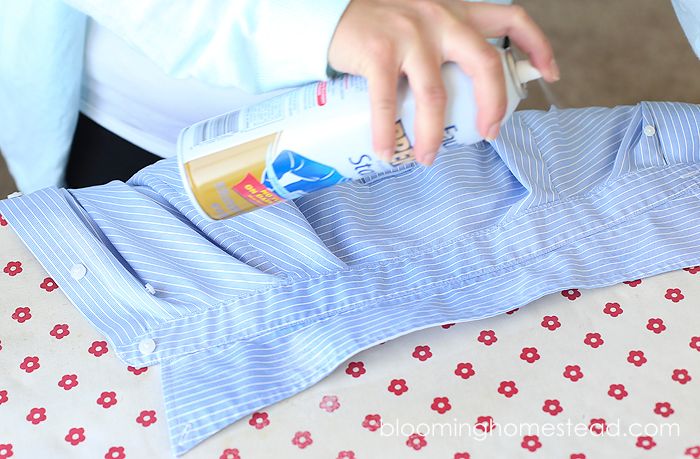
Next you’ll move onto shoulders. Slip one shoulder onto the end of the ironing board and using your fingers to pull seams tight, spray lightly with starch, and iron the surface. When you finish with that should, switch to the other side and repeat.
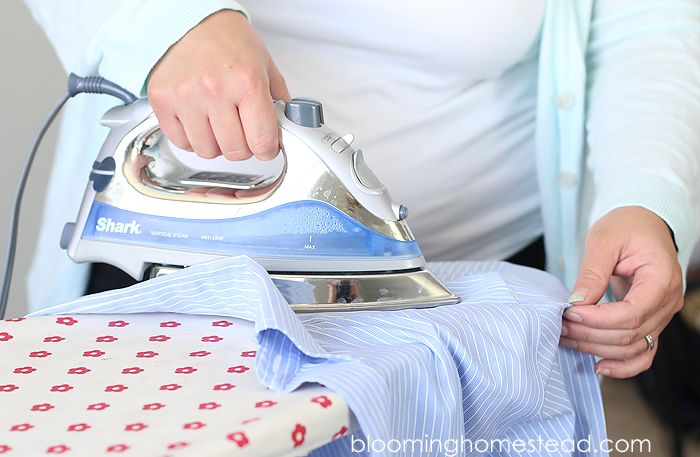
After the shoulders are finished, lay the sleeve, button side up on the ironing board. Spray with starch and make sure seams are flat and lined up and begin ironing from the top of the sleeve down to the cuffs. When you get down to the buttons, pull the cuff with one hand and iron both sides of the button area. Lift up and use the steam settting on the middle so as not to make button imprints. Finish off with the cuff by laying it on the end of the board and press. Repeat previous steps for other sleeve.
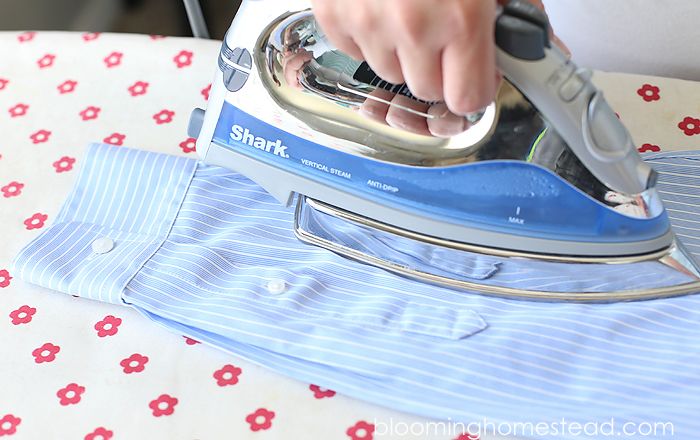
You’ll finish off with the body of the garment. Lay body of shirt, with button hole side on board. Mist with spray starch and press your way around. Use one hand to tug shirt tight while ironing with the other. Use steam as necessary. When you get to the buttons, use one hand to pull shirt tight, while ironing in between each button.
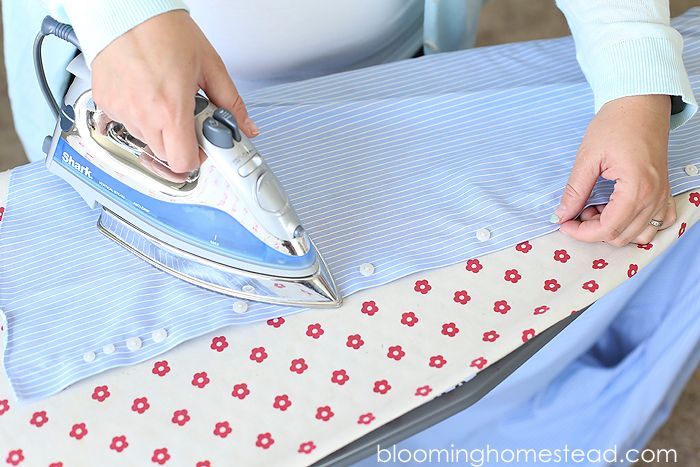
Hang up your shirt immediatly to retain the crisp clean look and you are all done. I love creating the professional look at home.

Faultless Premium Starch is giving away $1,000 along with a year’s supply of Faultless Premium!
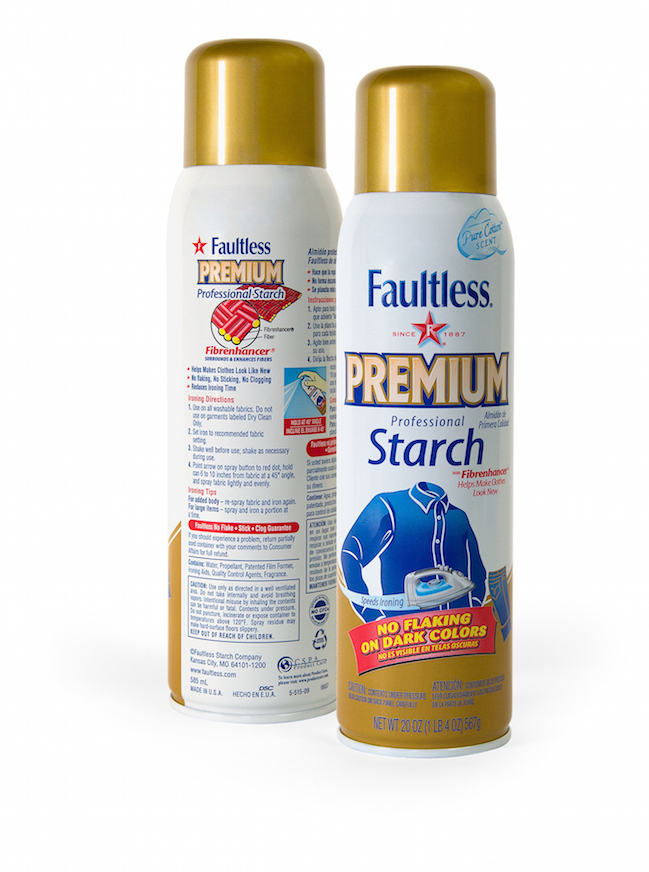
You can enter to win, all you have to do is visit the Faultless Starch Giveaway page, watch the video of Ironing Board Sam singing the “Wrinkle Blues”, enter your info and share this link with your friends http://bit.ly/1FP5Up4. You can find Faultless on Facebook for more tips and tricks.
I’d love to know if Faultless Starch is part of your routine, share with me in the comments section!


Thanks for the guidance!! Your posts are always so helpful 🙂
I absolutely love all of your tips & DIY’s! I also enjoy crafting of all sorts. From Deco Mesh &, silk floral wreaths and arrangements, wood working and the list goes on! I’ve tried to organize ALL of my supplies so that I may be more productive and less stressed! However, I’m running out of room,ideas and storage. My “Craft room is a spare room with a closet.
Do you have any clever and helpful organizing ideas for me? Please help me- this is making me have anxiety and no longer enjoying my hobbies!
Thanks in advance!,
Monique
Hi Monique, I totally feel your pain! You can check out this post here for helpful ideas, but what helped me the most is getting a dresser or bookshelf to house supplies. It helps so much!