This is a sponsored post written by me on behalf of Huggies®. As always, all opinions are my own.
Did you know that July is National Ice Cream Month? What better way to celebrate than by creating your very own ice cream sandwiches! Not only are they delicious, but you can add in some fun toppings like nuts or sprinkles to add some flavor and flair. These would be perfect for parties too!
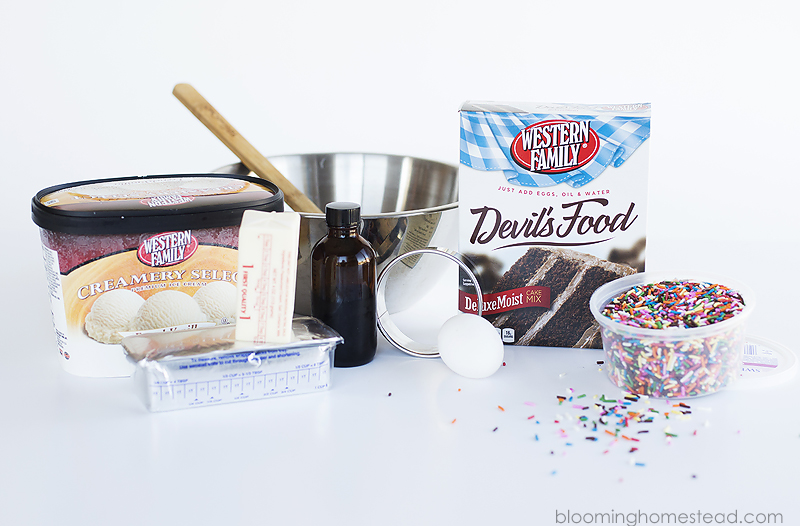
To get started, you’ll add your cake mix, egg, shortening, butter, vanilla, and water to a mixing bowl. Mix well.
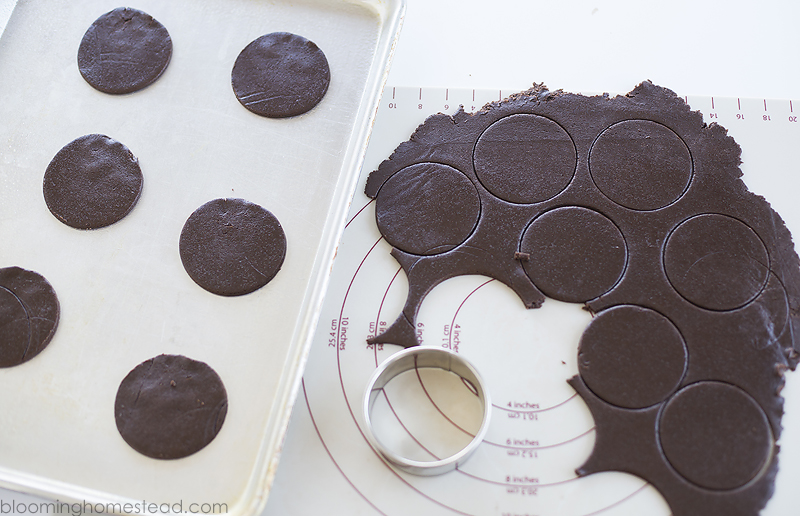
Now you’ll roll out the batter on a non-stick sheet. Top it with wax paper so that the batter won’t stick to the rolling pin. Roll out to about 1/4″ thickness.
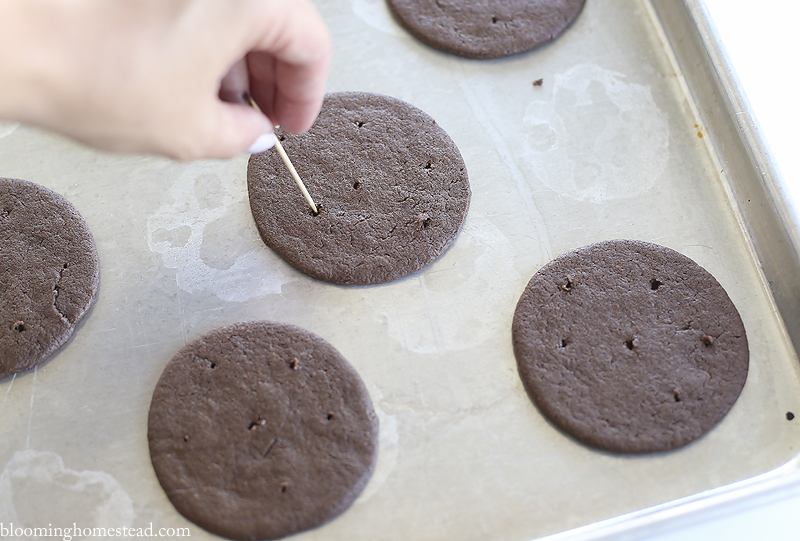
Use a cookie or biscuit cutter to cut out your sandwich cookie bases. Place on greased cookie sheet and bake 8-10 minutes. When you remove them from the oven, use a toothpick to poke a few holes in the tops of the cookies. Move them to cooling rack to cool.
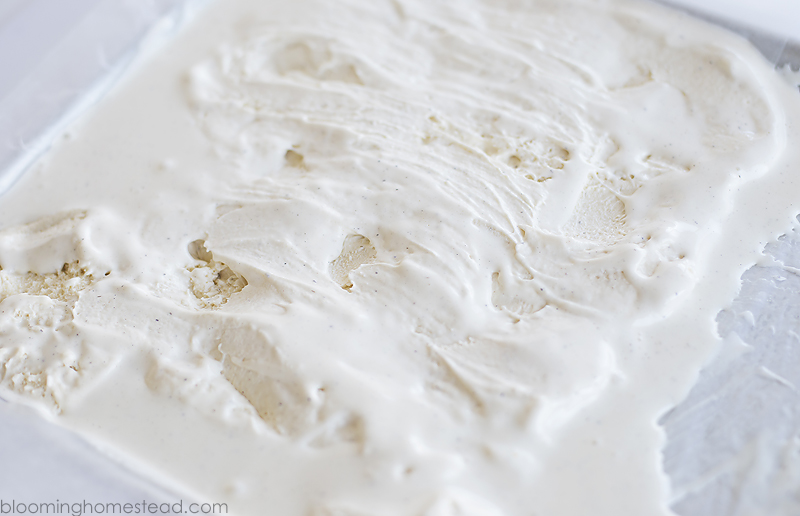
While your cookies are baking, you’ll soften your ice cream. You can use any flavor you like. Line a cookie sheet with waxed paper and use a spatula to spread out softened ice cream onto the waxed paper. Put in freezer to harden.
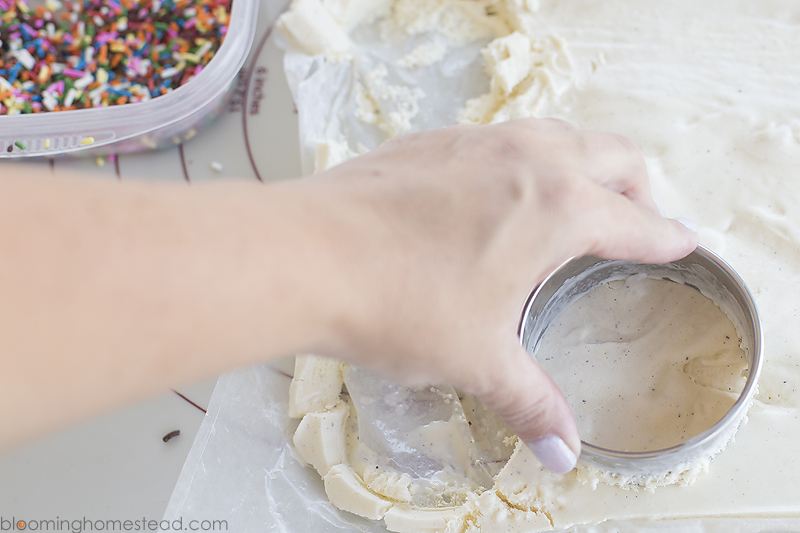
When your ice cream is hardened, you’ll take the cookie/biscuit cutter and cut out circles of ice cream. You’ll need to move fast so that the ice cream doesn’t melt or get too soft.
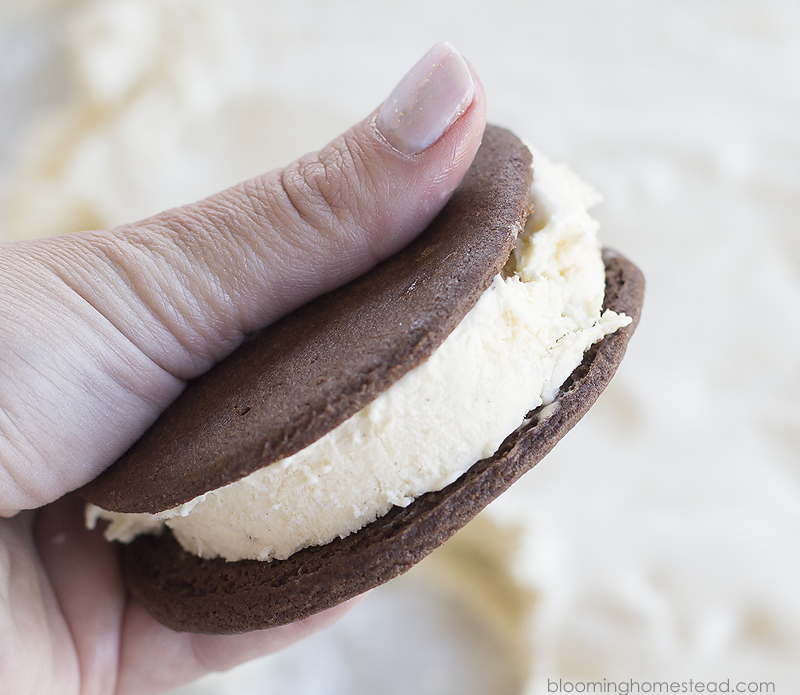
Place the ice cream in between the sandwich cookies.
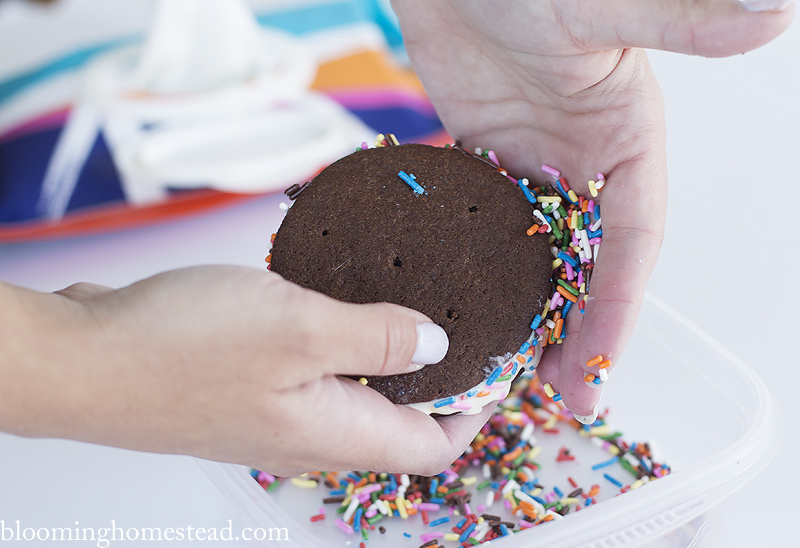
Now its the fun part! Time to roll in sprinkles or whatever toppings you love most.
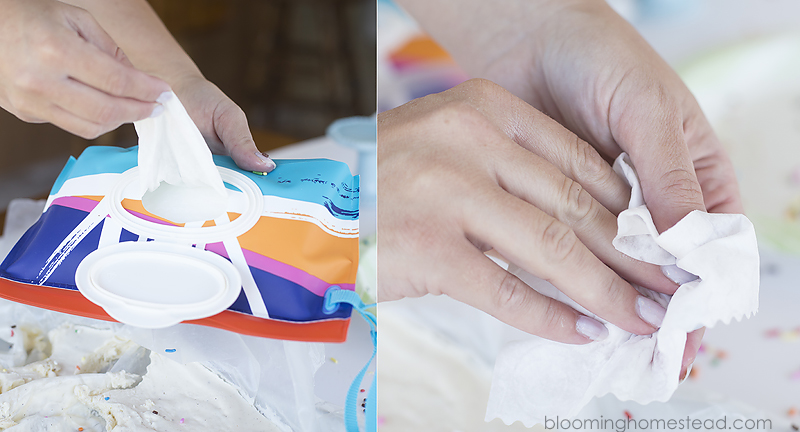
This gets a bit messy, so keep a bag of Huggies® Wipes handy so that you can clean off the excess ice cream melt and sprinkles after each cookie. That way you can quickly move onto the next one. The ice cream softens quickly so you’ll want to work fast.
Place the finished sandwiches in the freezer to harden for at least 12 hours and you are set! Be sure to keep those Huggies® Wipes on hand while you enjoy those delicious, melty messy Homemade Ice Cream Sandwiches.
Visit the Huggies® website and join the Huggies® social media sweepstakes here by posting an image of your messy kid to Twitter or Instagram with the hashtag #HugTheMessSweepstakes for your chance to win $2,500.
Looking for a fun summer boredom buster? Check out this fun DIY Eggshell Garden Idea.
Ingredients
- 1 pkg devils food cake mix
- 1/4 cup butter
- 1/4 cup shortening
- 1 egg
- 1 tablespoon water
- 1 tsp vanilla
- 1/2 gallon ice cream
Instructions
- In a large bowl, combine the cake mix, shortening, butter, egg, water and vanilla.
- Mix well.
- Roll out batter between waxed paper and use biscuit or cookie cutter to cut out circles.
- Bake at 350 degrees for 8-10 minutes.
- Prick holes in each cookie and cool on wire rack.
- Soften ice cream and use spatula to press onto waxed paper line cookie sheet.
- Place in freezer to harden.
- Use cookie cutter to cut out circles of vanilla and place in between cookie pieces.
- Roll ice cream in sprinkles or desired topping.
- Freeze for 12-24 hours to harden and wrap in individual glad wrap to prevent freezer burn.







Leave a Reply