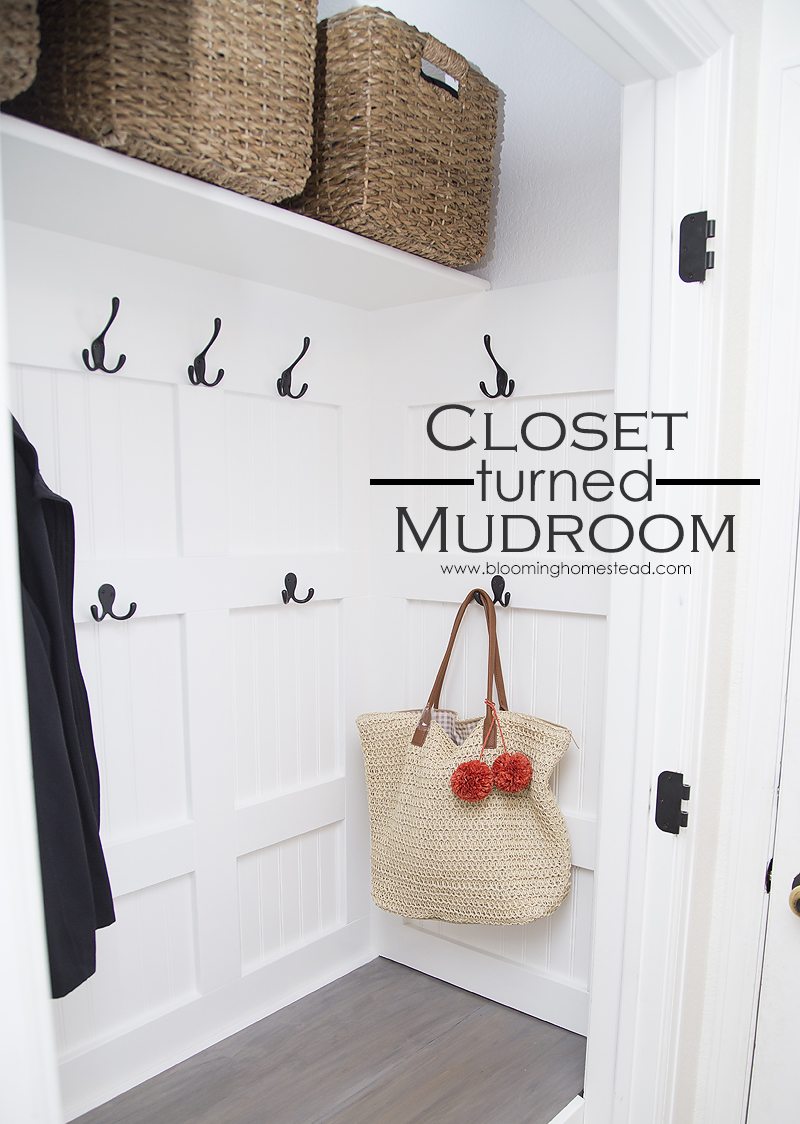
Hello friends! I’m excited to share how we transformed our poorly used laundry closet, into a beautiful and functional mudroom area. When we moved into our home 2 years ago, the laundry room served as a catch all area for everything we brought in from the garage. To say this area was out of control is an understatement, but with such a small yet heavily trafficked area we had to come up with a solution.
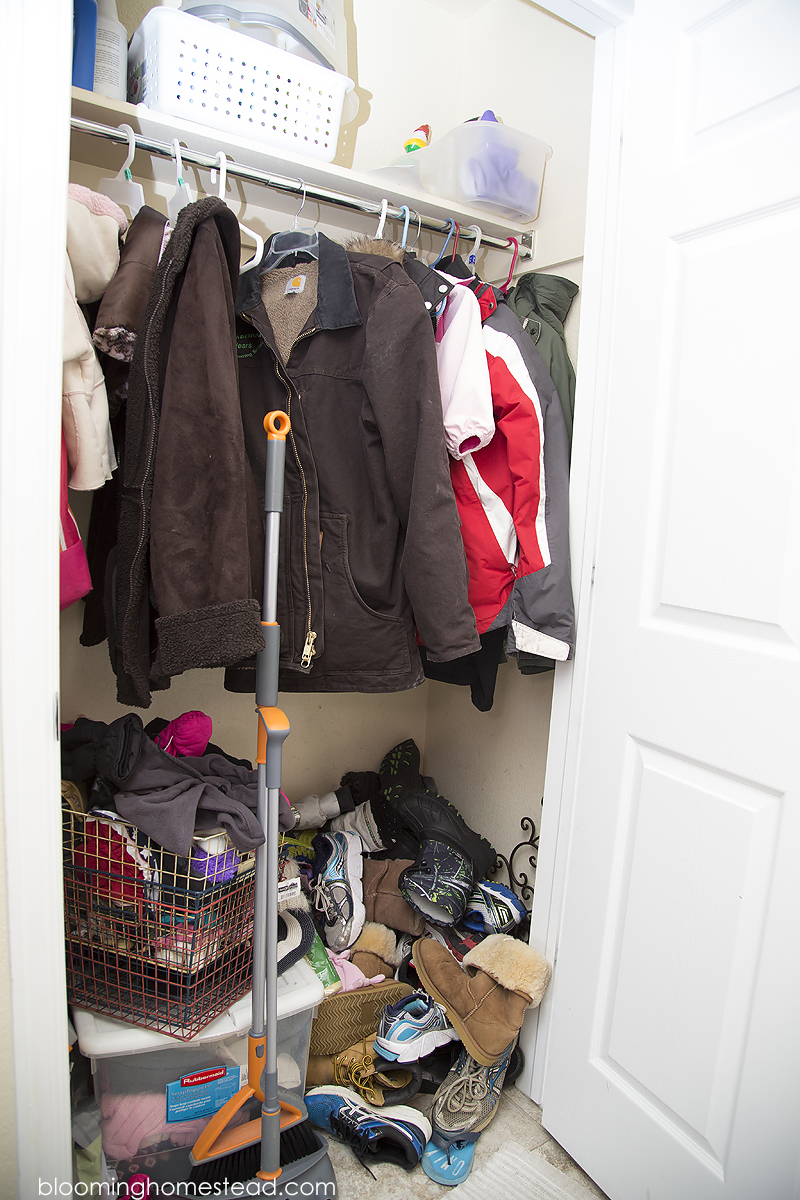
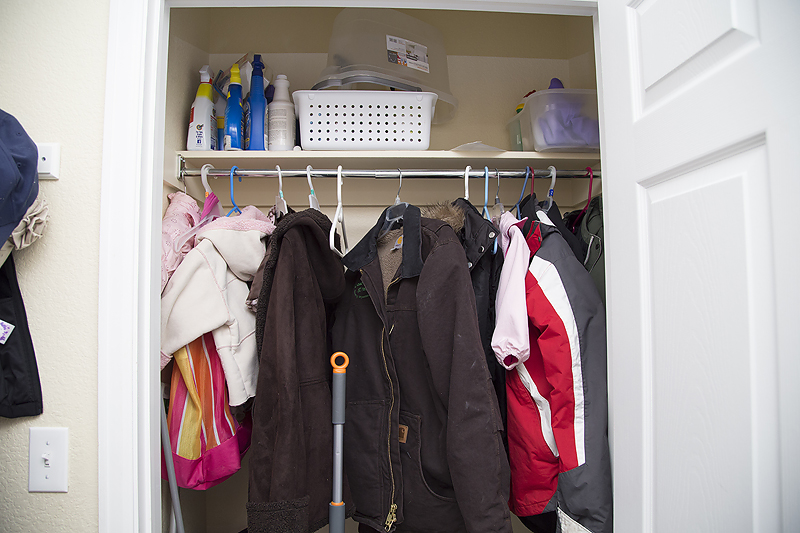
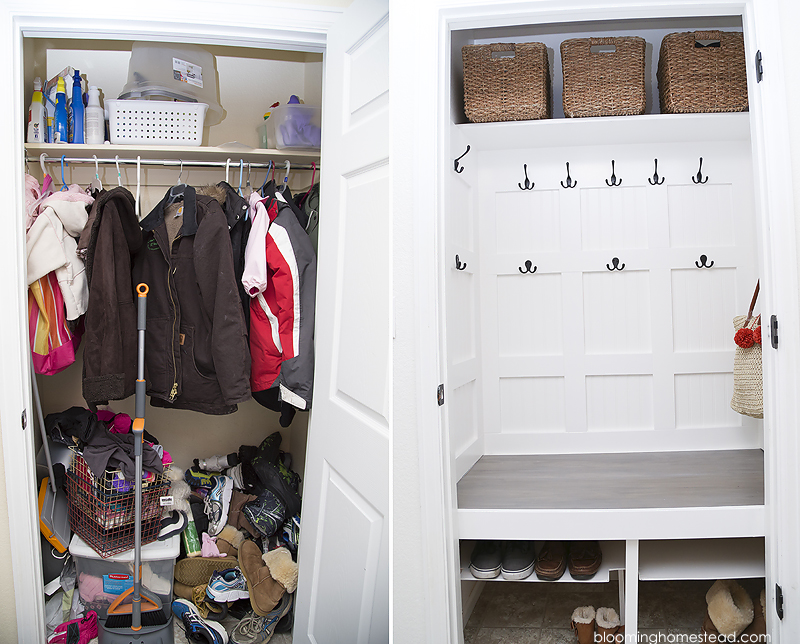
I’m not sure if you are ready for the before photo, it is pretty terrifying. No really, its awful. Basically we moved in and this closet was a catch all for everything. Some cleaning supplies, some home decor, a few locker baskets that I knew would be so good for organizing (And yes, they sat here in a stack for 2 years!), not to mention a pile of random shoes and boots. You walk into this room from the garage so everyone just kicks off their shoes and shoves them in the pile. You open the closet and shoes would literally fall out on top of you. If you didn’t get the closet door shut, the garage door couldn’t open as they would bang into each other. It was pretty ridiculous, and yet we would just shove it closed and then shut the laundry room door as well and pretend it didn’t exist. Denial at its best.
I love the changes we have made in our house, but walking through this little room always made me grumpy. I finally decided that after the holiday decor was put away we were going to take on this closet. Now, this is where it gets tricky. I won’t be writing a tutorial. Why? Because I had no clue what I was doing. I have no experience, I am not a builder, I am not a carpenter. I can make a few home decor signs and shutters and thats about it. My husband also has no experience or interest in most DIY so this was all in my hands and I just went for it. I learned a lot along the way and also a few things I would have changed after the fact. Overall, I am ecstatic that this inexperienced lady DIY’d this project all by herself!! I’ll link to may favorite tools and supplies I used below.
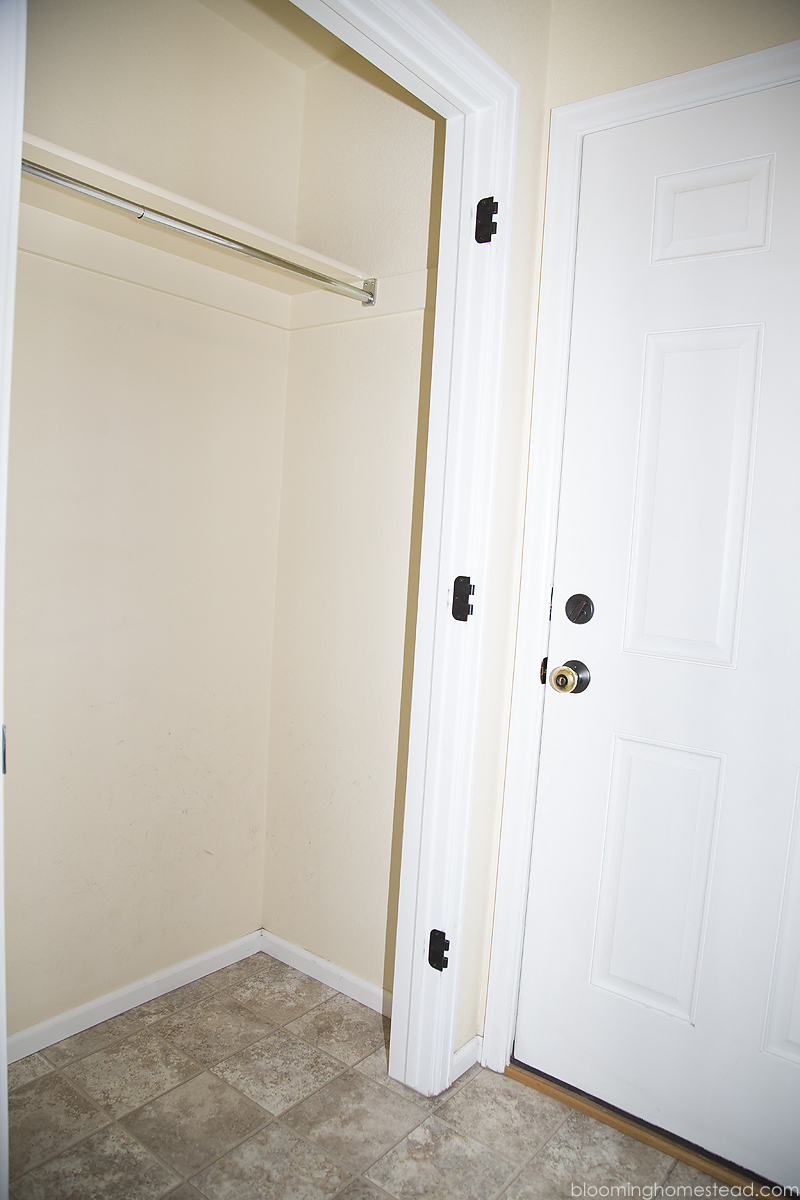
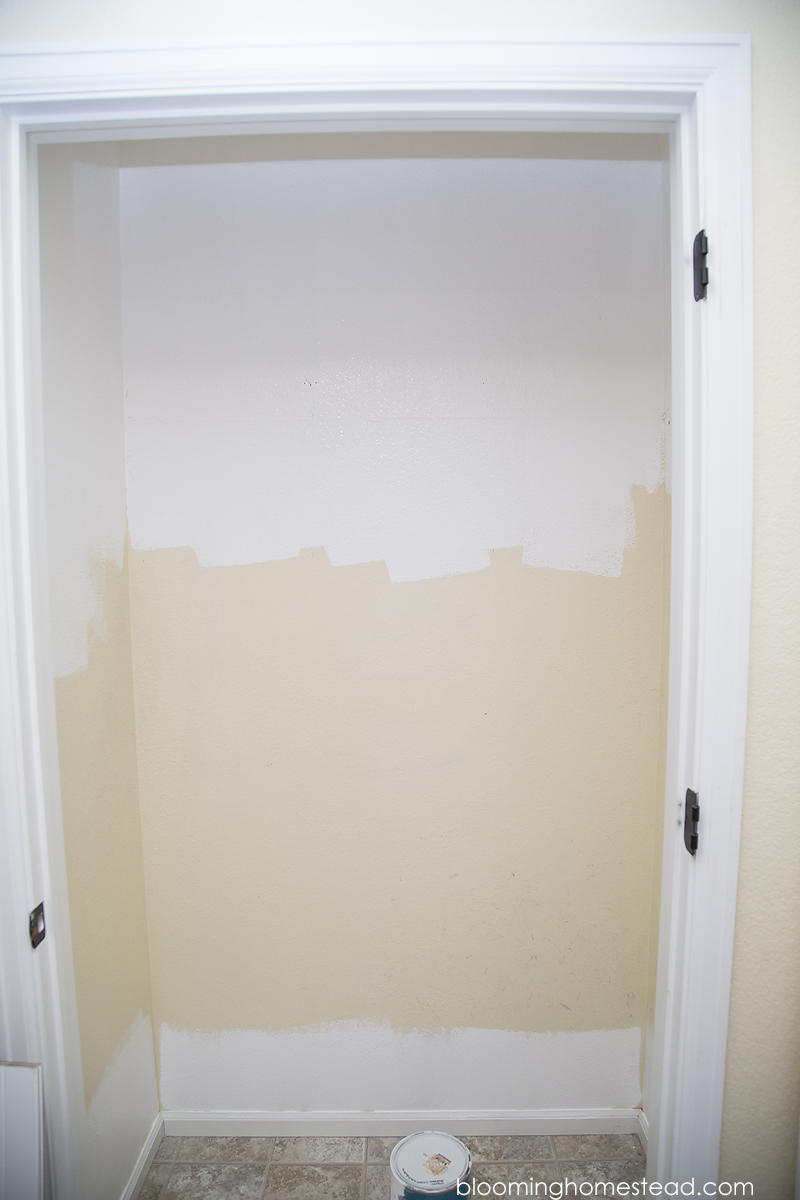
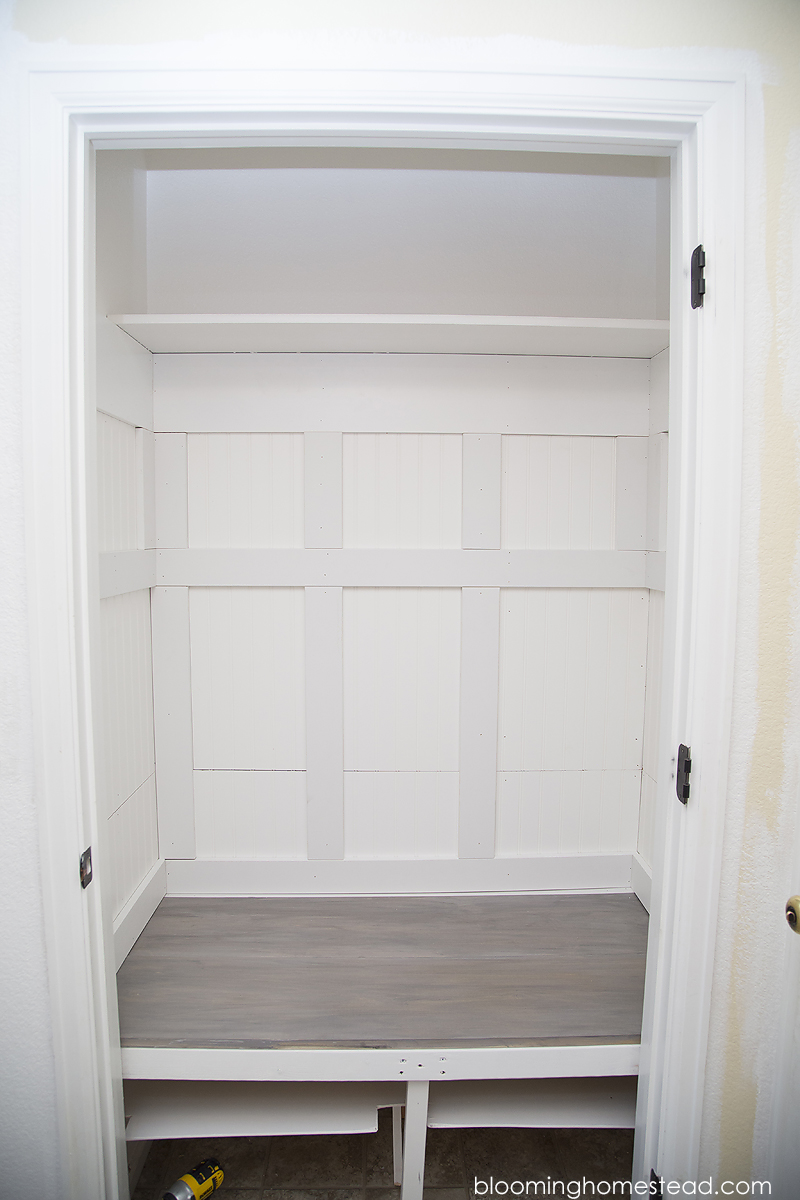
First off I removed all the junk from the closet, as well as the current rod, shelf, and closet door. I also “attempted” to remove the baseboard. After totally denting the drywall, I decided the baseboard could stay and I would work around it. 🙂
When the closet was empty, I painted the ceiling and walls using one of my favorite whites BEHR Polar Bear.
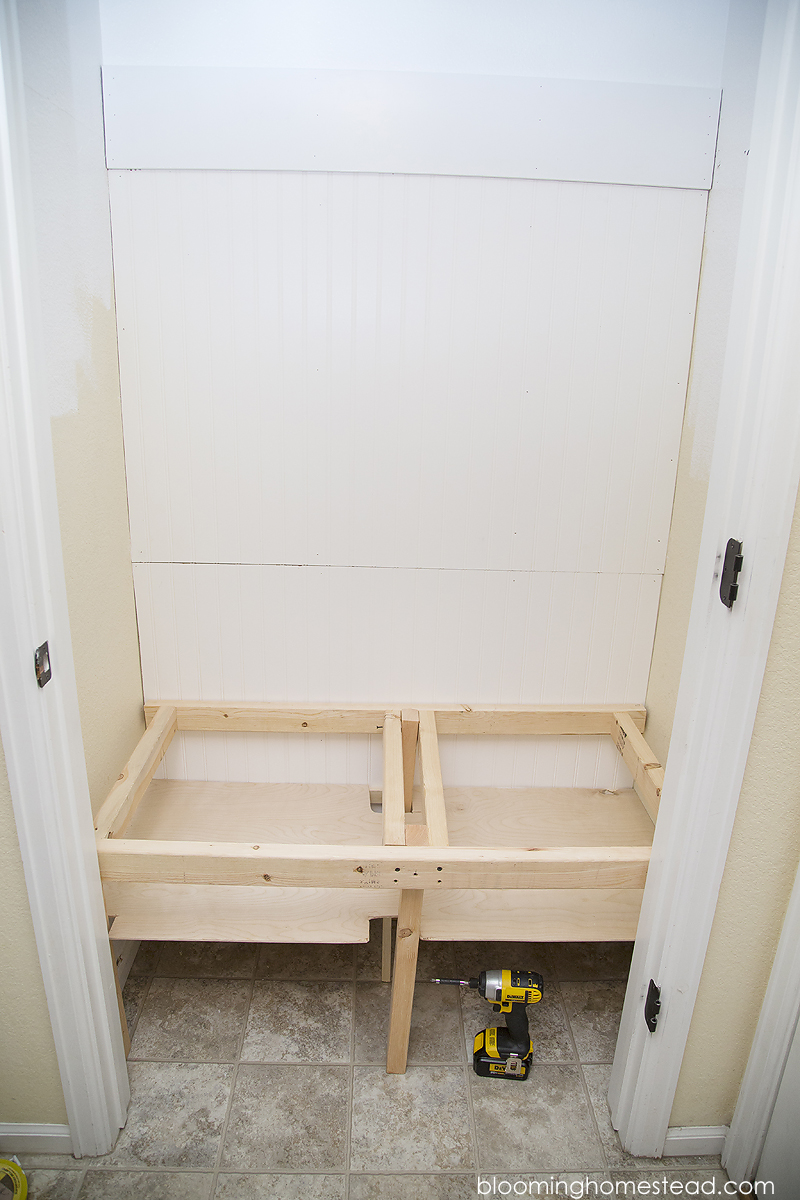
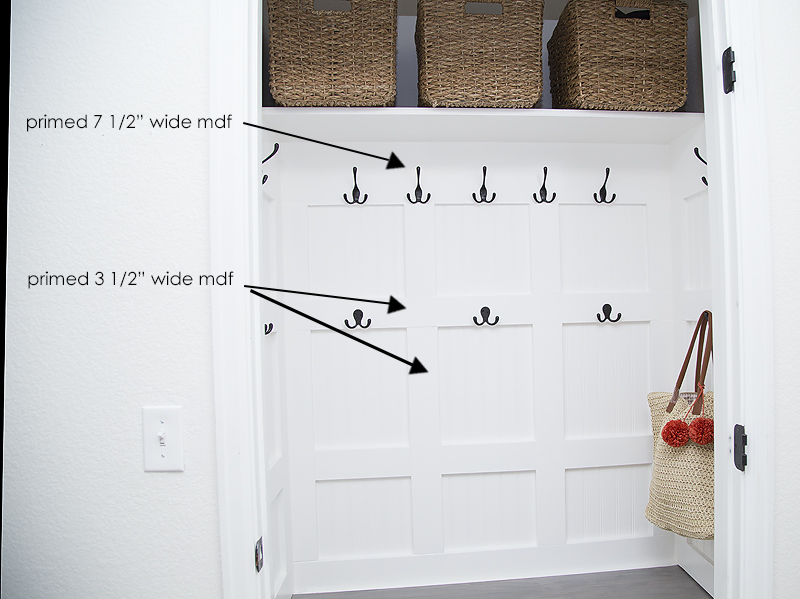
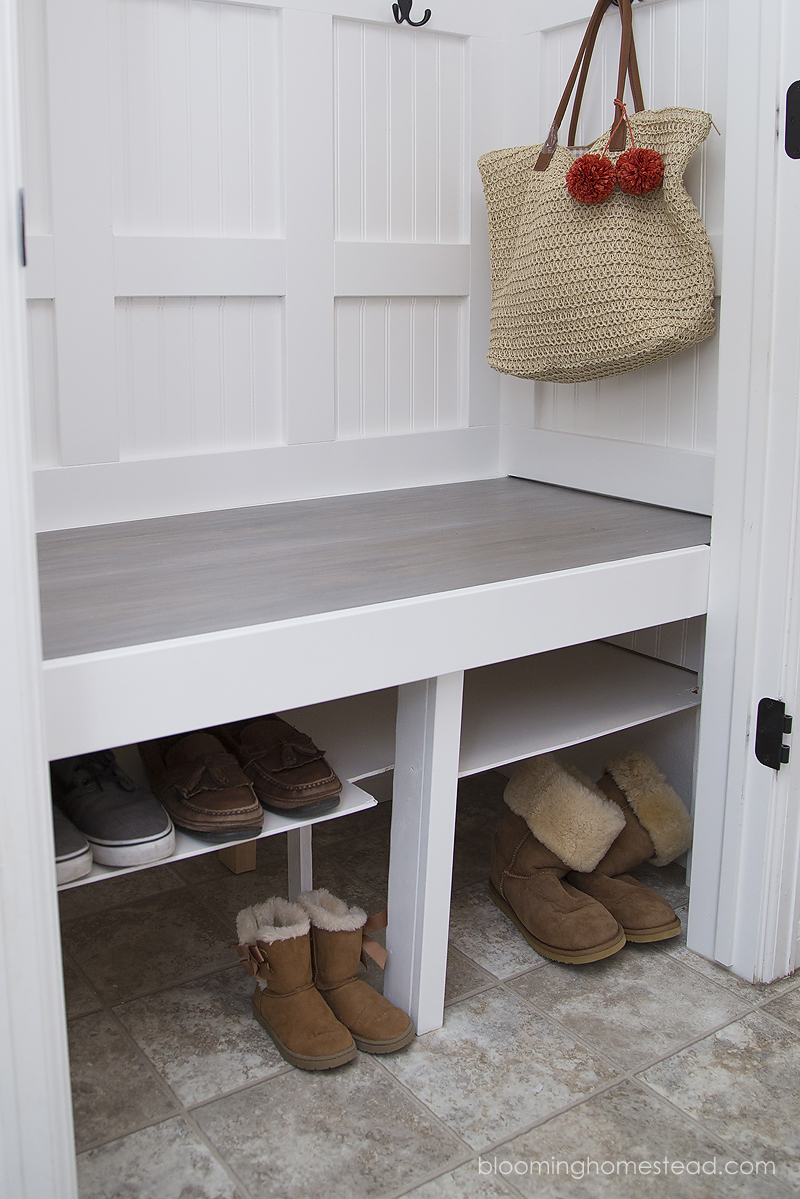
Next up I used a brad nailer to attach beadboard to the wall. Because I don’t have a truck and didn’t think I could fit a full sheet of beadboard, I used these small pre-cut beadboard sections from Home Depot. (I figured I would just cover the seams with the smaller mdf strips) I trimmed down the beadboard using my circular saw. When the beadboard was in place, I used a 7.5″ wide MDF strip at the very top and wrapped it around the sides of the closet as well since I knew I would want to utilize the full closet space with hooks. Next up I used some 2×3’s to build a bench. I also created a mini shelf under the bench using plywood and a few scrap pieces of wood. This was an afterthought and I didn’t measure out the front notch well, I just went at it with the jigsaw because I figured it wouldn’t show much. (I was wrong, this was one of those afterthoughts.) I built the frame of the bench in the garage and installed without the right set of legs in the closet screwing in those last two legs after it was installed.
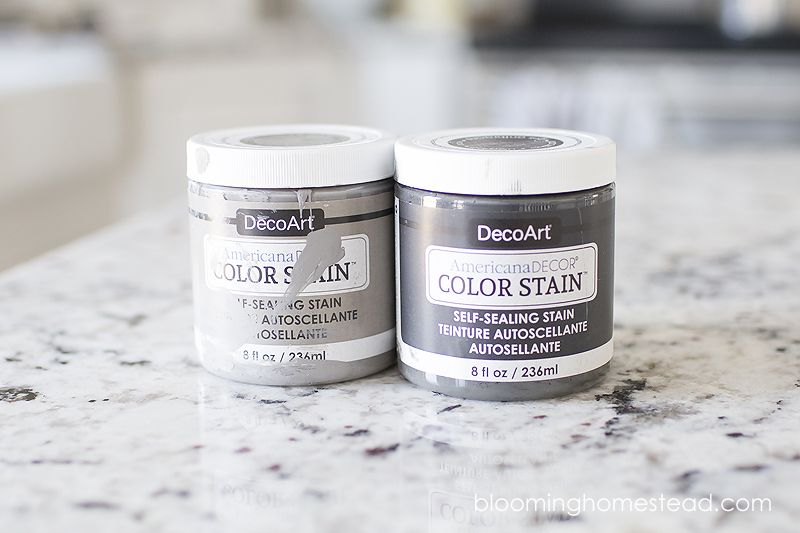
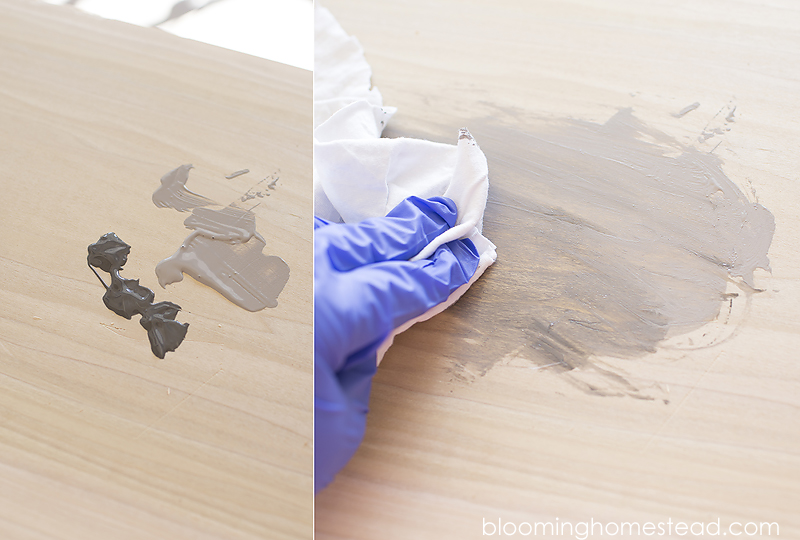
I got a section of poplar wood and cut it down to serve as the top of the bench. I used poplar because it was cheap, I have no idea how strong it will be but because the look I am going for is rustic I figure if it dents up it will just add character. Next up I stained the wood bench top using my favorite grey stain combo–color stain from DecoArt in Ash Grey and Charcoal.
I used a cloth to wipe them on and mix them for varying shades of color.
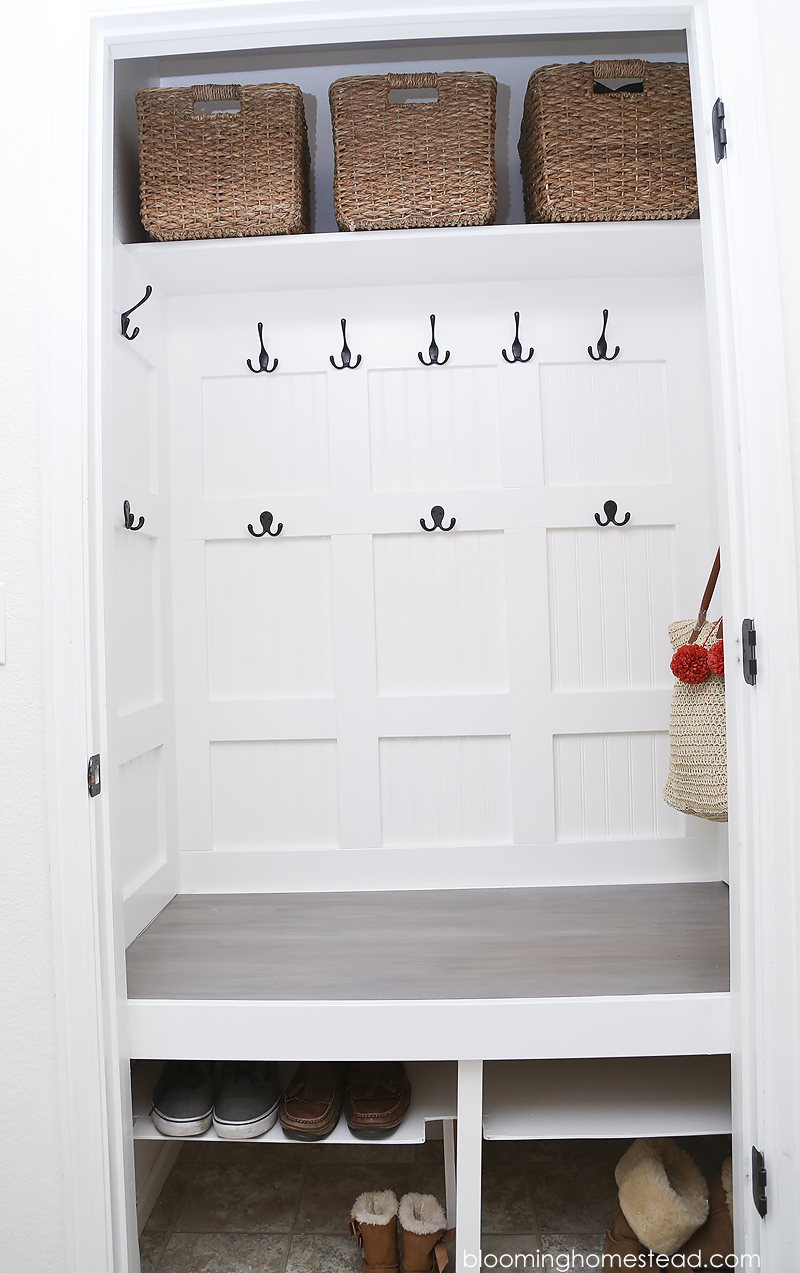
Next up I added the original shelf back in and used 3.5″ mdf strips to create a board and batten look. I also attached trim to the front of the bench to cover the 2×3’s and screws. When all the strips were in place, I used white caulk to fill in the nail holes and caulk around all the edges.
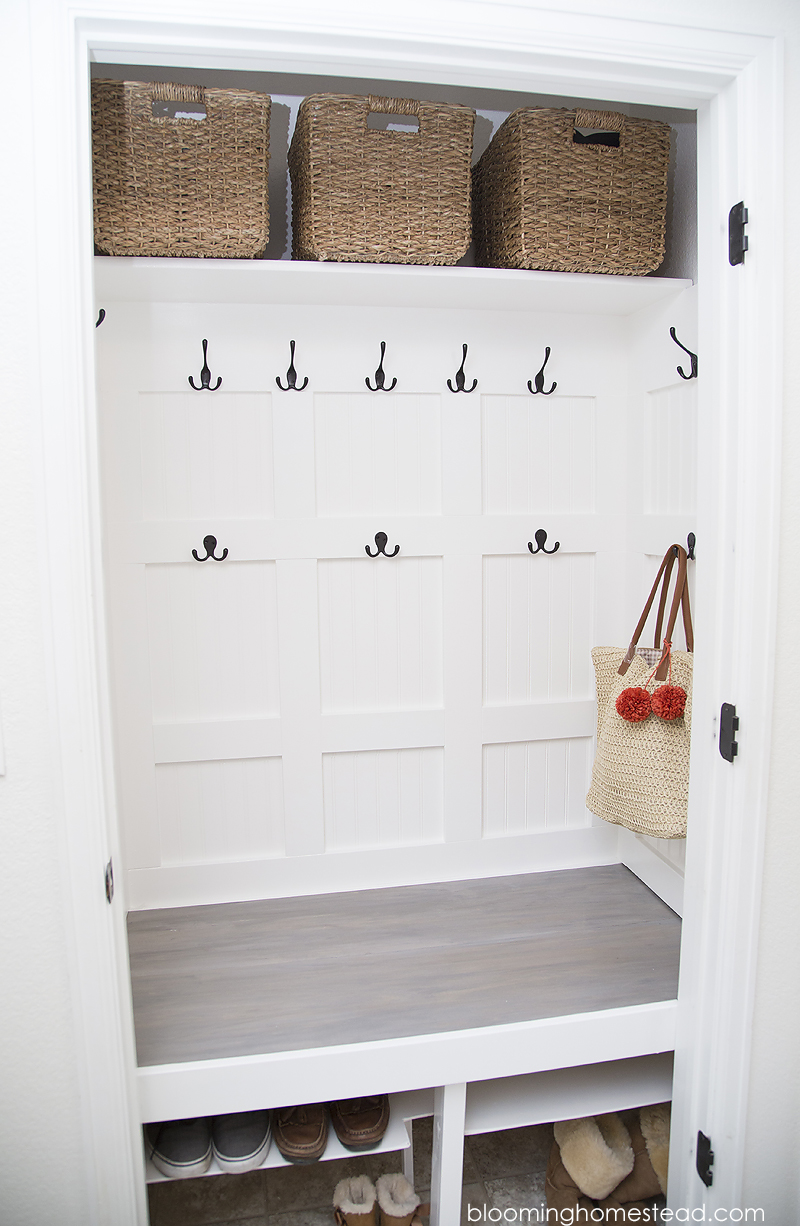
I painted over the entire area (except bench), with a semi gloss version of the Polar Bear paint color. I used semi gloss because we live in a dusty place and with so many layers of trim I wanted an easy way to clean it and semi gloss dusts so easily! Now we added hooks to the top and middle pieces of trim to hold all our coats and bags, etc.
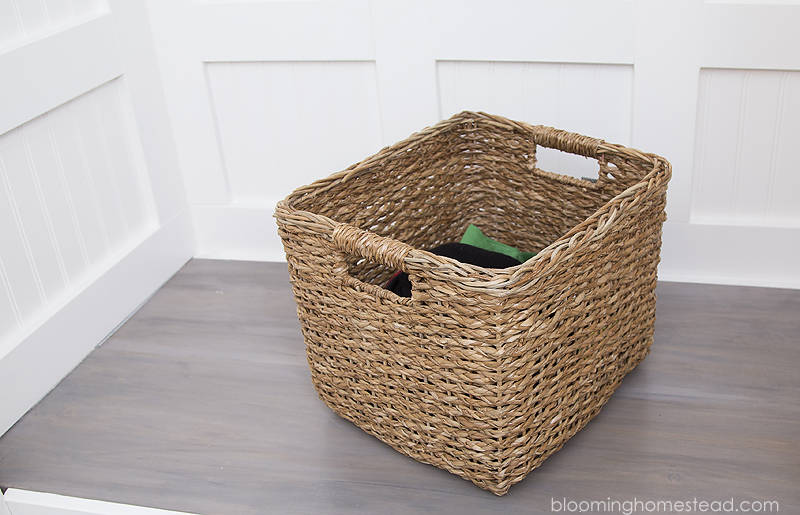
Finished things up with these baskets from target. They hold snow pants, gloves, hats, umbrellas. All those extra things we wanted within reach but out of sight.
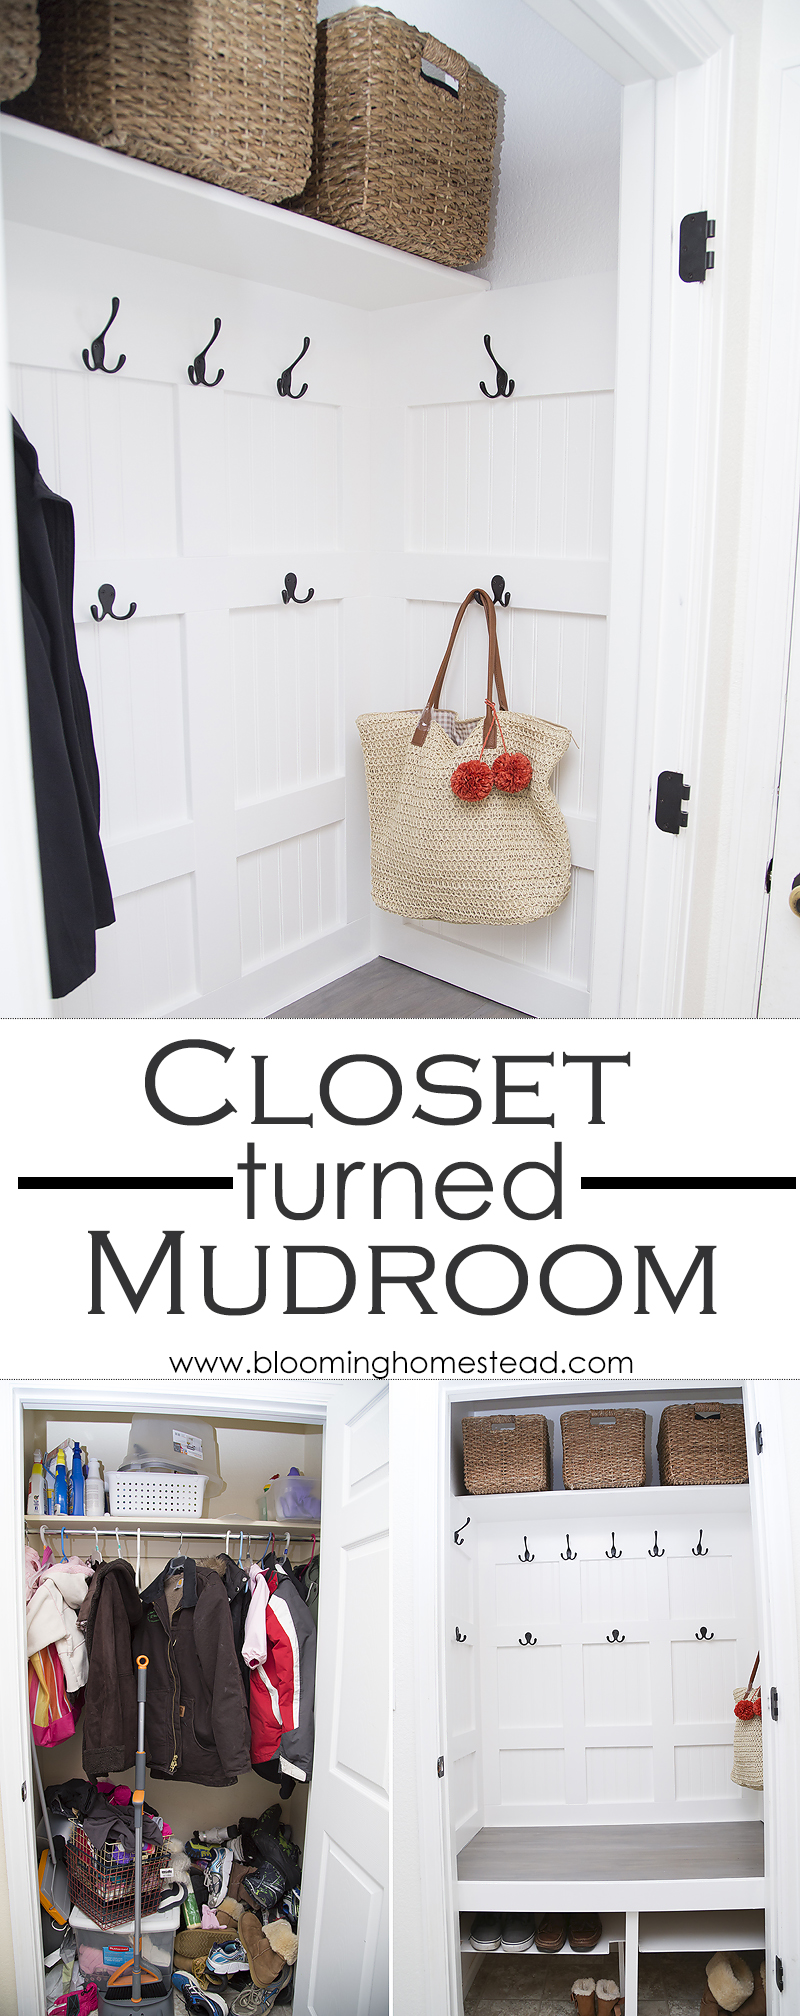
What do you think? This space is so much more functional now and we can actually find things easily. Plus it opened up the space and makes the laundry room actually feel bigger. I still need to replace the trim around the doorframe but I haven’t gotten that far yet.
These baskets are great for holding all those odd shaped items. Keeping them handy but out of sight. I want to add chalkboard number tags 1,2,3, but haven’t gotten around to it yet. Anyone else struggle to finish up those last minute details?
That’s it! Not bad for a gal with no real carpentry/building experience. I’m sure anyone with a bit of experience could whip this out in a few days! It took me about a week and a half to build (with breaks of course, mom duties don’t stop.)
Such a huge difference!


Hey Marie! We want to (translation: I want to and Kelly just goes along with it, lol!) do this to our large under the stairs closet. Did you just use the bead board pieces from Hime Depot and then put pre-trimmed mdf board over it? Do you have to trim the mdf at home? I seriously need my own power tools!
You’re so talented!
Hi Sophie! Yeah, so I used these small sections of beadboard, I had to use a circular saw to trim them down to fit in the closet but had I had the measurements home depot could have cut them. I also bout 3 1/2″ wide mdf strips. They came in like 6 ft, 8ft, and 10 ft lengths. I cut those at home using my miter saw (Christmas present from adam two years ago!) since I had so many little pieces. If you know your exact measurements you could have them cut it all down at home depot. They are usually pretty good about it. However mine would be off by little a millimeter so I measure and cut each piece as I went. Hope that helps! Send me a pic when you do yours, I’d love to see it. 🙂 And yes, every year I’ve been asking for tools, then I’ve been a little intimidated to use them but I’m getting there!
Oops forgot to link the beadboard sheets https://www.homedepot.com/p/3-16-in-x-32-in-x-48-in-DPI-Pinetex-White-Wainscot-Panel-5-Pack-HD16332485/205626361
I love it! My husband and I are currently doing the same change to our coat closet to a coat nook to make it more functional! Love the inspiration!
You will love it! It makes such a huge difference!
Oh interesting to use hooks instead of a rod to hang on. I’d love to remake my front hall closet like this but being in Canada we have so many coats and jackets I’m just not sure whether this would work. I’ll have to think that through a bit!!!
Anyway, looks so nice, you did a great job!
Yeah, I weighed the whole rod versus hooks thing and realized my kids (and husband) will NOT hang up stuff. But they will stick it on a hook so I made sure to have lots of hooks to hang things and it has made a world of difference. I’m amazed at how much fit on the hooks. Bags, coats, hats, etc. It all works so much better than the one rod.
Marie, what an inspiration! I have a similar closet next the garage door and it’s in even worse shape than your before. You made this project seem so doable! Thanks!
Thanks Kim, it is very doable. (If I can do it, anyone can) 🙂
Marie,
you’ve done an awesome job-love this! Thanks for inspiring-we have a closet under the stairs that needs redecorating and I’m planning on using this for inspo!
☺️
Thank you, you should totally give it a go. It has made such a difference!
Wow! You did a great job!
Thank you so much!
Great job! It’s absolutely perfect and truly inspiring me to do the same thing in my home. How much did you spend on this project in total? I’m just trying to get an idea of how much money I’d need before I take this on. Thanks!
Hmmm, I’d say I spent around $150-200. But I will say I cut a few wrong sizes and had to go buy more moulding. If I would have been better with my cuts I probably could have saved more. 🙂